We’ve been having very good luck with our recent zucchini breads that we’ve made during the past few months. So much luck, in fact, that I’ve expanded our circle of bread to include banana and pumpkin. All these recipes happen to be on the same page of Betty Crocker’s New Cookbook, so they weren’t too tough to find.
Laura and I have had this cookbook since the beginning of time. I delved into it on occasion, but never really gave it much thought. That is, until recently. After using it for the zucchini bread recipe, I sat down and began flipping through its pages. I was a little bit shocked at what I found. There are some really great recipes stored in those pages and I plan on incorporating them into my “recipe bank” to both eat and share on this site. Remarkable what one can discover when one pays just a little attention.
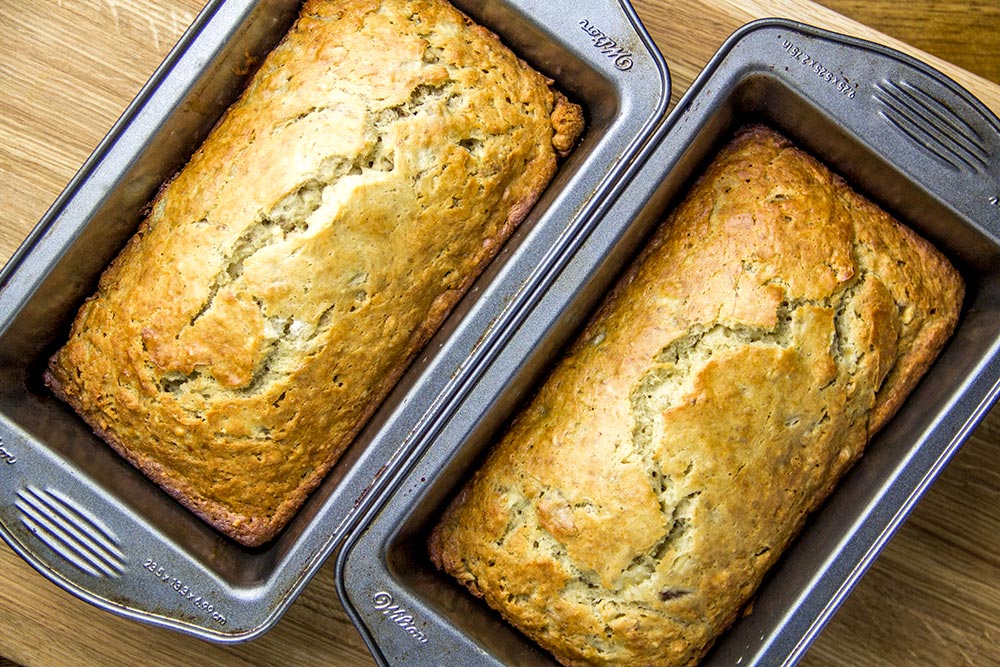
The Recipe
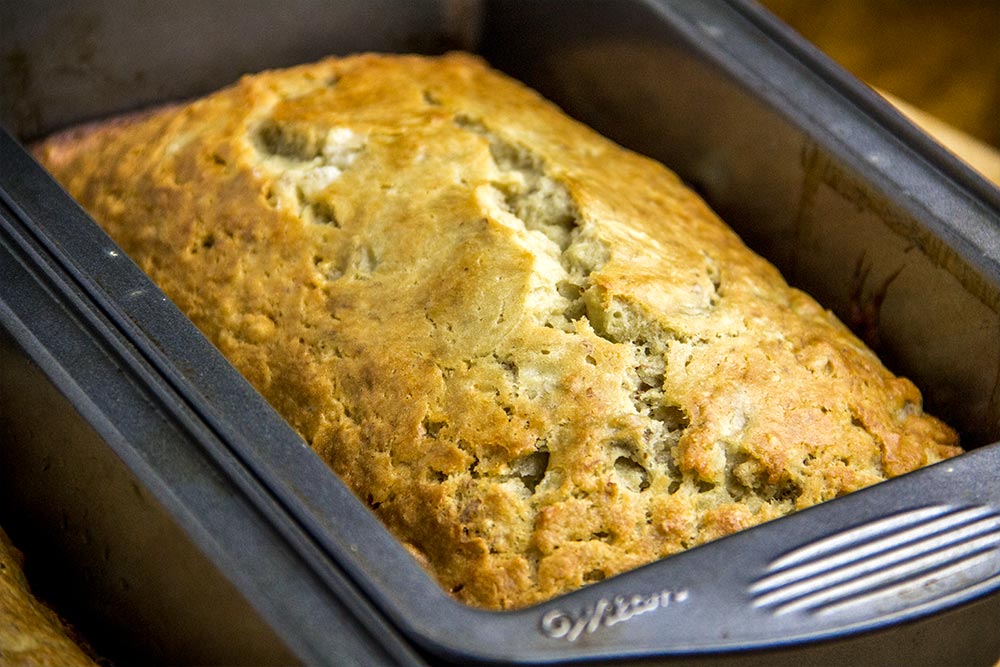
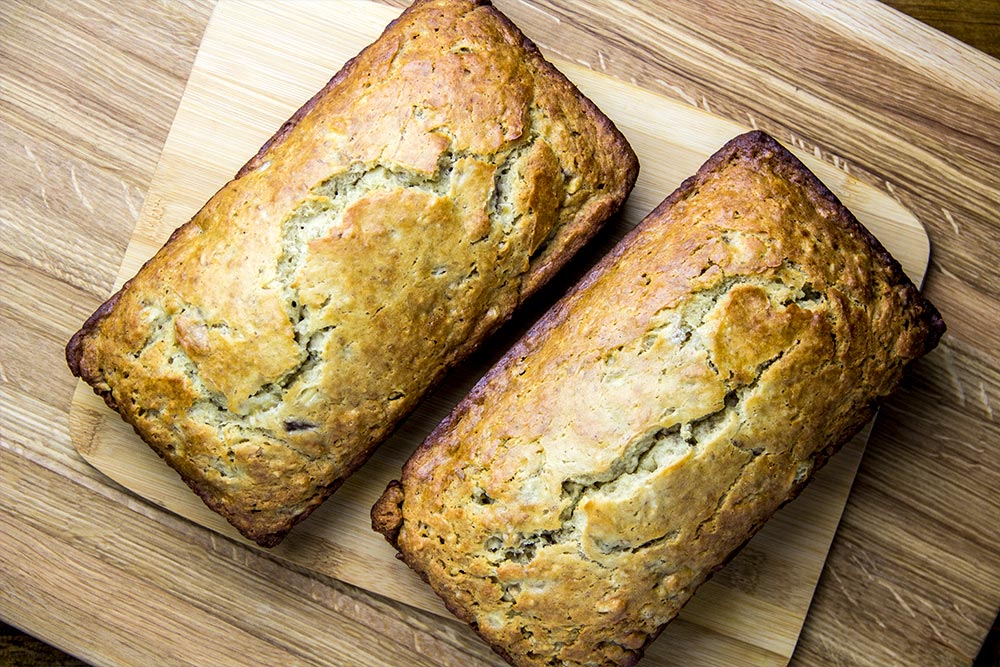
Today’s recipe creates a fluffy and moist (delicious) banana bread. If you have two 8-inch pans, you can make 2 loaves. If you have one 9-inch pan, you can make 1 loaf. I thought I had the 8-inch pans, so I went ahead and made what I thought I should. I actuality, I had the larger pans, so I should have limited myself to one loaf. The bread came out great, so there’s no difference there. It’s just the size of the pieces and cooking time that are affected.
The center of this bread is sweet and is filled with banana and walnuts and the crust has a small crunch to it. Laura and I have been enjoying these types of breads for dessert for a good long time, which they’re perfect for. Not too much and not too little.
Ingredients
Makes: 2 Loaves
1 1/4 Cup Sugar
1 Stick Butter, Softened
2 Large Eggs
3-4 Ripe Bananas, Mashed
1/2 Cup Buttermilk
1 Teaspoon Vanilla
2 1/2 Cups All-Purpose Flour
1 Teaspoon Baking Soda
1 Teaspoon Salt
1 Cup Walnuts, Crushed
Step-by-Step Instrusctions
The walnuts in this recipe are completely optional. Add them if you love nuts and leave them out if you don’t.
Pre-Heat Oven & Grease Pans
First, move one of the oven racks so it’s in the center position. Then, pre-heat the oven to 350 degrees. After that, grease either one 9-inch pan or two 8-inch pans with shortening.
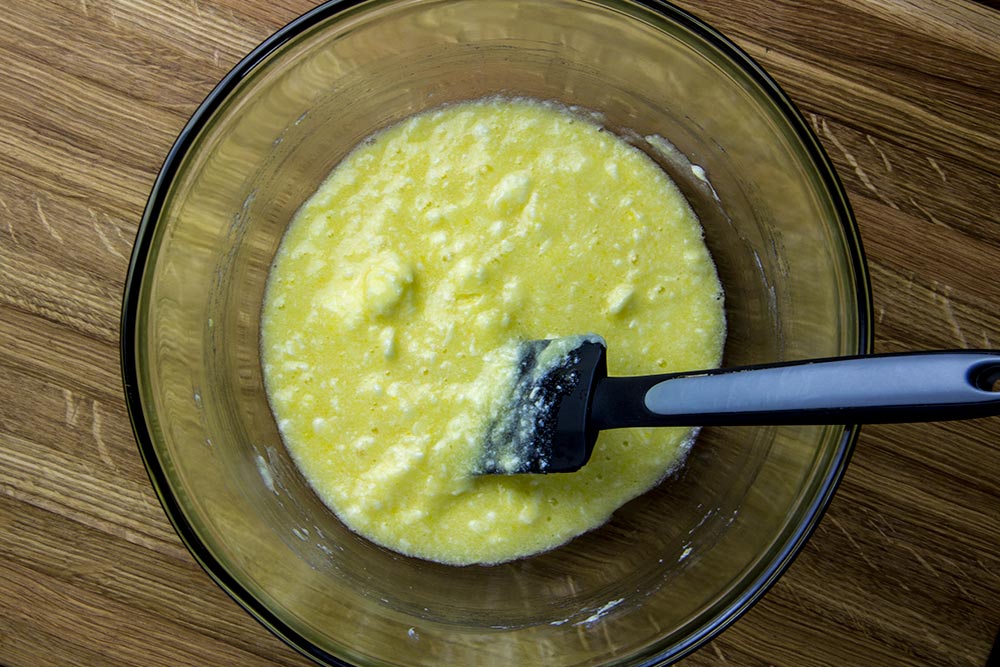
Mix Sugar, Eggs & Butter
In a large bowl, add the sugar, butter and eggs. Mix well until completely combined. Remember, if your butter is still firm from the refrigerator, all it takes to soften it in the microwave is 15 seconds.
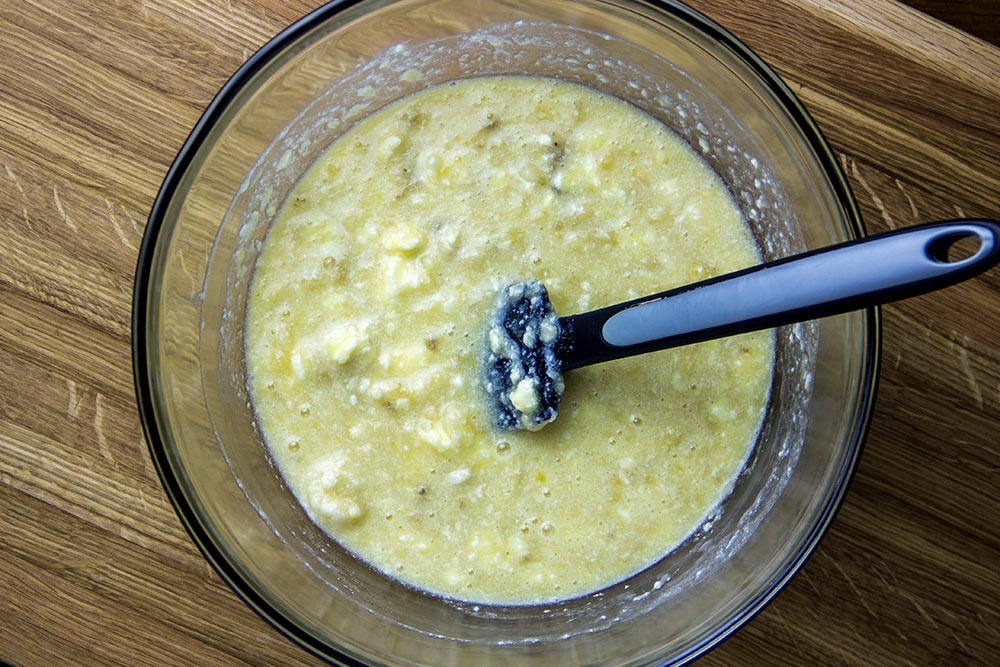
Add Bananas, Buttermilk & Vanilla
Next, add in the bananas, buttermilk and vanilla. I left my bananas whole and mashed them with a potato masher once they were in the bowl. It makes no difference when you mash them, as long as you mix everything together thoroughly.
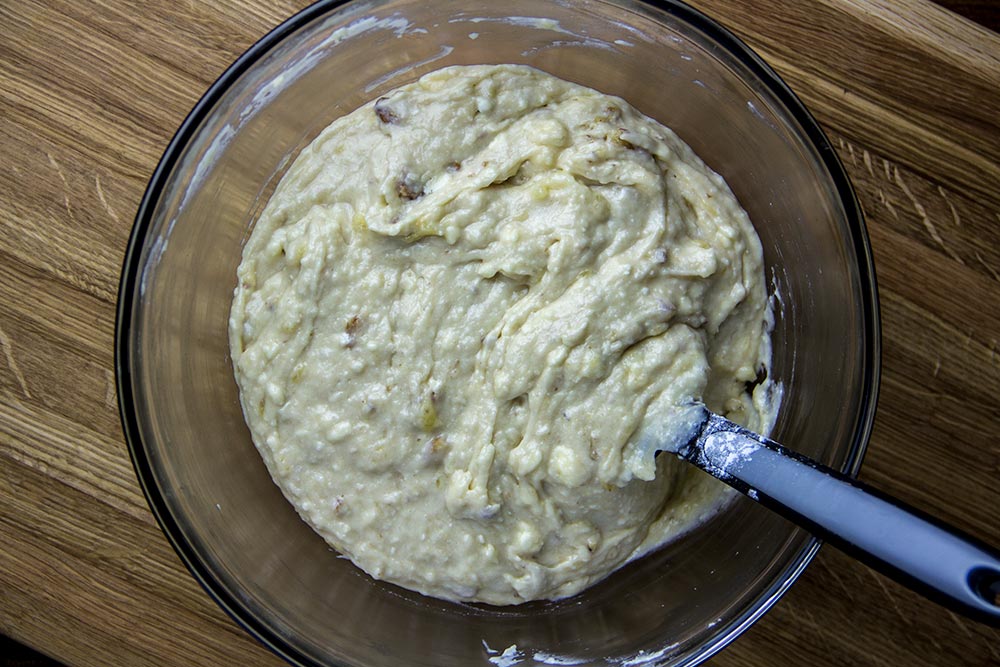
Add Flour, Baking Soda & Salt
Once all the other ingredients have been combined, add in the flour, baking soda and salt. Also, add the nuts to the mixture and combine well. You want to remove all dry areas and end up with a pudding consistency.
Cook the Bread
Now, divide the mixture between the two smaller pans or pour all of it into the larger pan. Place on the center rack of the oven and let cook for about 35 minutes (45 minutes for the large loaf). At that point, check on them and if the tops have begun to brown, stick a toothpick into the center of each loaf. If it comes out clean, the bread is done. If it comes out wet, continue to cook until it doesn’t anymore.
When finished, remove the pans from the oven, turn off heat and let everything cool for 10 minutes before removing the bread and serving.
The Final Bread
This bread is so easy to prepare that I’m going to head into the kitchen right now to make one large loaf. It stores in the refrigerator for up to four days, so the more the merrier. Enjoy!
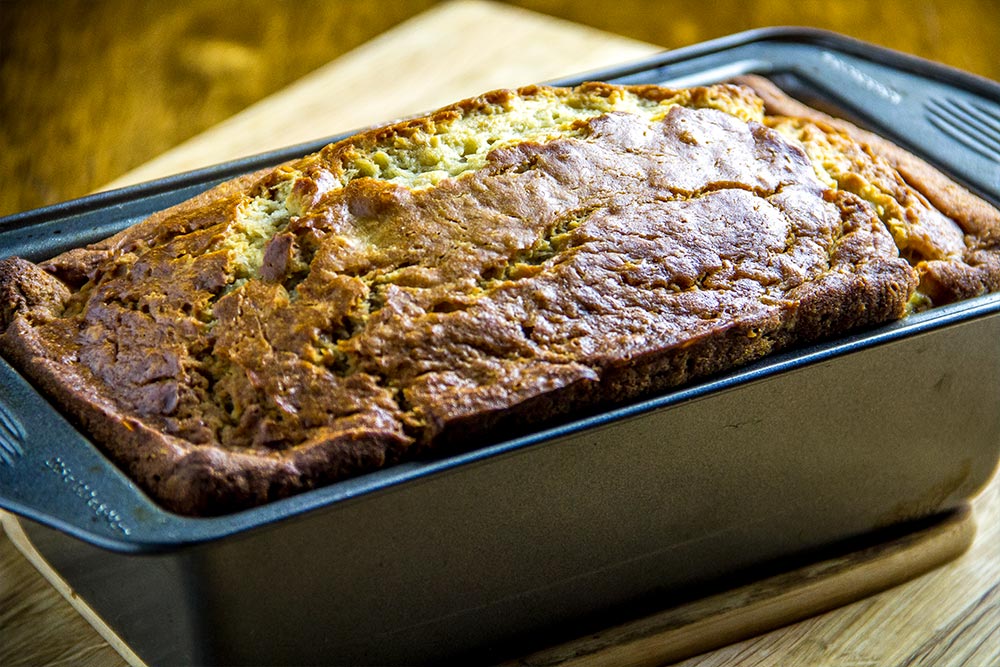
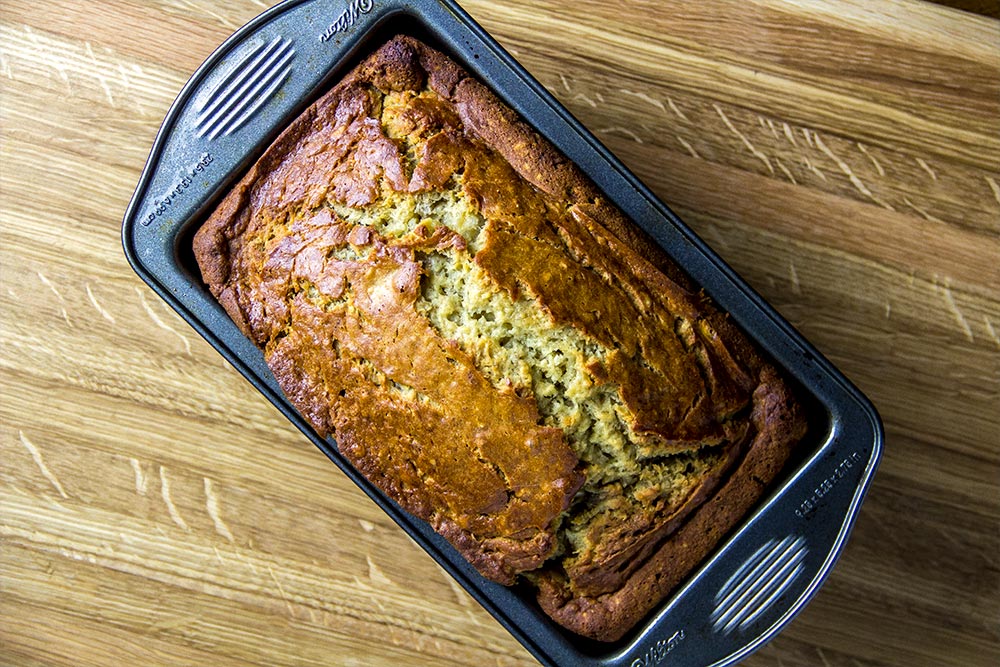
UPDATE: Since I had four leftover bananas in the bunch I purchased, I decided to make one more loaf of banana bread. This time though, I wanted to see how things would go if I put all the mix into one of the 9-inch pans. From what I found, the cook time is about double and the top of the bread becomes darker because of the extra time. There is much more batter in the pan and the interior takes a while to finish. I didn’t add any walnuts to this version, but I’d say it’s cooked to perfection. Below are some photos.
I think I’m going to make my breads this way from now on. I like the larger loaf much better.
Leave a Reply