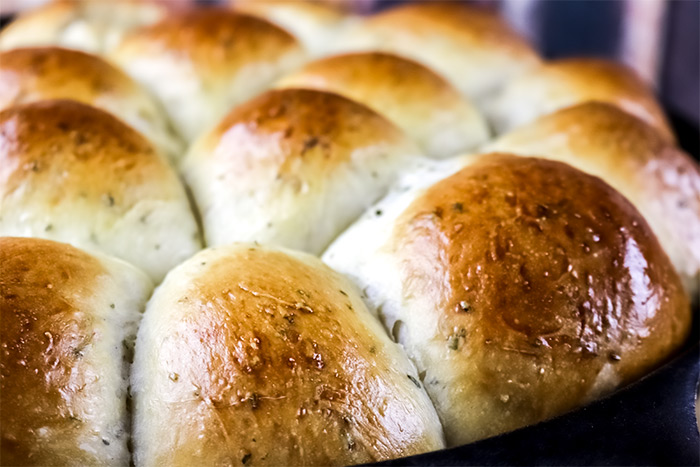
It takes a very special recipe to get results like this. Trust me when I tell you to be careful out there. The internet is full of all types of bread recipes that don’t work. Making any type of bread is a half day investment, so you really want to make sure you are working with something that has a tried and true track record. This recipe does. I’ve prepared these rolls enough times to tell you that they’re the real deal.
The Recipe
For these perfect dinner rolls, I decided to merge two recipes that I’m familiar with and that I’ve had good luck with in the past. I used a basic roll recipe and infused it with a variety of dried herbs. Then, I baked the rolls in 12-inch a cast iron skillet as opposed to a casserole. What I ended up with was 16 really fluffy and great tasting dinner rolls. There’s not much more to ask for. They’re moist, flavorful and just the right size. I’d definitely make these again, with or without the herbs. They’re good either way.
Ingredients
Makes: 16 Rolls
For the Rolls
5 Cups All-Purpose Flour
2 1/4 Teaspoons Yeast
2 Teaspoons Salt
1 1/2 Cups Whole Milk, Room Temperature
1/4 Cup Honey
1 Egg, Room Temperature
4 Tablespoons Vegetable Shortening, Melted
3 Tablespoons Butter, Melted
1 Teaspoon Dried Basil
1 Teaspoon Dried Parsley
1 Teaspoon Dried Rosemary
Extra-Virgin Olive Oil
For the Eggwash
1 Egg
1 Tablespoon Water
Pinch Salt
Step-by-Step Instructions
For these rolls, I took advantage of the same recipe as I the one I used a while back. That was my base. Then, I found some tips and ideas on a few random websites out there and decided to not only add the herbs, but to use a cast iron skillet as well. I couldn’t believe the results. You can see them for yourself in the photos on this page.
Mix Ingredients
To start off, combine and mix the flour, yeast, salt, basil, parsley and rosemary in the bowl of a stand mixer. Then, combine the milk, honey, egg, shortening and butter in a medium sized bowl. Be sure the shortening and the butter are melted and that the honey is fully dissolved.
Next, while the mixer is running on low, slowly add the liquid mixture to the bowl. After all the liquid has been added, increase the speed to medium-low and let the mixer run for about eight minutes. After this time, the dough shouldn’t be sticky at all and should look like a regular ball of bread dough. You may need to scrape the bowl down with a rubber spatula a few times during this process.
Knead the Dough
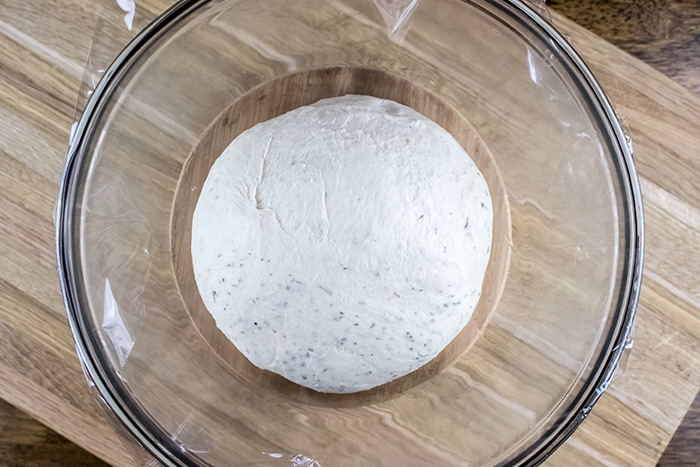
After the time in the bowl, transfer the dough to a lightly floured counter top. Knead the dough for about two minutes. Then, transfer the dough to a large bowl that has been lightly greased with one teaspoon of olive oil. Cover the bowl with plastic wrap and let the dough rise in a warm area for anywhere between one and a half to two hours. The dough should double in size.
Arrange the Dough in the Skillet
After the dough has risen, remove it from the bowl and place it on your counter top. Roll the dough out so it’s shaped like a log. Then, with a sharp knife, cut the dough log in half. Then, continue cutting the halves in half until you have 16 individual pieces.
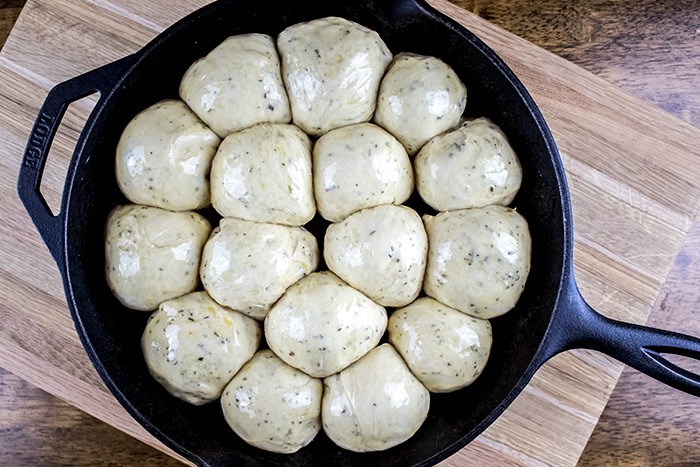
Now, this is important. Form each piece of dough into a ball, but not just any ball. You’ll need to push your thumb into the dough a few times and stretch the dough around your thumb. The ball should be tight around the top and hide all the seams on the bottom. After you make each ball, place them in a greased skillet (1 tablespoon of olive oil) so they look like this.

Notice how the seams aren’t showing and how the balls are taut?
Cover the skillet loosely with plastic wrap and place it somewhere warm for another hour or so. The dough should rise to about double it’s size again.
Pre-Heat Oven
Arrange one of your oven racks so it sits in the center position. Then, pre-heat the oven to 350 degrees.
Add Egg Wash
Whisk the egg, water and pinch of salt together in a small bowl. Then, brush the egg wash over each of the dough balls in the skillet. You’ll likely have wash left over.
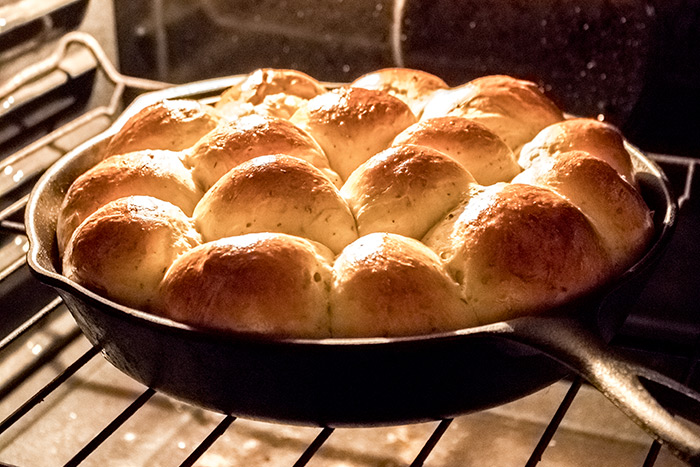
Bake the Rolls
Place the skillet in the oven and bake the rolls for 25-30 minutes. The goal is to create a golden brown color on the surface. The reason you’ll get this nice golden color and the shine is because of the egg wash, just in case you ever want to duplicate this effect with other bread recipes.
When you achieve the desired result, remove the skillet from the oven and turn off the heat.
Let the rolls cool for a few minutes and then dig in.
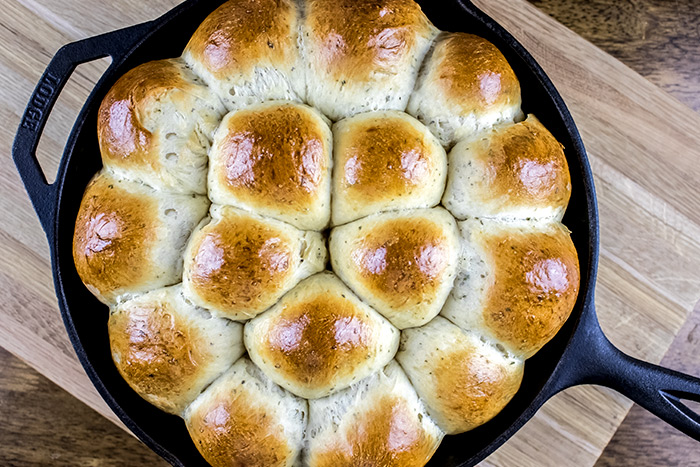
The Final Fluffy Rolls
Every time I look at these photos, I am just so proud to have made something so delicious looking. These really are the perfect dinner rolls. If you decide to try this recipe out, please let me know your thoughts in the comment section below. Thanks for reading!

Leave a Reply