This is the seventh bread recipe I’ve tackled from Bread Illustrated. If you haven’t been following along, feel free to check out my Breads category. Most of the recent recipes from from this resource, but many recipes came from a bunch of others. The recipe I’ll be sharing today is, without a doubt, one of my favorites so far.
The Recipe
I have a feeling the reason I love these rolls so much is that they were really easy to make. It seemed as though each step I took turned out exactly the way it was supposed to. It began in the mixer, when the gluten network took shape. I watched the dough hook do its work and as it did, a wet and sticky looking dough transformed into a wonderfully elastic one. It was mesmerizing.
The next success came with the first rise. I had absolutely no issues with getting the dough to grow, even though our house was on the cool side last night. When the dough doubled in size, I knew it was time for the next step.
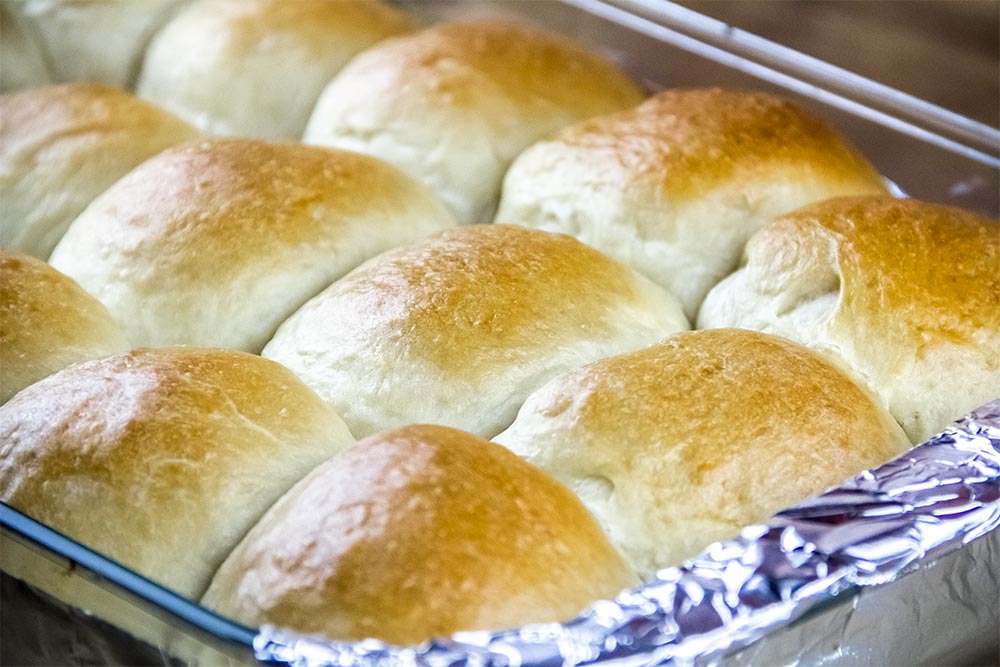
These rolls bake at 350. Because of this low temperature, they had ample time to expand and turn into the wonderful items you see in the photo above. It was fun to watch the process, to say the least. After I removed the casserole dish from the oven, I kept saying to myself, “I can’t believe these things came out so well.” It’s true, I’m simply delighted.
About the rolls themselves – they’re awesome. They have a chew to them and they’re somewhat sweet. They also have a great texture with a slight bit of crumb, which is due to the use of some vegetable shortening. All in all, I’d definitely make these again and I encourage you to give them a shot as well. If I can do this in the first shot, anyone can.
Ingredients
Makes: 15 Rolls
For the Rolls
5 Cups All-Purpose Flour
2 1/4 Teaspoons Instant Yeast
2 Teaspoons Salt
1 1/2 Cups Whole Milk, Room Temperature
1/3 Cup Honey
1 Large Egg, Room Temperature
4 Tablespoons Vegetable Shortening, Melted
3 Tablespoons Butter, Melted
Regular Olive Oil
For the Egg Wash
1 Large Egg Beaten with 1 Tablespoon Water
Step-by-Step Instructions
As I mentioned above, I pulled this recipe from Bread Illustrated. If you aren’t aware, this cookbook was put out by America’s Test Kitchen. Since they are responsible for this recipe, I’d like to say a hearty thank you. It was superb.
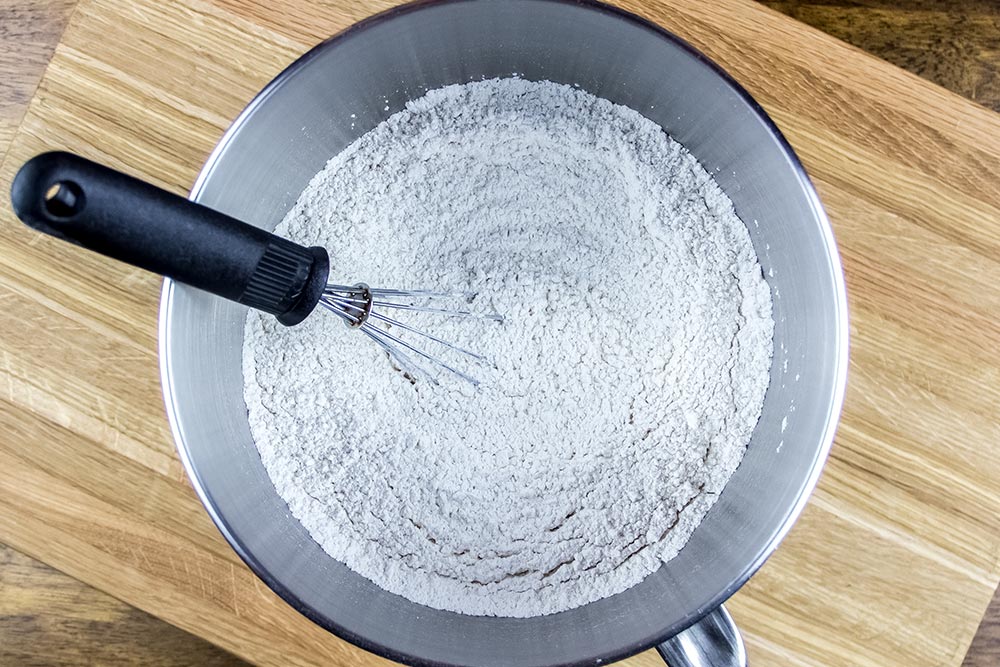
Whisk Dry Ingredients
In the bowl of a stand mixer, add the flour, yeast and salt. Whisk these ingredients together well.
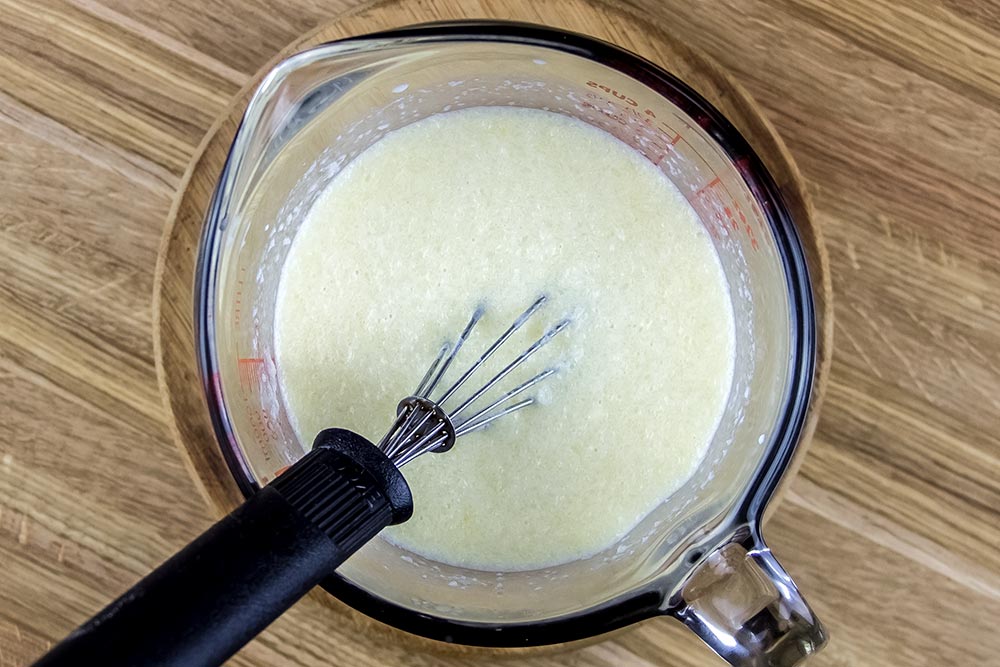
Whisk the Wet Ingredients
In a 4-cup measuring cup, add the milk, honey, egg, shortening and butter. Whisk these ingredients together well.
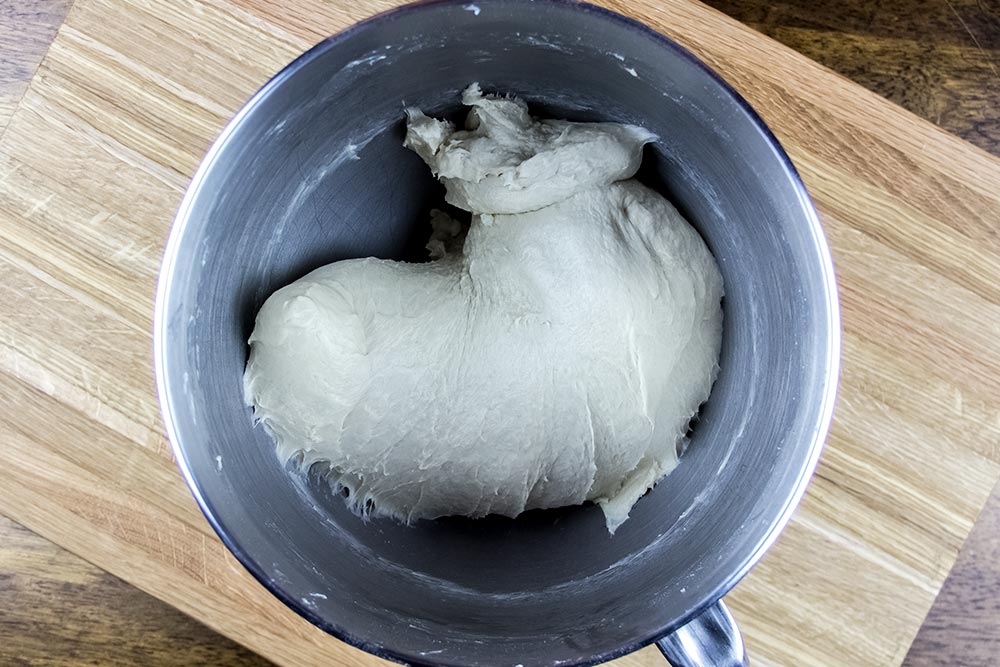
Mix the Dough
With the dough hook attached to the stand mixer, mix the dry ingredients on low. Add the wet ingredients in 4 parts and continue mixing until you see a wet, sticky dough with no dry areas. At this point, increase the speed of the mixer to medium low and mix for 8 minutes. During this time, the gluten network will form and the dough will become much more elastic.
Knead & Let Dough Rise
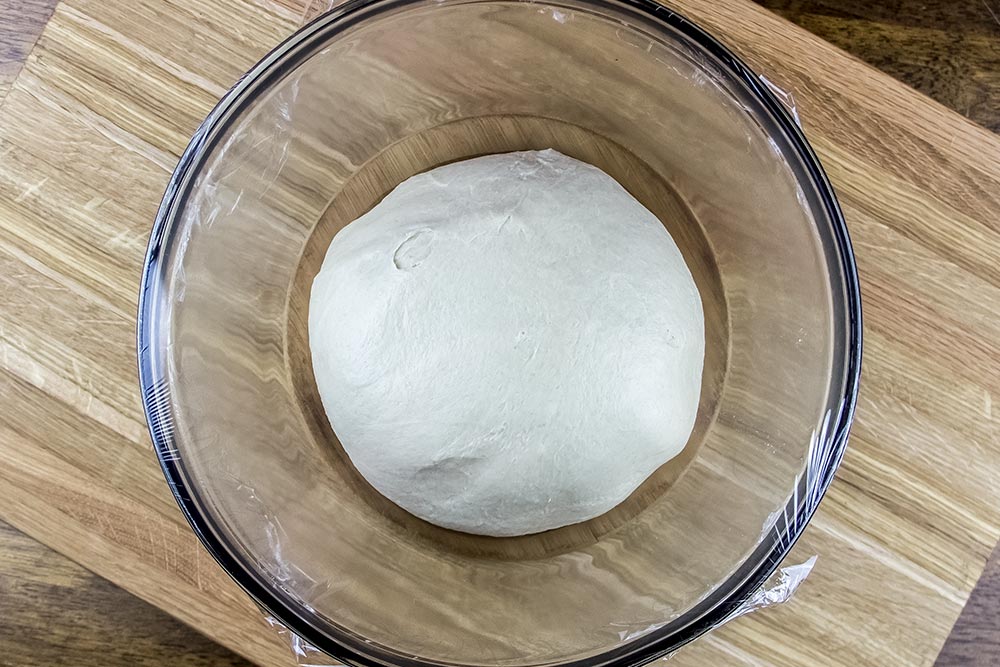
When the dough is finished mixing, remove it from the stand mixer bowl and place it on a floured counter top or work area. Continue to knead the dough for about a minute and then shape it into a taut ball. Add it to a large greased bowl. Cover the bowl tightly with plastic wrap and let rise for about 2 hours at room temperature. During this time, the dough should double in size.
Prepare the Casserole Dish
For this step, you’ll need a 13×9 inch casserole dish. Lay a piece of aluminum foil over the dish so it covers both handles. Then, use a brush to apply a coating of olive oil to the foil. One that’s done, set the dish aside.
Divide the Dough
This is probably the trickiest part. You’ll need to remove the risen dough from the bowl and place it back on your counter top. Then, push the dough to deflate it. Roll the entire thing into a log that measure about 15 inches. Try to make the log as even across as possible. Divide the log into 15 equal pieces.
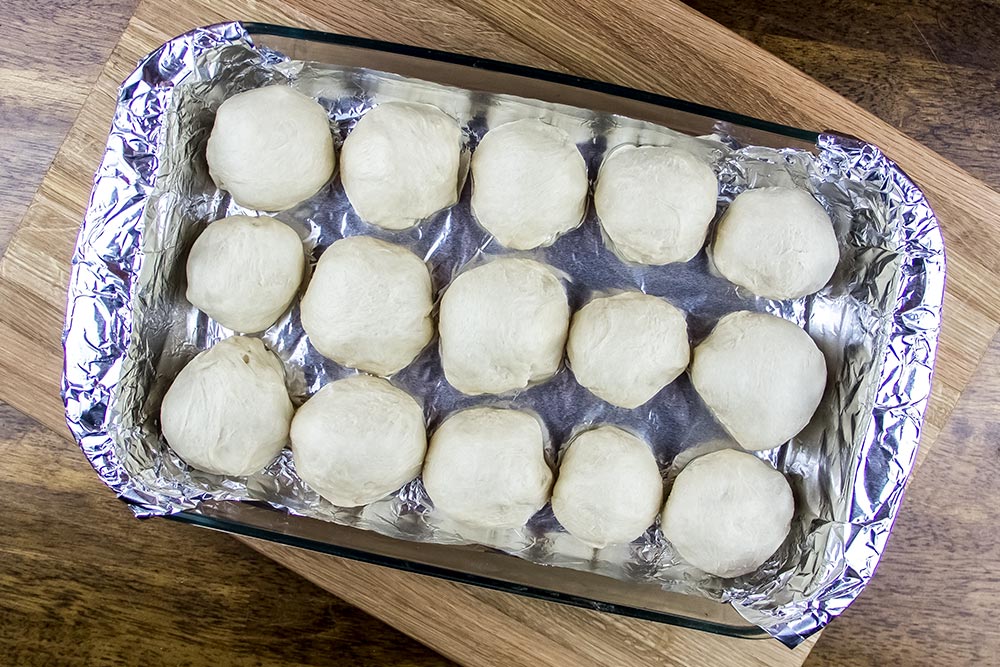
For each one, you’ll need to stretch each piece around your fingers a few times to create a taut ball. Continue to stretch gently until each one is round. Then, place them, one at a time, into 3 rows of 5 in the casserole dish on top of the foil. Make sure the seam side is facing down in the casserole.
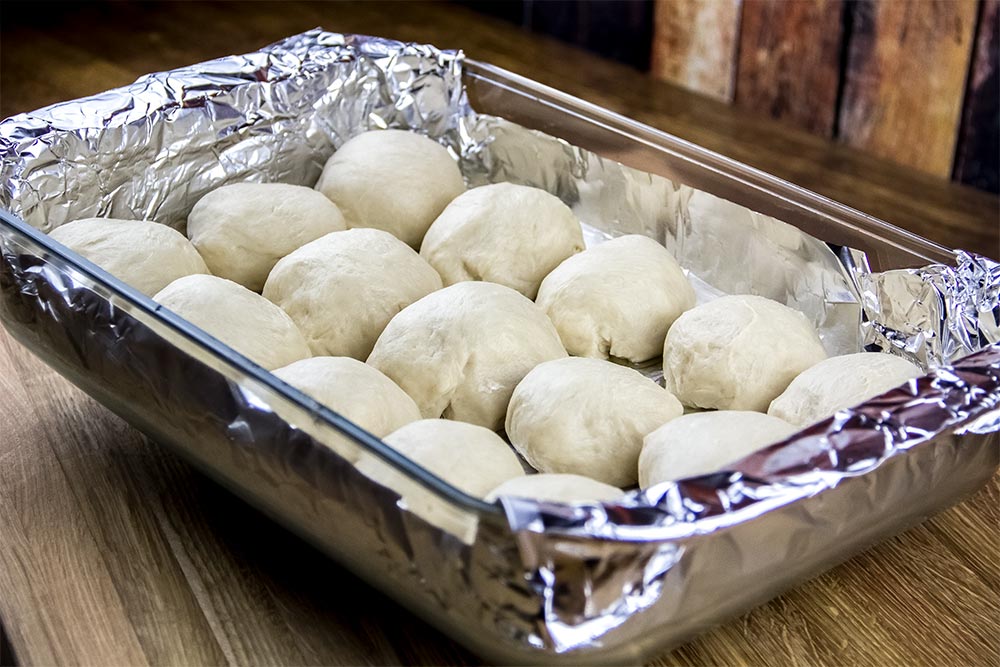
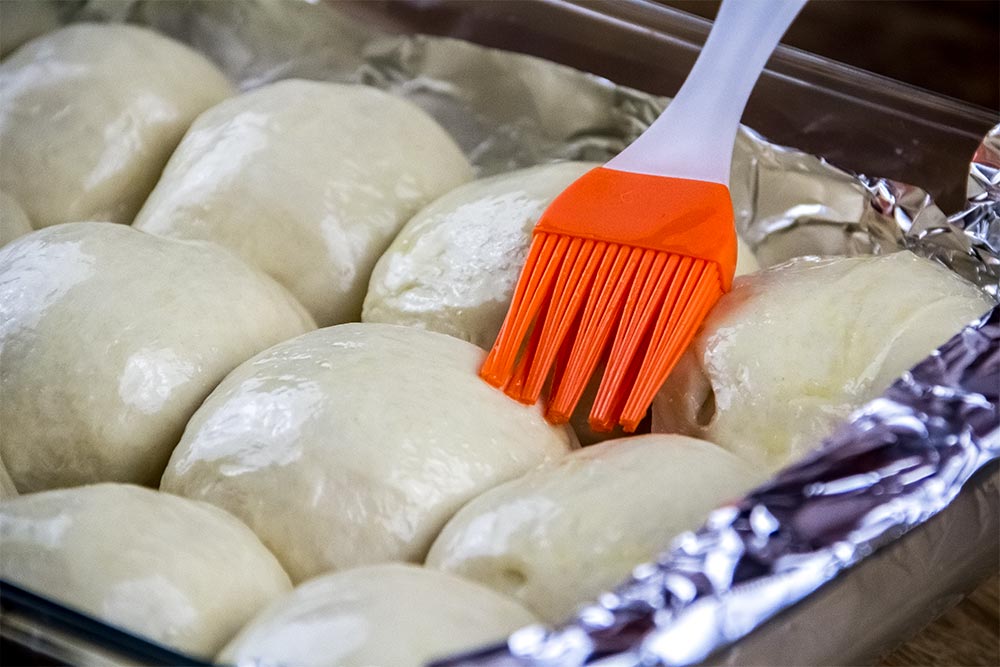
Using the same brush as before, apply some olive oil to the top of each ball. Then, cover the casserole and let the dough rise slightly for about an hour. The reason I suggest applying oil to the dough is so the plastic wrap doesn’t stick to it if the two materials come in contact.
Pre-Heat Oven
Arrange an oven rack so it’s in the middle position. Bread Illustrated suggests a middle-lower position, but I think the bottoms of my rolls came out a little darker than I would have liked them to. Warm the oven to 350 degrees.
After the rolls have sat for a while, remove the plastic wrap and brush some egg wash onto each one, just like you did the oil.
Bake the Rolls
Place the casserole in the oven for about 30 minutes. I set my timer to 20 minutes and then added 5 minutes in increments, just to make sure they didn’t burn. Surprisingly, it took every second of 30 minutes to bake perfectly.
When the tops of the rolls turn golden brown, turn the heat off and remove the casserole from the oven.
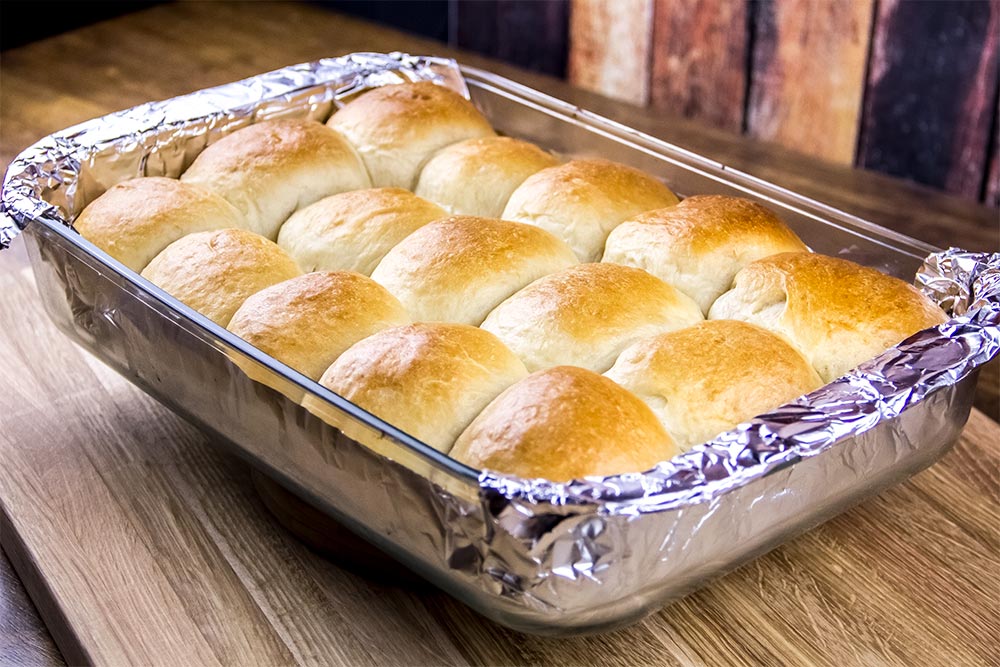
Let cool for at least 15 minutes before attempting to touch the rolls. When ready, you can use the foil as a sling to remove all the rolls at once.
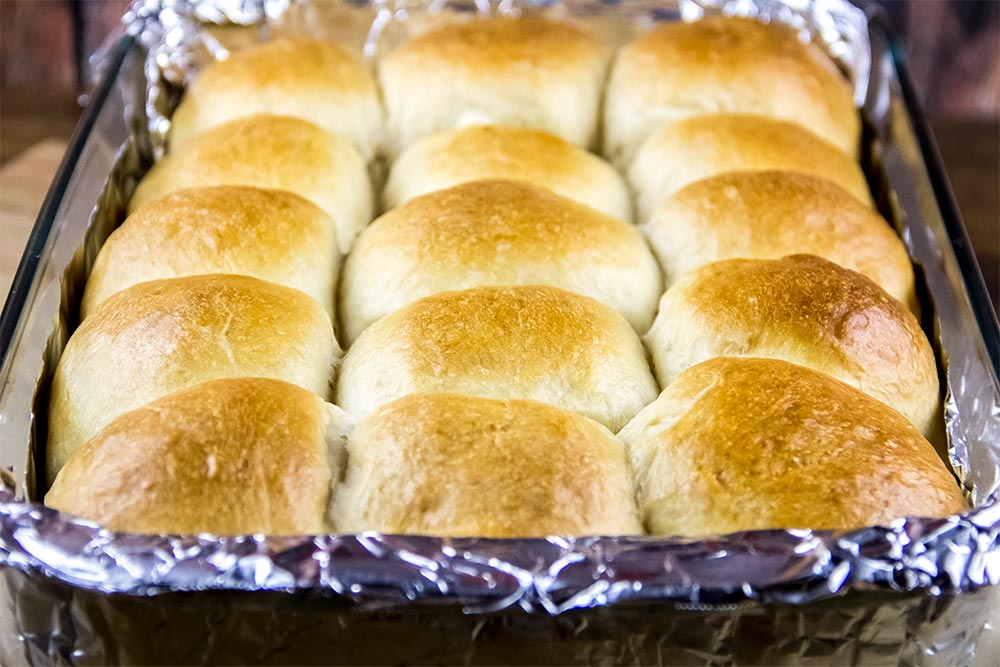
The Final Dinner Rolls
I’m thrilled with this recipe. It came out so well. I’d like to think I had something to do with it, but I just followed directions. If you give this one a try, please report back with your results. Thanks for reading!
ATK puts out great cookbooks. I am on a bread fixation right now, but I would also highly recommend “Cook’s Country Eats Local”. There are some lovely things in there. So far my favourite is Pittsburgh Wedding Soup.
There’s no doubt about that Brian. I completely agree. I was really into the bread a few months ago as well. I had to stop myself because I needed to get back into some other types of recipes. These rolls I just made have sucked me back in though. I’ll need to pace myself. It is rather fun making bread. There’s something ageless about it.
I’m heading over to Amazon right now to check out Cook’s Country Eats Local. Thanks for the recommendation.
Jay
Made these today and let me tell you…..
Soo Weeee!!!!
I am a new baker and fail many times I try a new recipe but this was super easy and it turned out perfectly! I didn’t even have it planned to go with dinner because I always fails so we ended up just eating them out of the pan with some cinnamon sugar butter my son made.
Thank you for an amazing post and thank you Bread “Illustrated for an amazing recipe!
That’s great Karly. I love reading that and I’m happy that these rolls turned out so well for you. You’ve actually inspired me to do some baking myself. I haven’t done any in a while, so it’s about time to get back into it. Thanks for the comment!