I got the idea to make these rolls a few weeks ago when I made the sauerkraut pies. I used the breadmaker to prepare the dough with those pies and I guess I liked what I saw. I’m so used to making dough by hand that I really need to be in the mood to make any type of bread. With the breadmaker though, all I have to do is put the ingredients in and let the machine do all the work. It really is a better way to do things.

The Recipe
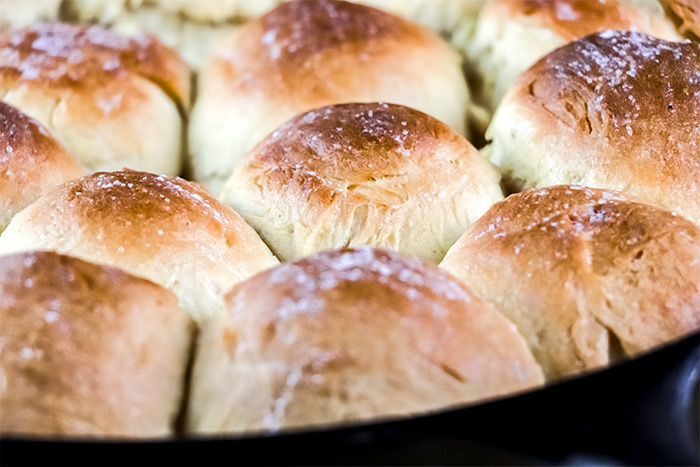
This recipe is built off one that’s used for making Parker House rolls. There’s only one change; I don’t make the three inch dough circles, brush those circles with butter and then fold the circles in half. Instead, I roll the pieces of dough into balls and place them in the skillet to rise. During this time, I brush the individual balls of dough with butter and then sprinkle salt over them. I also brush them with butter after they come out of the oven. I made all of this up myself and what I found as a result was a buttery roll with just the right amount of salt on top. These are actually really good rolls. The buttermilk adds that bite and they’re perfectly fluffy to enjoy during dinner. That’s when I’ve been eating them for the past few days.
Ingredients
Makes: 16 Rolls
1/4 Cup Warm Water
1 Teaspoon Active Dry Yeast
3/4 Cup Warm Buttermilk
6 Tablespoons Butter, Melted, Divided + Some for Buttering Skillet
1/4 Cup Sugar
4 1/2 Cups All-Purpose Flour
2 Large Eggs
Salt
Step-by-Step Instructions
I’d like to thank Southern Cast Iron for the inspiration behind this recipe. While I did change things up quite a bit, I got the idea for the rolls from them.
Prep the Yeast
Add the 1/4 cup of warm water and the yeast to a small bowl and wait about five minutes for the top of the water to get frothy. Doing this gets the yeast ready for rising and baking and it also tests the yeast out to make sure it’s alive.
Mix Buttermilk & Sugar
In a medium sized bowl, mix together buttermilk, four tablespoons of the melted butter and the sugar.
Combine Ingredients
Add the yeast mixture to the bowl of a stand mixer. Then, add in the buttermilk mixture and two and a half cups of flour. Use the hook attachment and turn the mixer on to medium speed. Mix until these ingredients are combined well. Add in the two eggs and 3/4 teaspoon salt and continue mixing for another two minutes. Then, add in the remaining flour slowly so it has time to incorporate itself into the existing dough. Mix everything until you have a nice smooth ball of dough.
Knead Dough & Let Rise
Remove the dough from the mixer and knead it for about five minutes. Then, place the dough in a greased bowl and cover the bowl tightly with plastic wrap. Let the dough rise for one hour at 75 degrees. The dough should double in size during this time.
Divide into Pieces
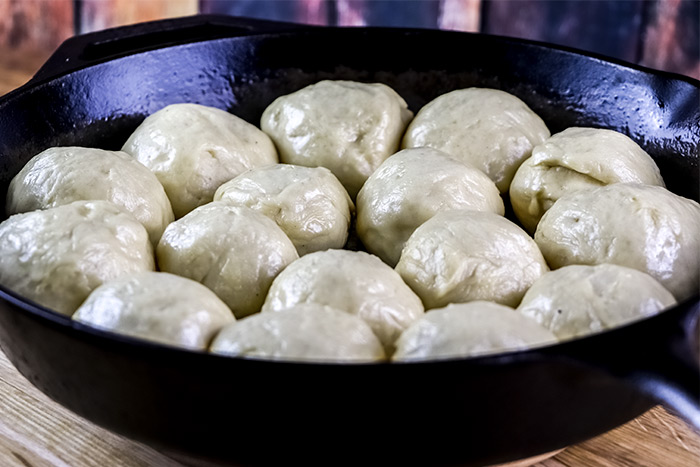
On a floured surface, roll the dough into a tube shape that’s about a foot long. Then, cut the dough in half and continue cutting the pieces in half until you have 16 in all. Roll each piece of dough into a ball and stretch each piece around your thumb so it has a tight surface. Place each piece, seam side down, in a buttered 12-inch cast iron skillet. Then, brush about half the remaining butter onto the surface of each piece and lightly sprinkle some salt on their surfaces as well.

Cover the skillet and let the dough rise until it has doubled in size. This shouldn’t take any longer than a half hour if the conditions are warm enough (75 degrees).
Pre-Heat Oven
About half way through this last rising period, arrange your oven racks so one is in the center position. Then, pre-heat the oven to 350 degrees.
Bake the Rolls
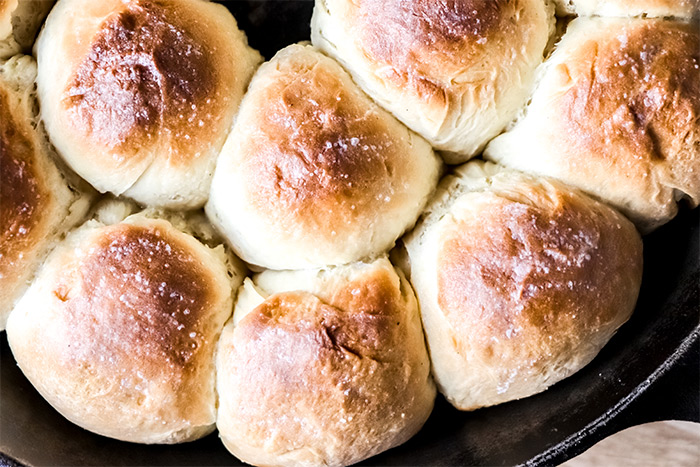
When the dough is ready, add the skillet to the oven for approximately 30 minutes. The tops of the rolls should turn golden brown. If you are looking for more brown color, you can turn on the broiler and place the skillet on the top shelf for a few seconds. This will add the color you’re looking for, but I advise you to be very careful with this. The broiler can burn the rolls easily, so you’ll need to keep an eye on things closely.
When they’re finished, pull the skillet from the oven and turn off the heat. The rolls will appear dryer than when you put them in the oven. Brush the remaining butter on the tops of the rolls now.
The Final Buttermilk Rolls
I think the butter and salt on the tops of the rolls was a good addition. Those two ingredients really added interest to what I have been eating and enjoying thoroughly for the past few days. If you decide to give this recipe a try, please let me know your thoughts in the comment section down below. Thanks for reading!

Leave a Reply