Well, it looks like I now have a new bread recipe. For years, I’ve been using a bread maker that gave me so-so results. Actually, I never really knew what kind of bread I’d get out of the thing. It seemed like it would do whatever it wanted. I’ll tell ya – for something that does exactly the same thing, time and time again, I sure get some weird looking bread. I can even remember tossing something that felt like a log out into the woods. Good times.
The Recipe
I’ll be honest with you here. I had to prepare this recipe twice. The first time, I didn’t use the paddle attachment for our stand mixer. I used the dough hook instead. Because the dough in this recipe is so moist, the hook didn’t create a complex enough gluten network. To simplify what I’m trying to say here – the bread didn’t rise. It rose the first time quite well, but when I knocked it down and let it rise for the second time, it didn’t do so great. And it did nothing after I put it in the oven but sit there and get brown. Lesson learned.
There’s a reason the creators of this recipe explicitly ask you to use the paddle. It’s because the wet dough needs to be kneaded and kneaded and kneaded. If you skip out on the kneading, your bread will suffer the same fate as mine did.
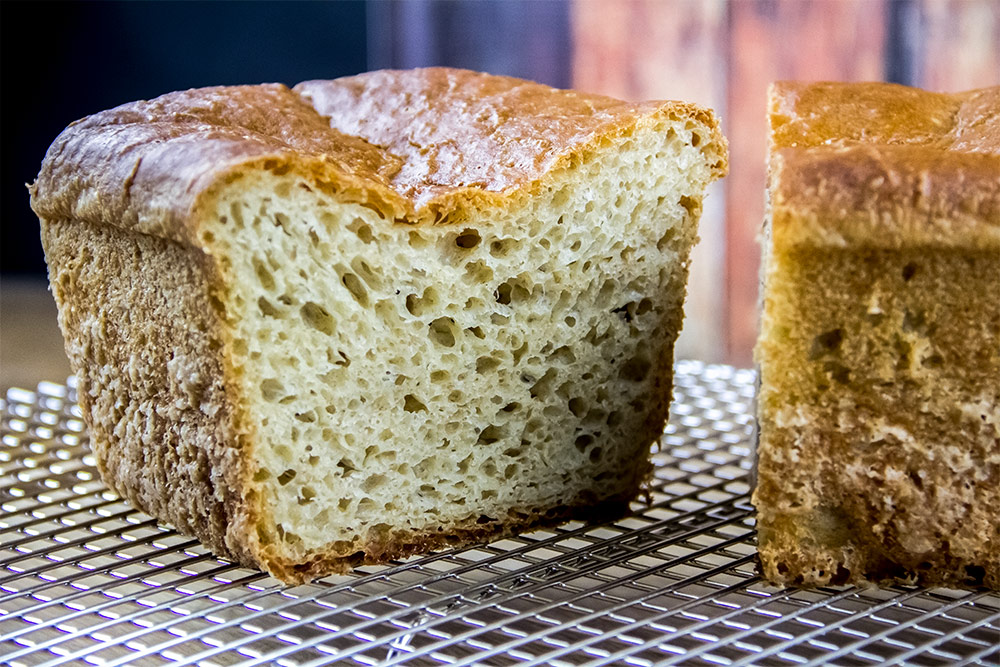
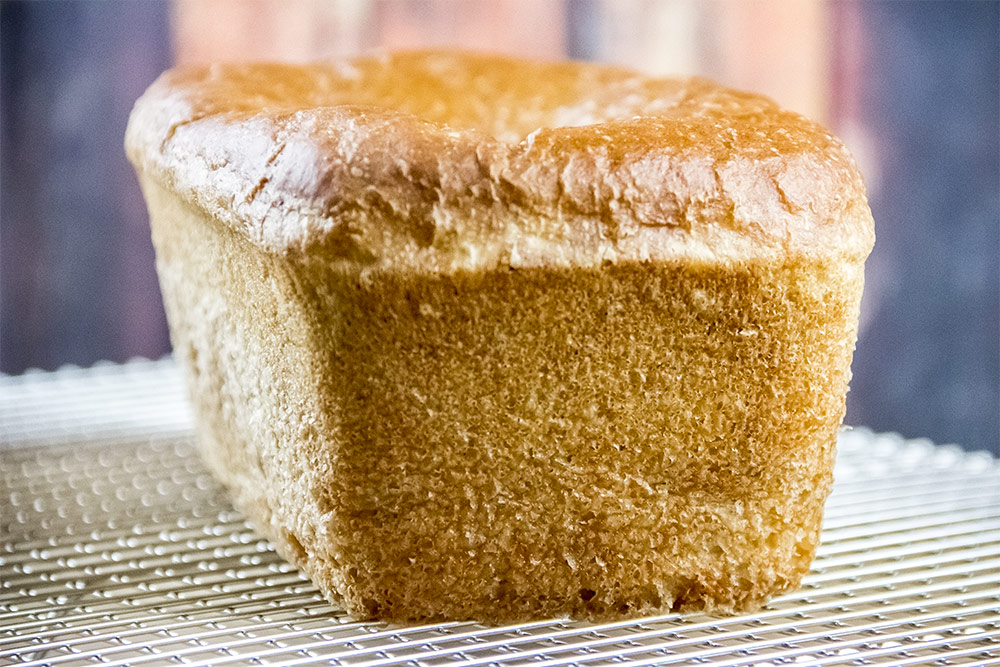
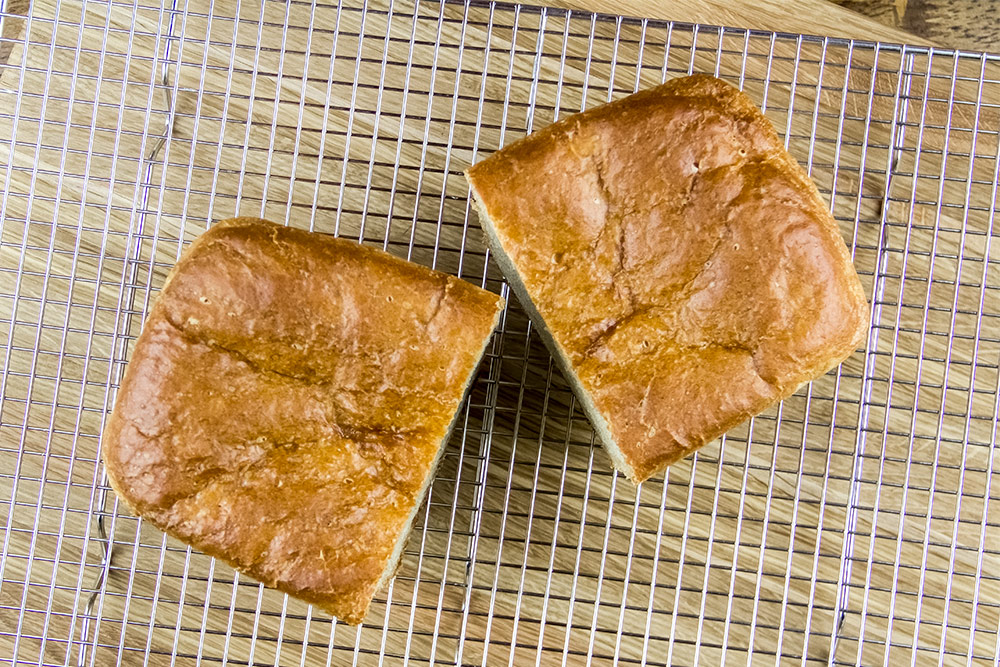
As you can see from the photo above, the second go round wasn’t perfect either. The center sunk in, but I did manage to get a much better loaf of bread. During the second time, I used the correct mixer attachment and was overly sure to watch my times. I also used some shortening to grease the bread pan. Because of this, the bread popped right out after it was finished cooking.
This is a good hearty sandwich bread recipe. The bread’s got a nice soft center and an evenly distributed crumb. The flavor is what you’d expect a rich sandwich bread to taste like – good. That’s because of the two types of flour used. First is bread flour, with a much higher protein content than regular all-purpose flour and second is a whole-wheat flour. That adds some flavor and richness by itself.
This recipe may take once or twice to get used to, but I really encourage you to give it a shot, especially if you’re into making your own bread. If you get it right, the result can be great. It’s just the small nuances that need to be taken into account. This isn’t one of those “mix twice and pop into the oven” types of things. This will take some thinking, but the reward will be worth it.
Ingredients
Makes: 1 Loaf
2 Cups Bread Flour
6 Tablespoons Whole-Wheat Flour
2 1/4 Teaspoons Instant Yeast
1 1/4 Cups Plus 2 Tablespoons Warm Water
3 Tablespoons Unsalted Butter, Melted
1 Tablespoon Honey
3/4 Teaspoon Salt
Step-by-Step Instructions
I’d like to thank America’s Test Kitchen for their awesome cookbook called Bread Illustrated. I’m working my way through this book, from front to back, and have to say it’s been a learning experience. This is exactly what I wanted.
Mix Dry Ingredients
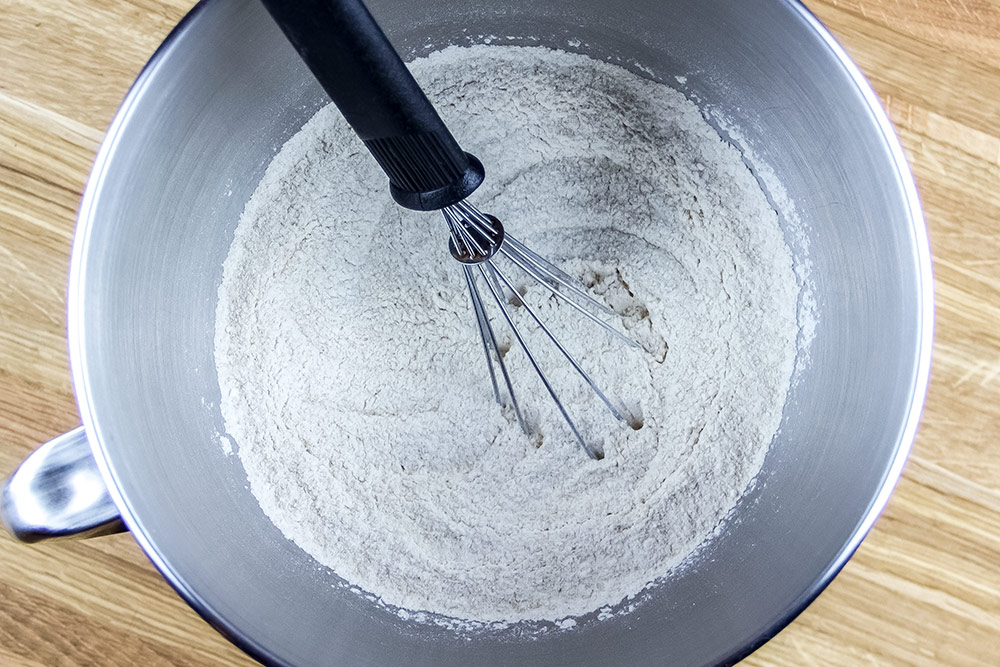
Add the bread flour, whole-wheat flour and yeast to the bowl of a stand mixer. The mix these ingredients together well.
Mix Wet Ingredients
Add 1 1/4 cups of warm water, 2 tablespoons of melted butter and the honey to a 4 cup measuring cup and mix until the honey is dissolved.

Mix Ingredients
Attach the bowl with the flour in it to the stand mixer and, using the paddle attachment, turn the mixer onto the low speed. Add the liquid slowly to the bowl and let the mixer run on low for 1 minute. Then, turn the mixer onto the medium speed setting and let the dough mix for 4 minutes.
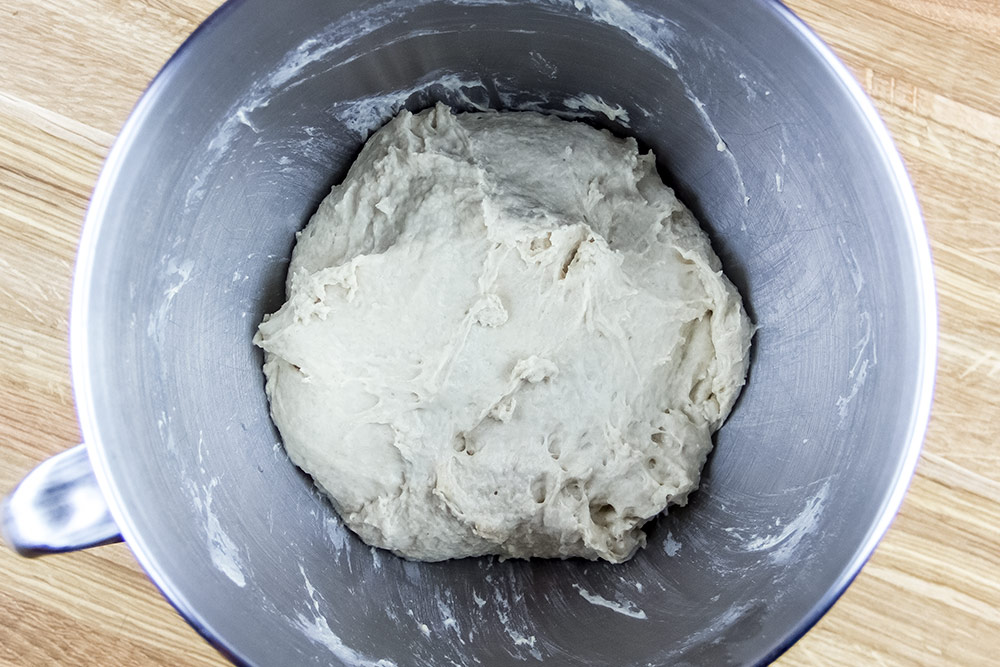
You may need to stop the mixer periodically to scrape the sides of the bowl as well as the paddle with a rubber spatula. The above photo is what your dough should look like. Don’t worry if it looks wet. It’s supposed to.
Let Dough Rise
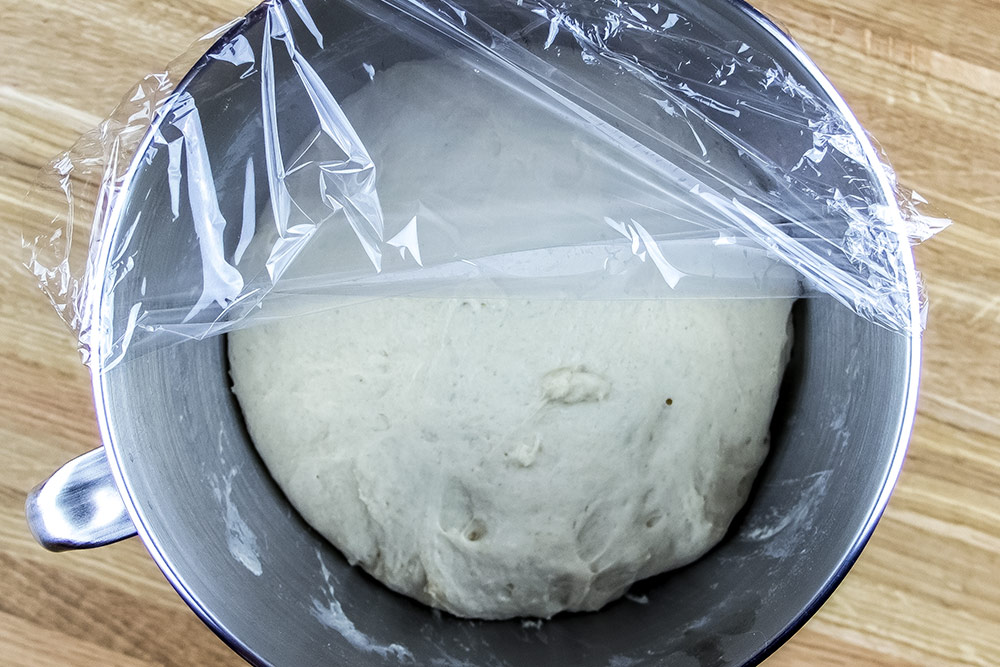
When the mixing is finished, cover the bowl with plastic wrap and let the dough rise until it’s twice its original size. This usually takes about 20 minutes, depending on the ambient temperature.
Pre-Heat Your Oven
Arrange one of your oven racks to the lower center position and turn on the heat to 375. Also, you can grease an 8 1/2 inch by 4 1/2 inch bread pan with either butter or shortening.
Add Remaining Water
In a small bowl, add 2 tablespoons of warm water. Then, add the 3/4 teaspoon of salt and mix until completely dissolved. When the dough is finished rising, add this water to the bowl, attach the bowl to the mixer and run the mixer for another 2 minutes on the medium speed. You’ll likely need to stop the mixer to scrape things down again. The water can make the dough look sticky at first. It will look normal once the water is mixed in thoroughly.
Add Dough to Bread Pan
Once the dough is mixed, add it to the greased bread pan, smooth out and cover tightly with plastic wrap.
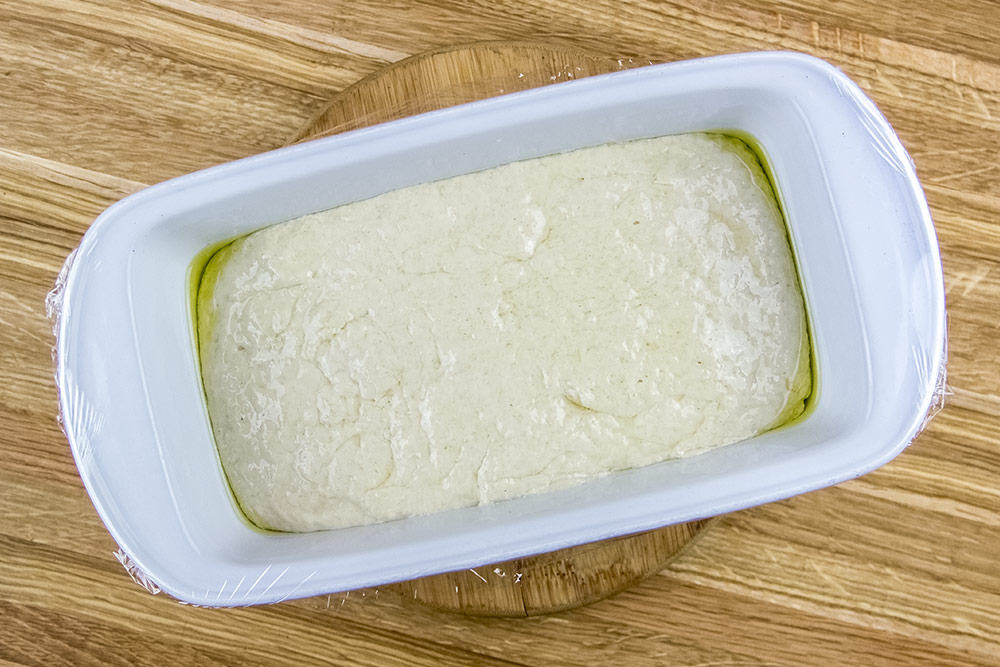
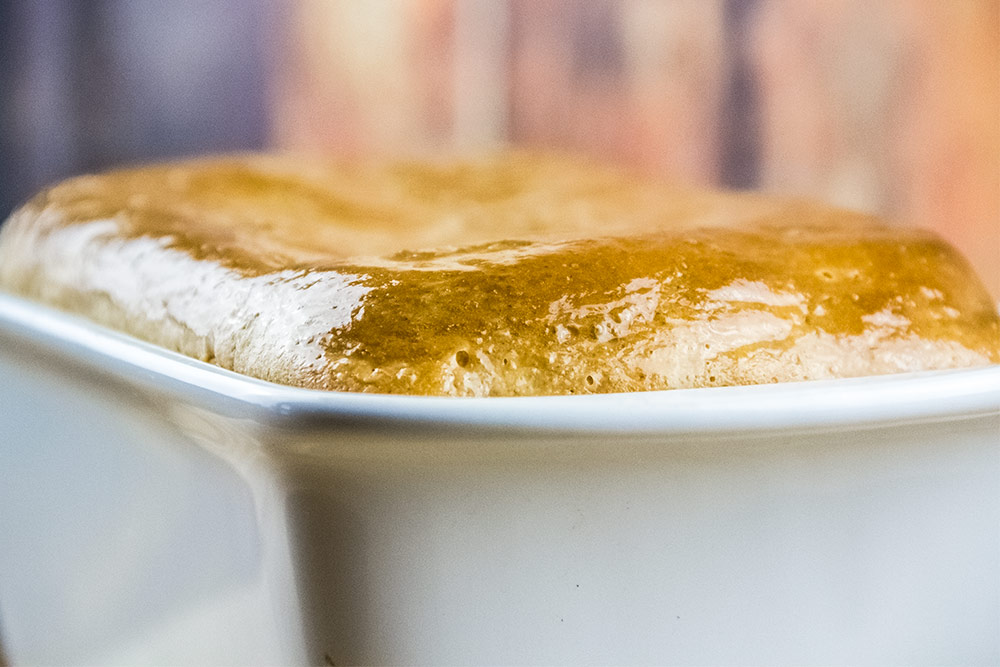
Let the dough rise until it’s about a quarter inch from the plastic wrap. Keep your eye on this closely. Don’t let the dough touch the wrap. After it’s risen slightly, remove the plastic and let the dough rise until it’s mounding out of the pan. The entire second rise should take about 30 minutes, depending on air temperature.
Bake the Bread
After the dough has risen out of the pan, add it to the oven and let bake for 40 minutes, rotating the pan once during baking. When you see the top of the bread turn a golden brown, turn off the heat and remove the pan from the oven. Let cool for 1 hour before trying to remove the bread from the pan. You may also brush the last tablespoon of melted butter on the top of the bread.
The Final Sandwich Bread
Like I said above, this batch isn’t exactly perfect yet, but it’s getting there. I’ll continue using the same recipe and keeping my eye on the timings and technique. I’m sure it’ll be perfect soon. Besides the dipped center, it sure does taste good!
Leave a Reply