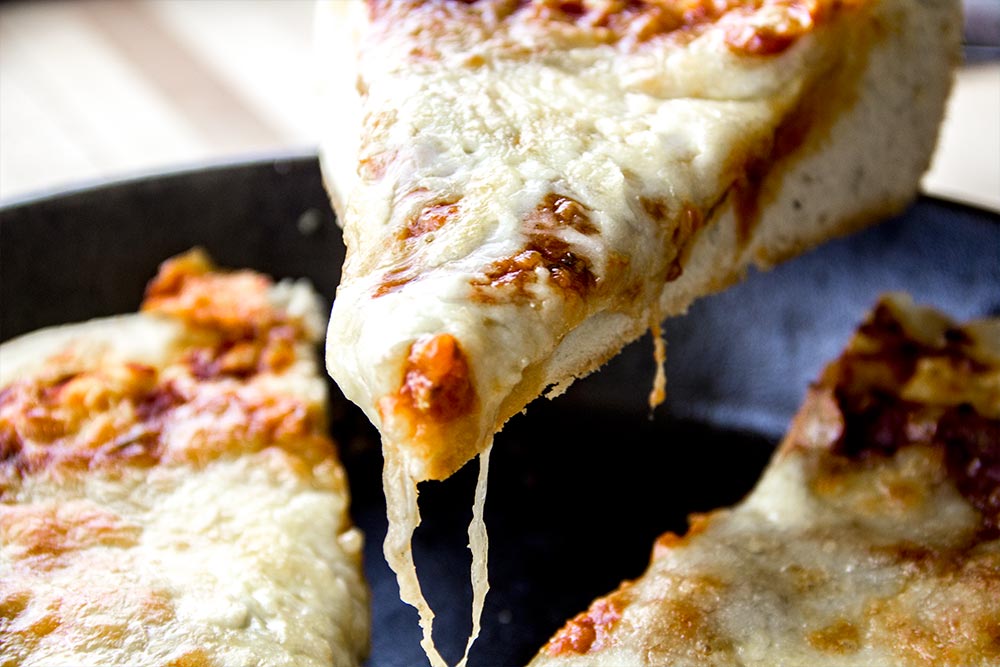
I challenged myself this afternoon. I wanted to see if I could make a deep dish pizza in my 12″ cast iron skillet. I suppose I knew I could – I just wondered if what I ended up with would be worth eating. To see what would happen, I found a few recipes online that had varying descriptions of what I should do. I chose one from AllRecipes. I also decided that I should go ahead with the most basic of pizzas, meaning, I was only going to add tomato sauce and mozzarella cheese. I didn’t want to dive too deep with tons of expensive toppings. Perhaps next time.
The Recipe
The recipe I prepared is okay. I wouldn’t say it’s anything to write home about, though, because of it’s plainness. The sauce is stellar – I happened to make some using my tomato sauce recipe. I think the pizza recipe is a good base and with some tweaks, I could possibly turn it into something wonderful. The pan has height to it that wasn’t used, so I’m comfortable adding lots of toppings in the future, or even more dough. I’ll show you the photos I took during this adventure and then some final shots. If you’ve ever made a really good deep dish pizza this way before, please leave me a comment down below so we can have a conversation. I’m truly interested in your wisdom.
Ingredients
Serves: 4
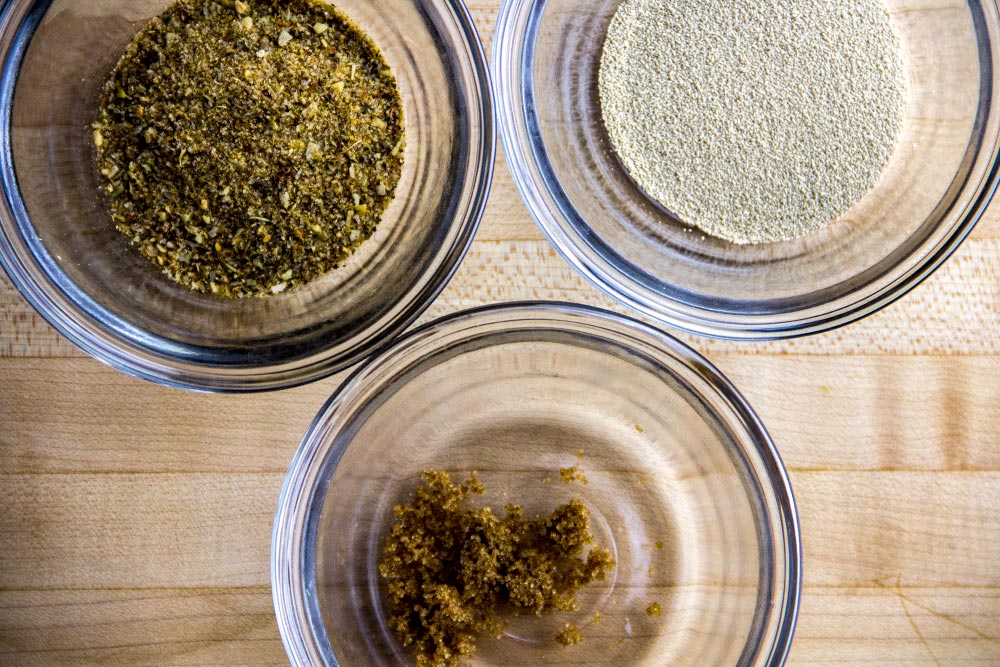
2 1/4 Teaspoons Active Dry Yeast
1/2 Teaspoon Brown Sugar
1 1/4 Cups Warm Water (110 degrees)
4 Cups All-Purpose Flour
2 Teaspoons Garlic Seasoning
1/4 Cup Butter, Softened
Pure Olive Oil
Extra-Virgin Olive Oil
1 Cup Pizza Sauce (see recipe)
1 Cup Mozzarella Cheese, Shredded
Step-by-Step Instructions
If you decide to follow these instructions, please be aware that there are many optional ingredients to include. I wanted to test out this recipe before going further, but if you are already comfortable with homemade pizza making, please feel free to add toppings, herbs and spices. It’s of my humble opinion that the more toppings, the better. As a wise man once said, “Those who eat more toppings on their pizzas are generally smarter and better looking than their counterparts.” Really, it’s true.
Proof the Yeast
Since this recipe calls for active dry yeast (as opposed to instant yeast), it needs to be proofed. Proofing is done to wake the yeast up and to test it to be sure it’s alive. If you’d like to learn about the difference between active dry yeast and instant yeast, I can suggest this great resource:
What’s the Difference Between Active Dry Yeast and Instant Yeast?
Place 1 1/4 cups of 110 degree water in your mixing bowl (use a thermometer). Then, add the 1/2 teaspoon of brown sugar to the bowl and stir it until it’s dissolved. After that, add the 2 1/4 teaspoons of active dry yeast to the bowl and stir that in as well.
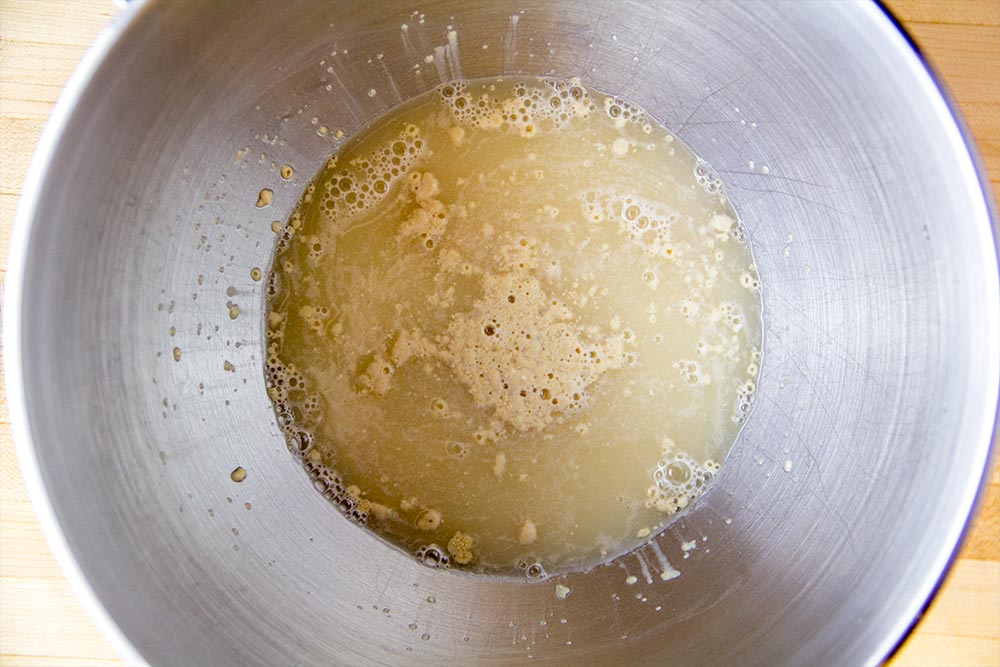
Allow the ingredients in the bowl to sit for about 10 minutes and then check to make sure that a foam has formed on the top of it. If it has, proceed with the next step. If it hasn’t, you may want to try new yeast. You may have an issue. Also, if the water is too cold, you might get some strange results.
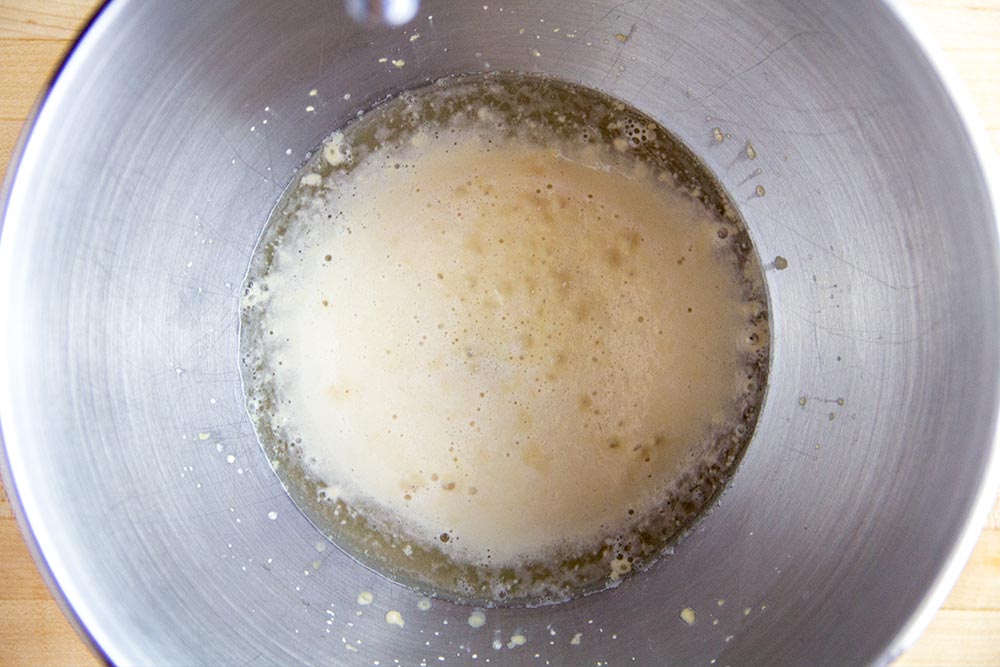
The yeast I used is good.
Add Flour & Mix
With the mixer on low and locked in place, begin adding the flour to the yeast mixture. You’ll want to add it slowly so it mixes evenly. Go ahead and add 2 cups of all-purpose flour and mix until everything is dispersed.
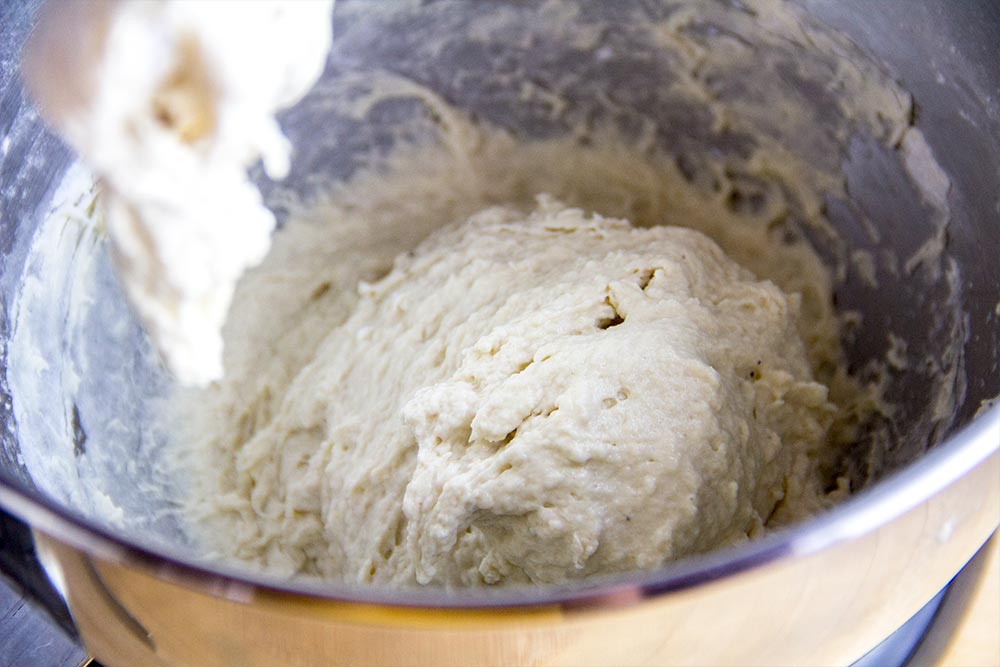
After that, add the garlic seasoning and 4 tablespoons of softened butter to the mixing bowl. FYI – I used some garlic seasoning I picked up from Sam’s Club a while ago. Don’t be picky here. It’s simply used to give the pizza crust some flavor.
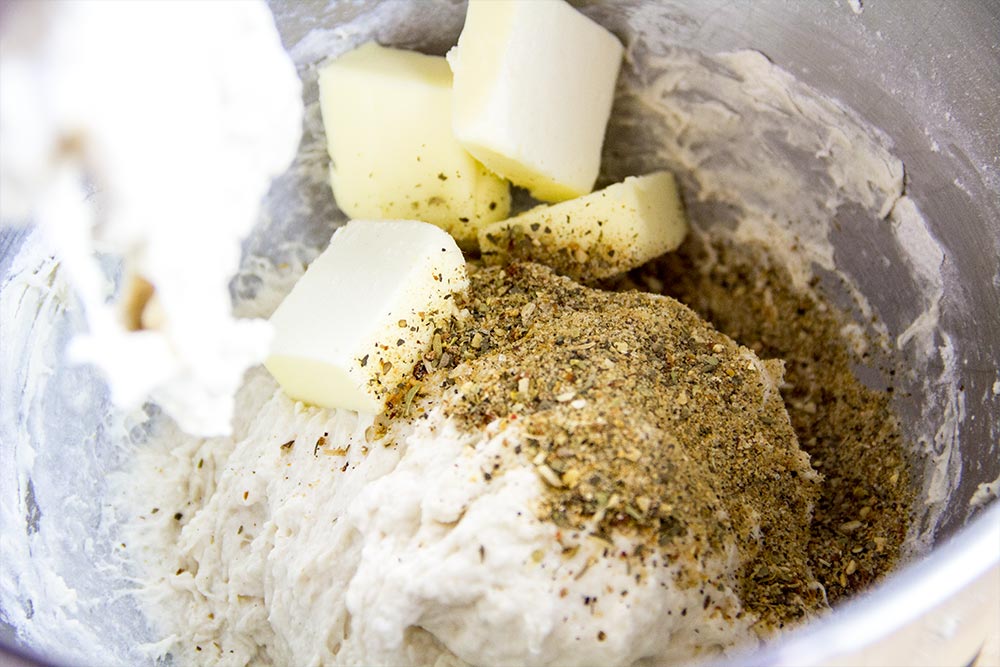
Mix those ingredients in. When complete, slowly add the remaining 2 cups of flour to the mixing bowl and mix for about 5 minutes until the dough is elastic.
Now, I can tell you right now that you’ll most likely never get perfect dough results from the quantities you use from a recipe. You’ll almost always need to modify it in some way. You’ll either need to add water or flour. In my case today, the dough came out of the mixing bowl far too dry.
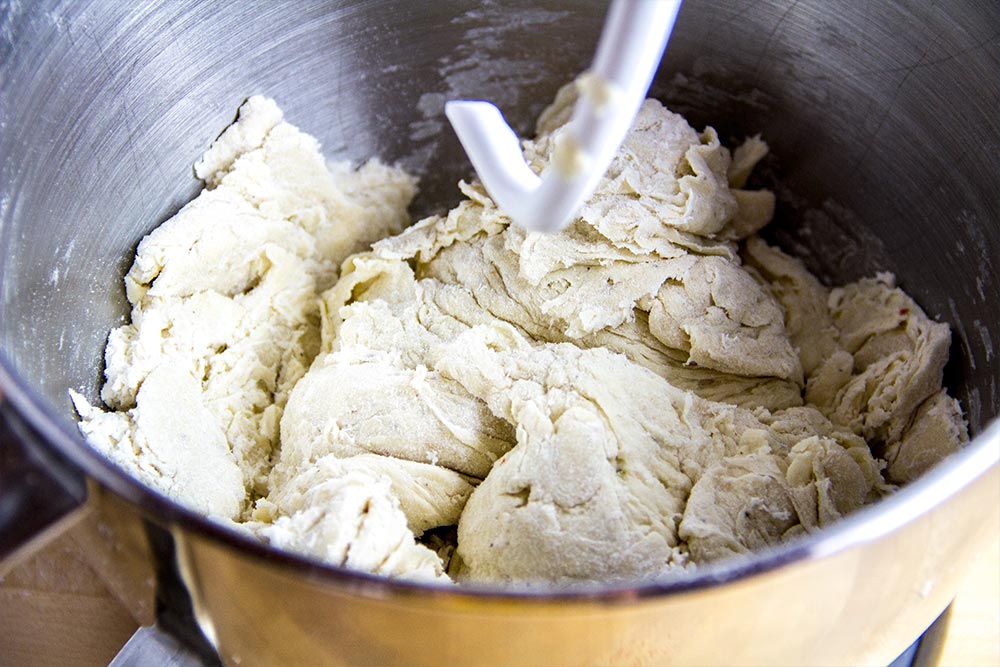
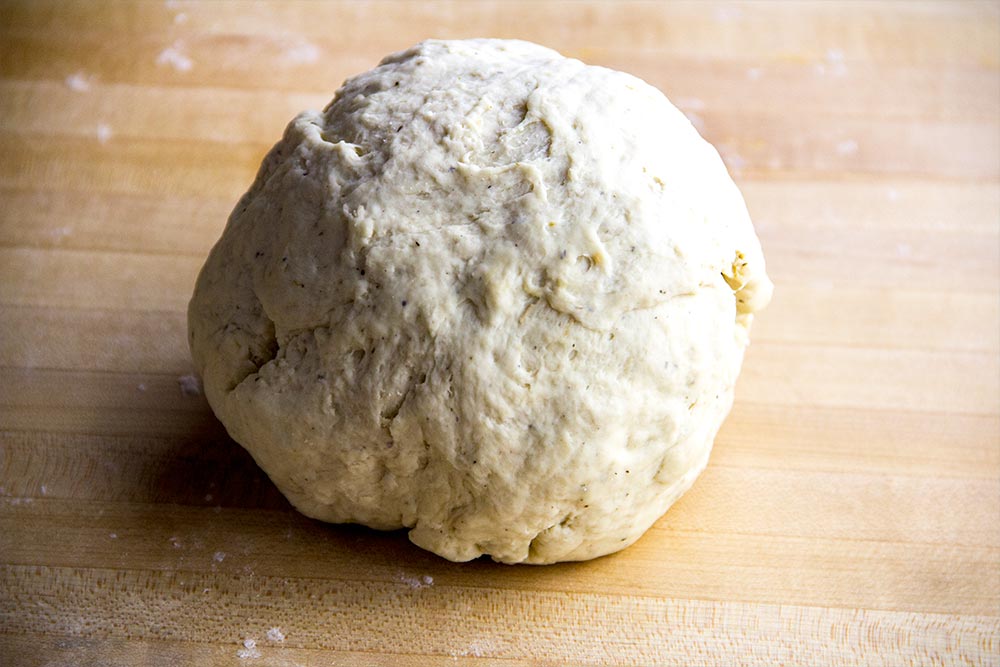
To deal with this, I removed the ingredients from the mixing bowl, added some water to the dough and kneaded it by hand. Not very long after, I had some perfect deep dish pizza dough. I shaped it into a ball for the next step.
Let Dough Rise
In a large bowl, add one tablespoon of pure olive oil. Then, add the ball of dough to the bowl and coat it entirely with the oil. Finally, place a piece of plastic wrap over the top of the bowl.
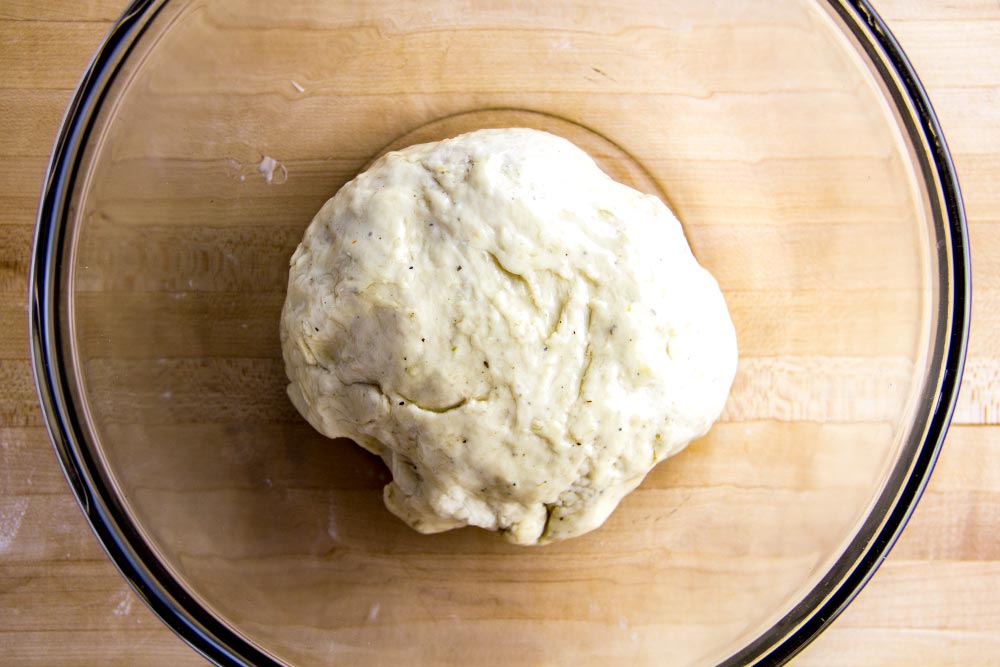
Let the dough rise for about 1 hour. The perfect temperature for this is 70 degrees.
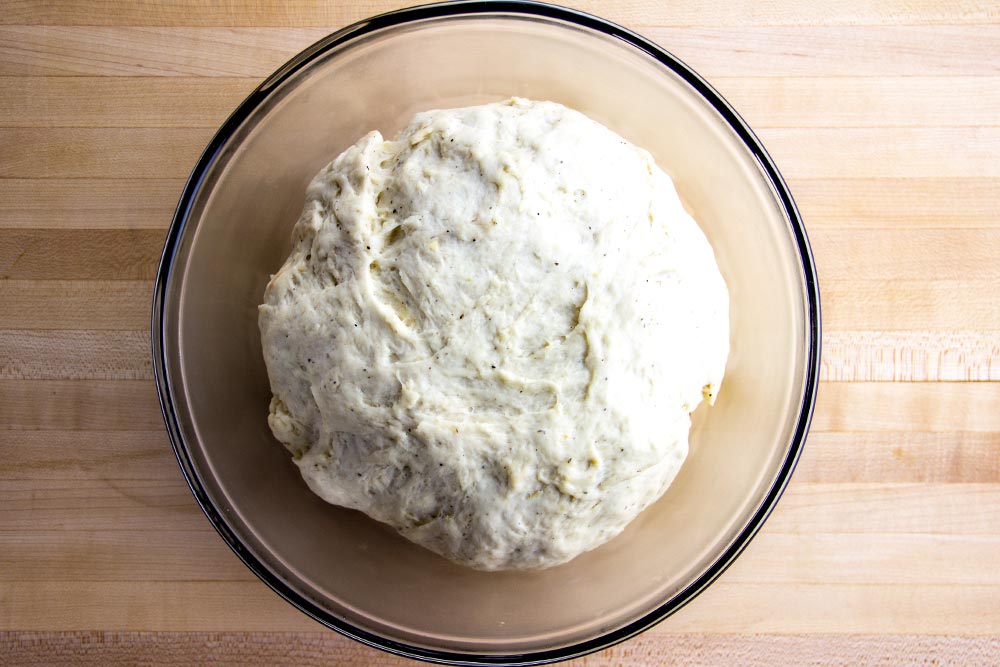
When the dough has about doubled in size, push it down and let it sit for another 20 minutes.
Make Tomato Sauce
While the dough is rising and resting, go ahead and prepare the tomato sauce. You may use this recipe to do so – it’s very good.
Pre-Heat Oven
At this point, you can pre-heat your oven to 400 degrees.
Assemble Pizza in Skillet
When the dough is finished resting and the sauce is made, you can assemble all the parts for the pizza. First, add 2 tablespoons of pure olive oil to the skillet.
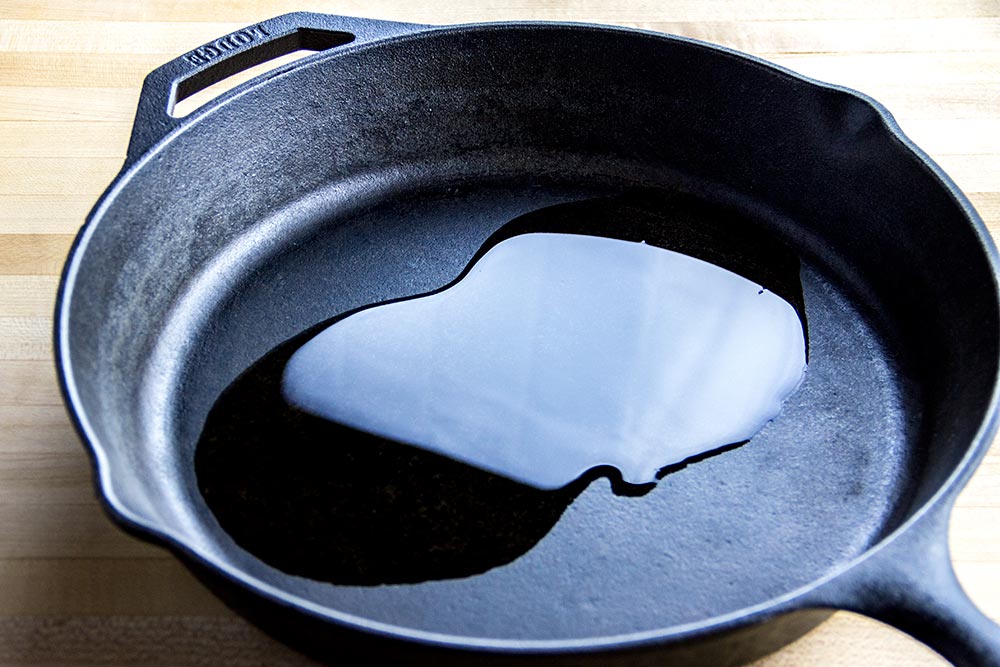
If you want, you can swirl the oil around so it coats the bottom and the sides. I found that right after I added the dough, it pushed the oil where it should be.
Add the dough to the skillet and stretch and push it around with your fingers until it has made its way to the sides.
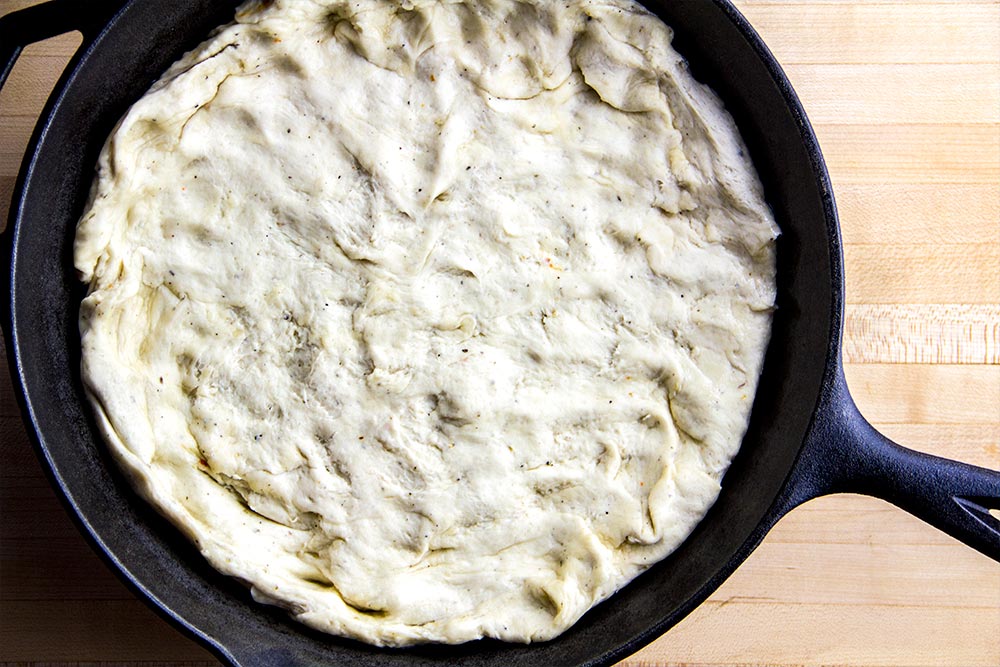
Be sure to push some up the sides to create an edge to the dough. I’m sure you can do a prettier job than I did.
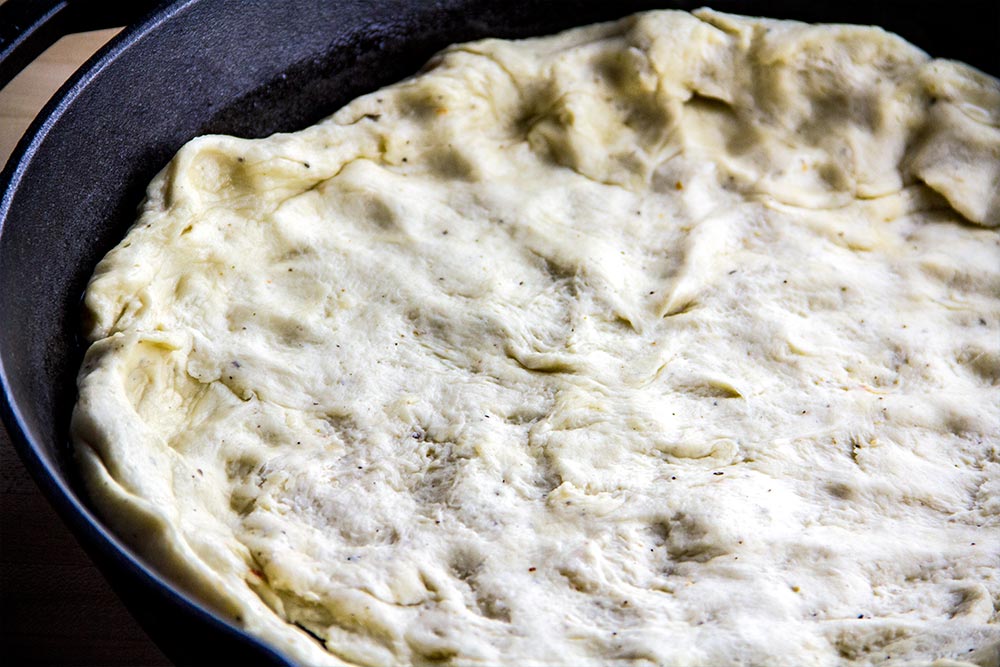
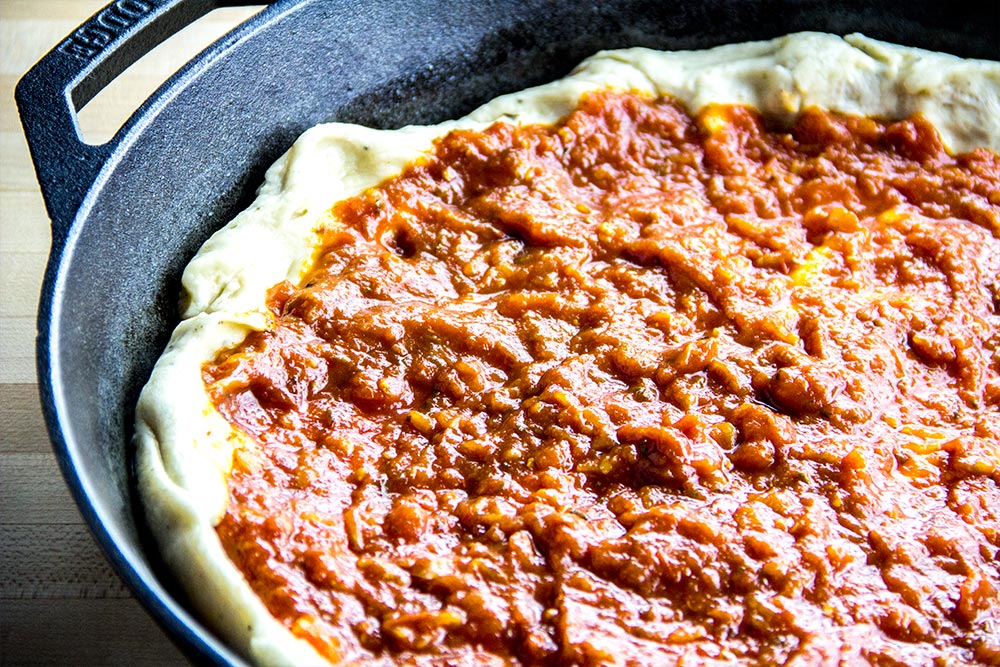
Add the 1 cup of tomato sauce (or however much you like) to the top of the dough. Spread evenly until you have a 1 inch border left.
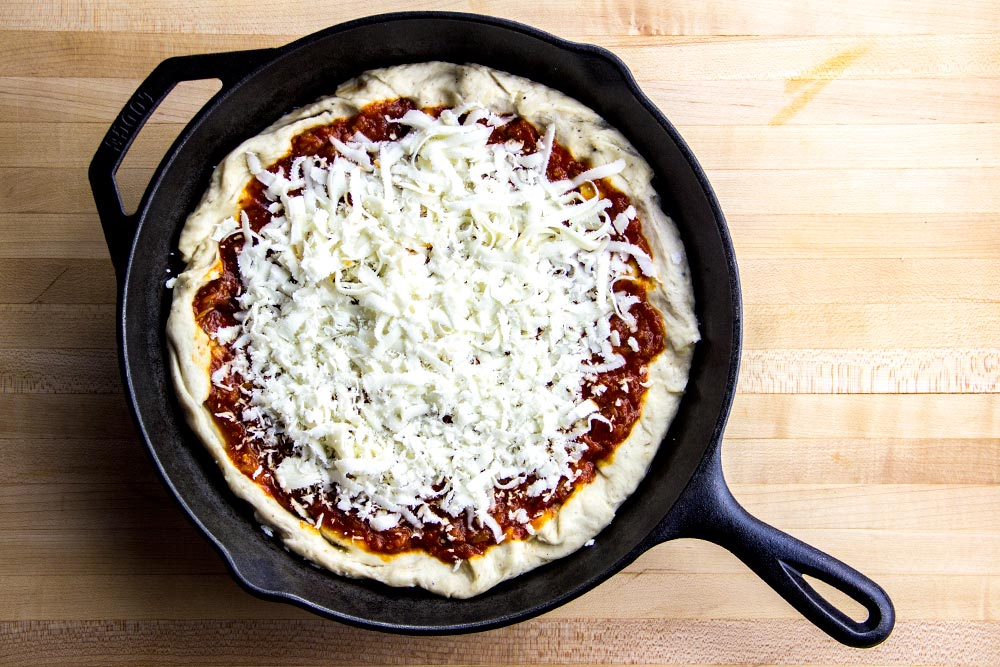
Finally, add the 1 cup (or however much you like) of mozzarella cheese to the pizza in the same fashion as the sauce.
Cook Pizza
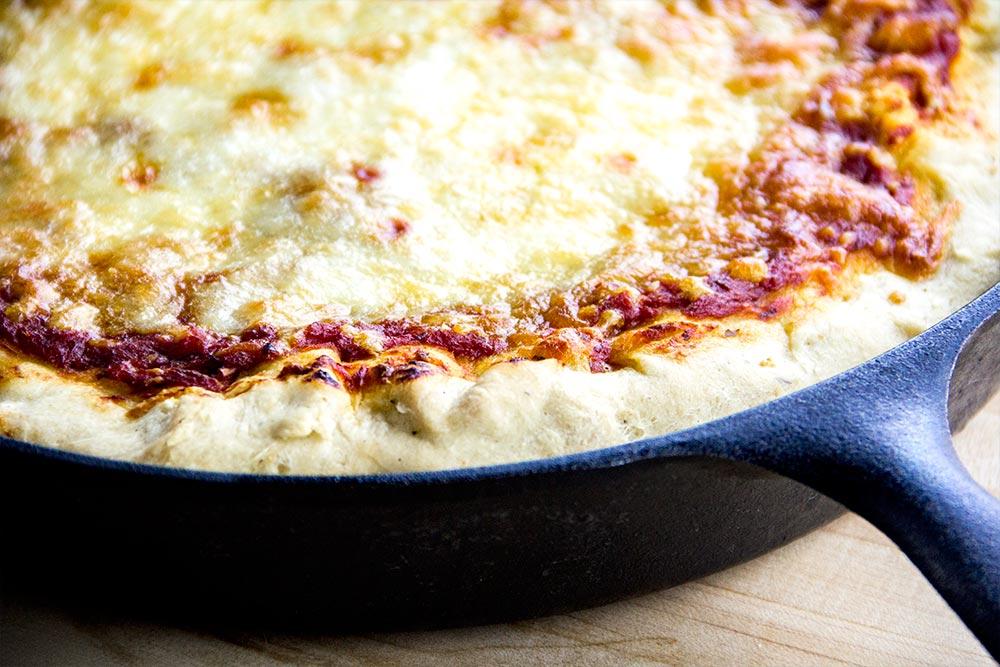
Once your oven is warm to 400 degrees, go ahead and add the skillet to the bottom rack for about 25 minutes. You’ll need to keep your eye on it to make sure the timing is perfect. You’ll want to wait until the cheese begins to brown nicely. When it does, remove the skillet from the oven and brush some extra-virgin olive oil around the crust. Then, place the skillet back in the oven for another 5 minutes.
The Final Product
I think the pizza looks pretty good. Of course, it could be a heck of a lot better with some toppings, but for a base recipe, it isn’t bad. I’m going to make some tweaks and write a brand new recipe. When it’s finished, I’ll post it here.

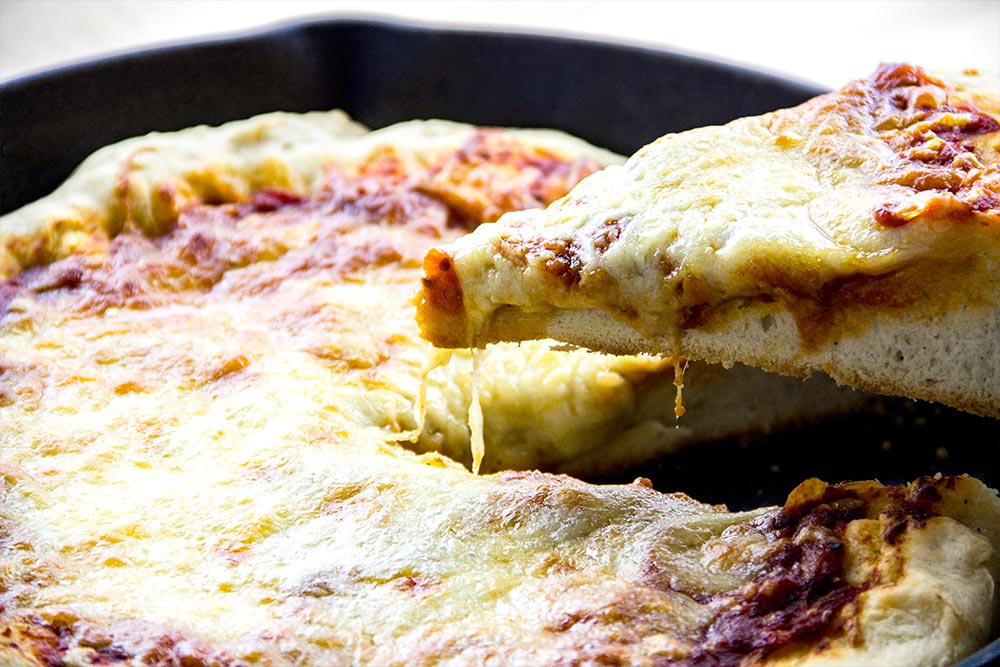
I’d like to thank AllRecipes for this recipe. I sure learned a lot.
——
If you’ve enjoyed today’s post and found it helpful, please share it with a friend. Also, if you’d like to continue reading and would like our posts sent directly to your email inbox, simply sign up for our newsletter. We’ll send each and every post directly to you. Thanks!
Going to try it with gluten free flour. Also will use instant yeast, because that is what I have in the house.