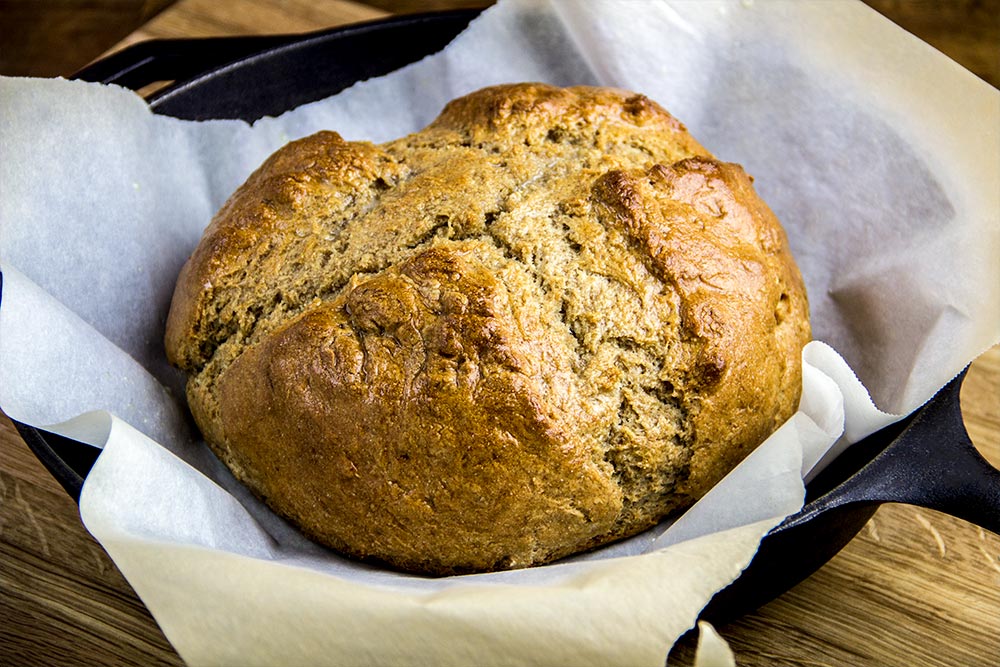
What an easy to make and great looking bread. This wasn’t challenging at all to take photos of. You should have heard me – ohhinh and ahhing as I was snapping away. What a pleasure.
The Recipe
Today, I present the third in a long list of recipes I plan on preparing from the fabulous bread making bible called Bread Illustrated. I know I’ll have to eventually stop displaying the recipe count here because the book is pretty big and I’m sure I’ll lose my place. While I’m still at the beginning though, I’ll keep you informed.
Today’s recipe is stupidly simple to prepare, but actually produces a rather nice result. It includes a mere nine ingredients and it only takes a few steps to complete. What you get is a very robust, moist and wheaty bread that can be perfect as a snack after lunch. I’m not terribly into snacks, but if I were, this would be a good one.
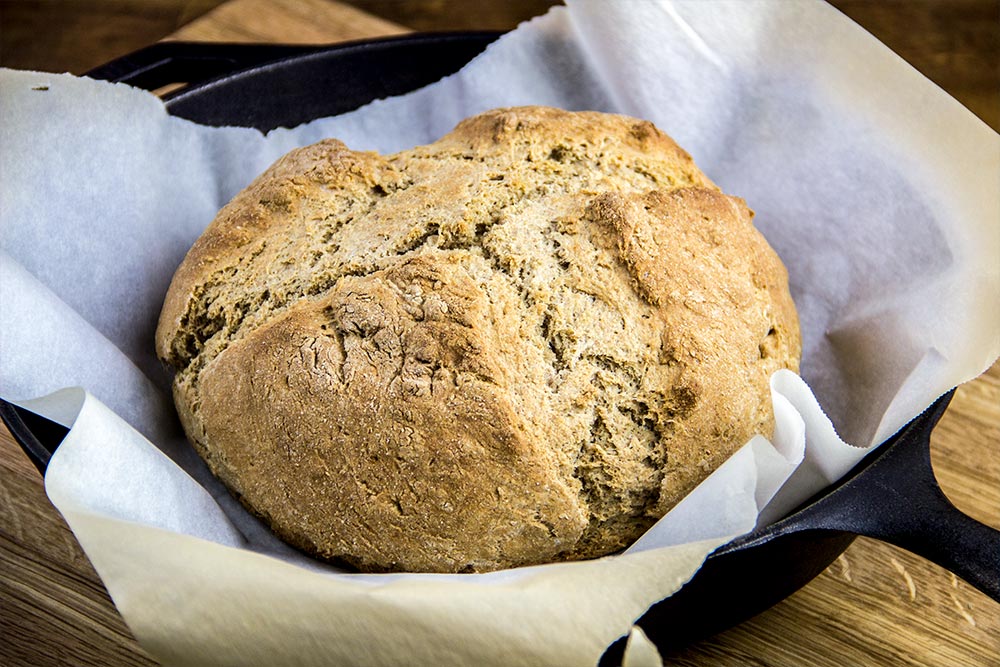
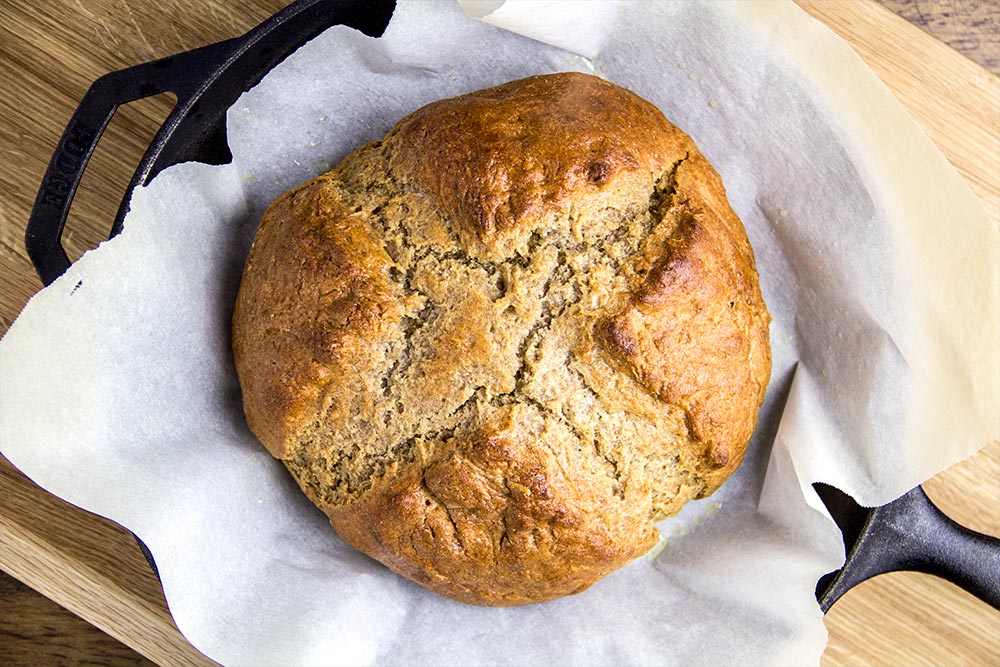
Here’s a photo of the bread right after I took it out of the oven and before I brushed melted butter on it.
Ingredients
Makes: 1 Loaf
2 Cups All-Purpose Flour
1 1/2 Cups Whole-Wheat Flour
1/2 Cup Toasted Wheat Germ
1 1/2 Teaspoons Salt
1 Teaspoon Baking Powder
1 Teaspoon Baking Soda
1 3/4 Cups Buttermilk
3 Tablespoons Sugar
3 Tablespoons Unsalted Butter, Melted
Step-by-Step Instructions
Before I begin, I want to caution you about one thing. It’s the wheat germ. I learned this the hard way. Apparently, wheat germ contains unsaturated fats that can become rancid if they get old. If you purchase the raw version and decide to keep it stored in a kitchen cabinet for over a year, you’ll open it to a smelly surprise. Obviously, raw wheat germ doesn’t have a very long shelf life. Toasted wheat germ can be stored longer than raw, but you still need to check the expiration date when you purchase it because once opened, it only lasts in the refrigerator for up to nine months.
Don’t let this dissuade you from including it in your diet though because wheat germ is very good for you. It contains vitamin E, folic acid, magnesium, thiamin, phosphorous, zinc, non-animal protein and heart-healthy polyunsaturated fat. For something that flies so below the radar, it’s really good for you.
Pre-Heat Your Oven
Arrange your oven racks so one is in the center position. Then, turn the heat on to 400 degrees. After that, line a large cast iron skillet or a baking sheet with parchment paper and set aside for later use.
Combine Dry Ingredients
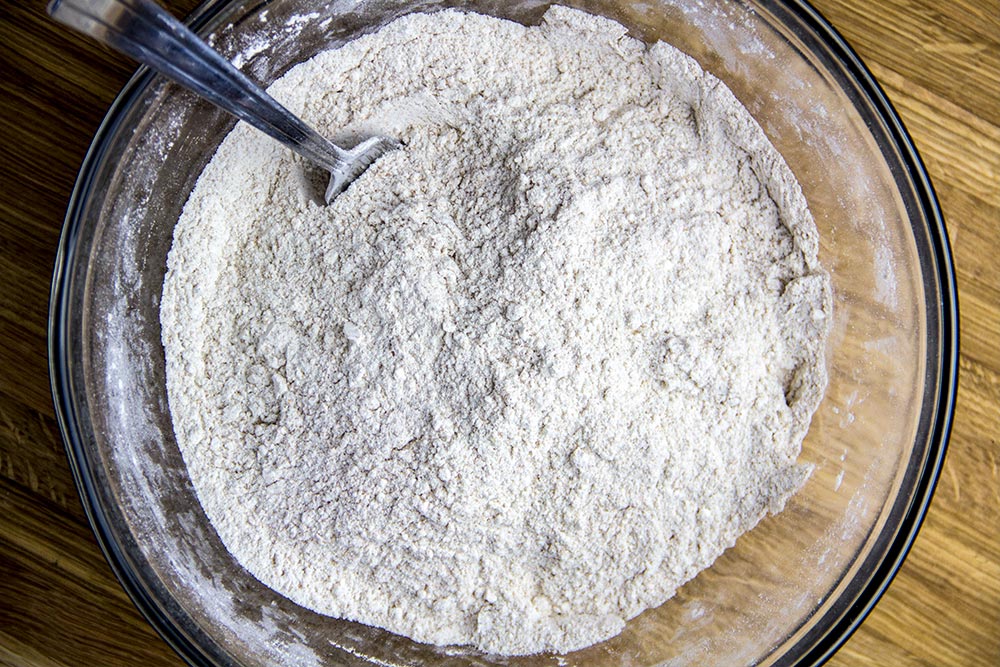
In a large bowl, add the all-purpose flour, whole-wheat flour, wheat germ, salt, baking powder and baking soda and mix well.
Combine Wet Ingredients
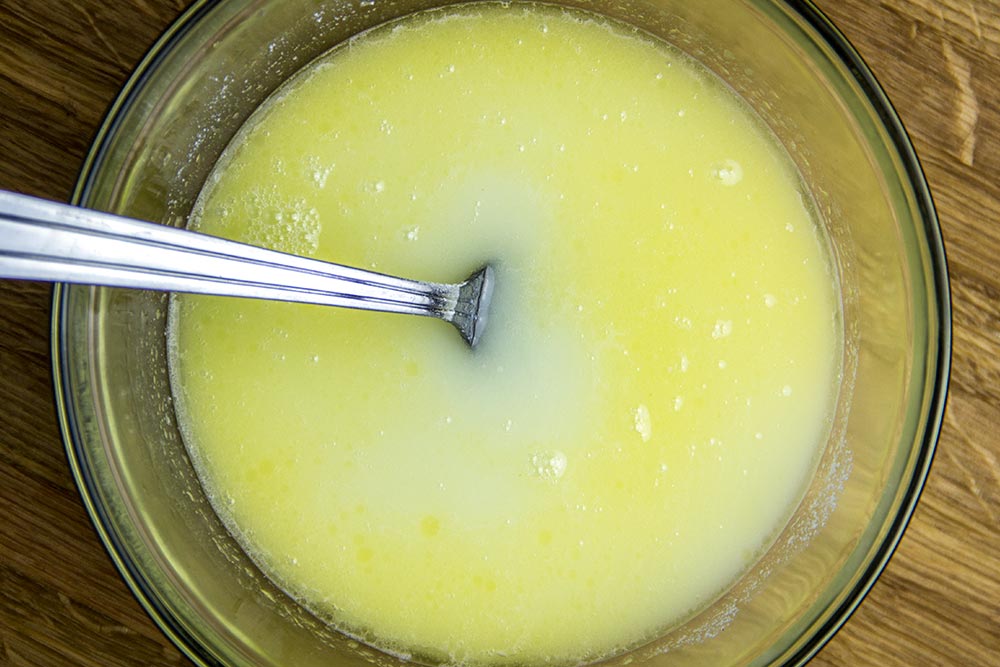
In a medium sized bowl, add the buttermilk, sugar and 2 tablespoons of melted butter. Whisk the ingredients well, making sure the sugar is totally dissolved.
Mix All Ingredients
Pour the wet ingredients into the large bowl that contains the flour. Use a spatula to fold everything into itself. Mix just until no more dry flour is visible. Don’t over-mix.
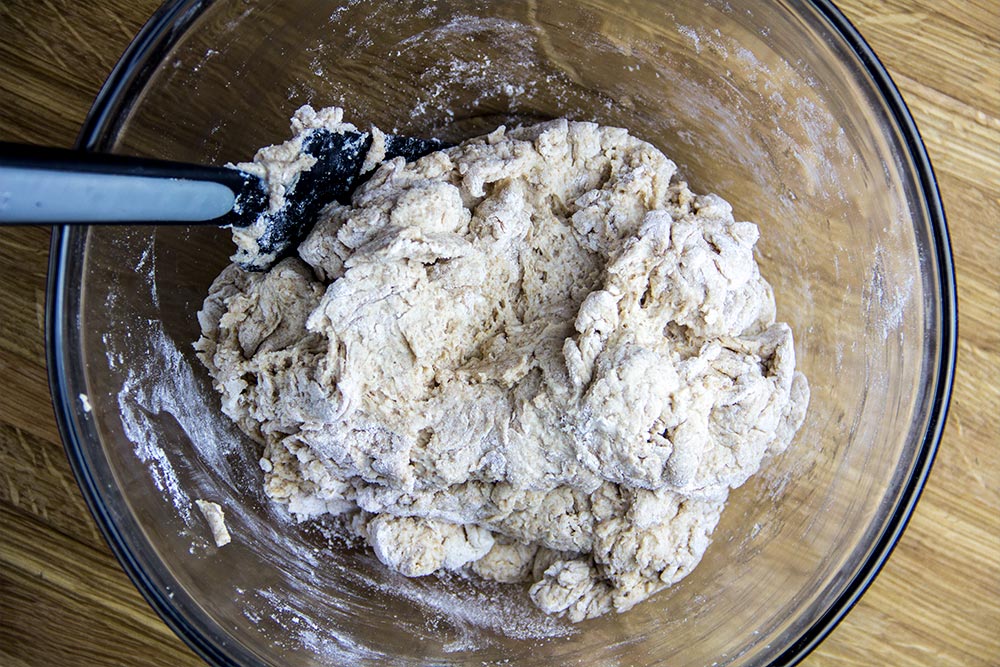
Knead the Dough
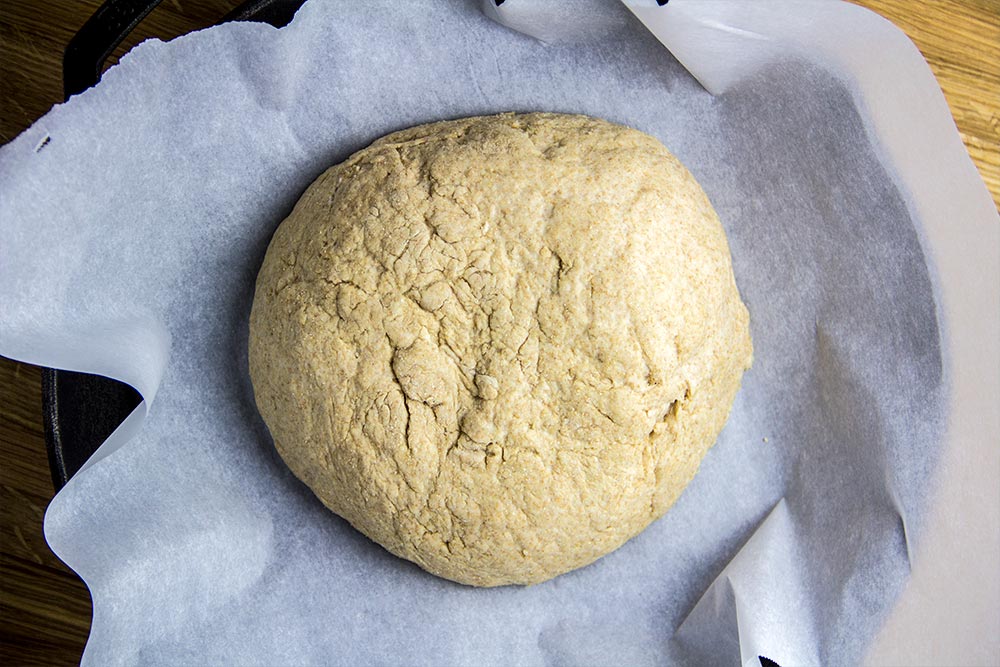
Lightly flour your counter top. Then, remove the dough from the bowl and knead it for about 30 seconds. You may need to add some more flour to keep the dough from sticking to your hands. That’s fine.
When you’re finished kneading, form the dough into a 7-inch round ball. After that, add the ball of dough to the pan or baking sheet, on top of the parchment paper.
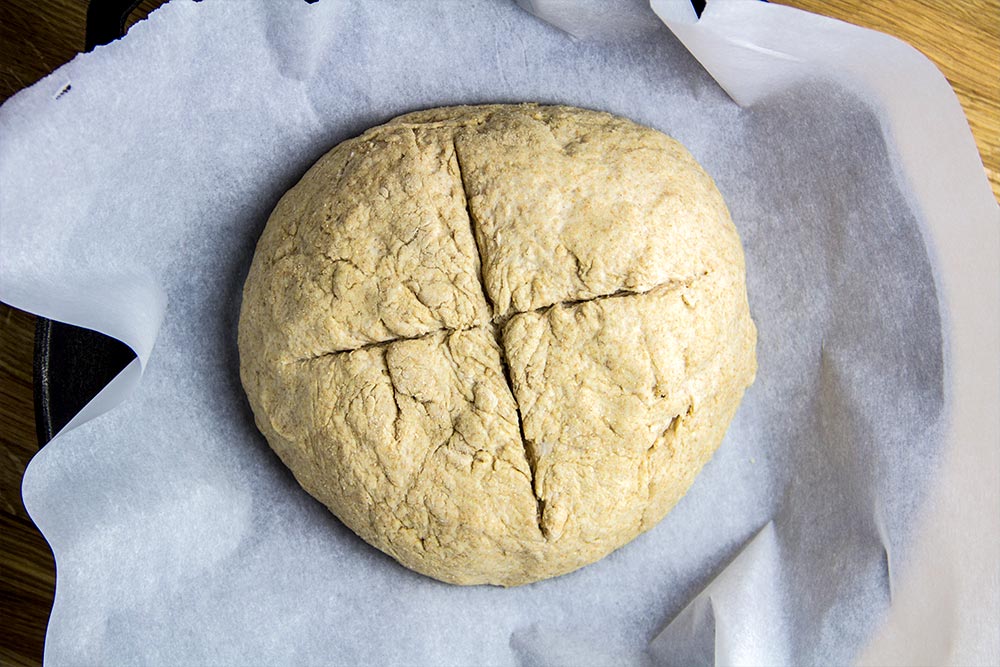
Finally, with a very sharp knife, cut an X across the face of the dough about a quarter inch deep.
Bake & Butter the Bread
When your oven is to temperature, add the pan to it and let the bread bake for about 45 minutes. You’ll need to rotate the pan half way through. To test the bread for complete baking, insert a toothpick in its center and pull it out. If it’s clean, the bread is finished. Remove it from the oven, brush the remaining tablespoon of melted butter on its surface and let it cool on a rack for about an hour before slicing into it to enjoy.
The Final Bread
I told you this one was easy. I encourage you to give it a try. It’s really good and the whole wheat and wheat germ will give a kick to your diet.
Leave a Reply