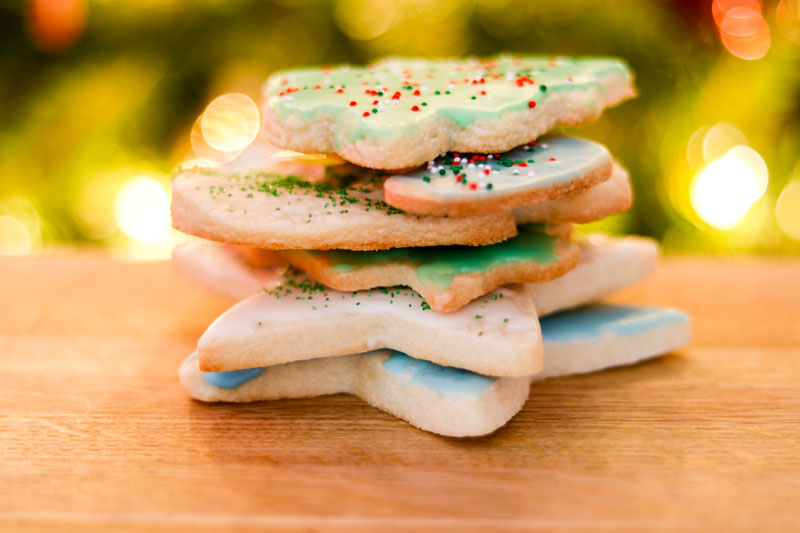
Baking during the holiday season always brings me fond memories from my childhood. When I was a little girl, I would get excited at the chance to bake Christmas cookies with my noni. We would bake a wide assortment of cookies from gingerbread cookies to Italian stroffli. She helped give me the foundations for my baking skills when I got a little older and now as an adult. One of my favorite types of cookies to bake around this time of year is the quintessential sugar cookie. A few years ago, my mother so generously gifted me with an array of cookie cutters. I now have an assortment of shapes and sizes for many of the holidays as well as the seasons. This recipe is straightforward and with just a few steps, you will swear these are the best sugar cookies that you’ve ever tasted.
The Recipe
I would like to thank Alton Brown at the Food Network for this excellent recipe. Hands down these are the best sugar cookies I have ever eaten and I’m sure after you try this recipe, you will make this part of your own holiday baking tradition. These cookies are both buttery and sweet and will surely be a big holiday hit.
The Ingredients
3 Cups All-Purpose Flour
3/4 Teaspoon Baking Powder
1/4 Teaspoon Salt
1 Cup Unsalted Butter, Softened
1 Cup Sugar
1 Egg, Beaten
1 Tablespoon Milk
Powdered Sugar, for Rolling out Dough
Step-by-Step Instructions
Making the Dough
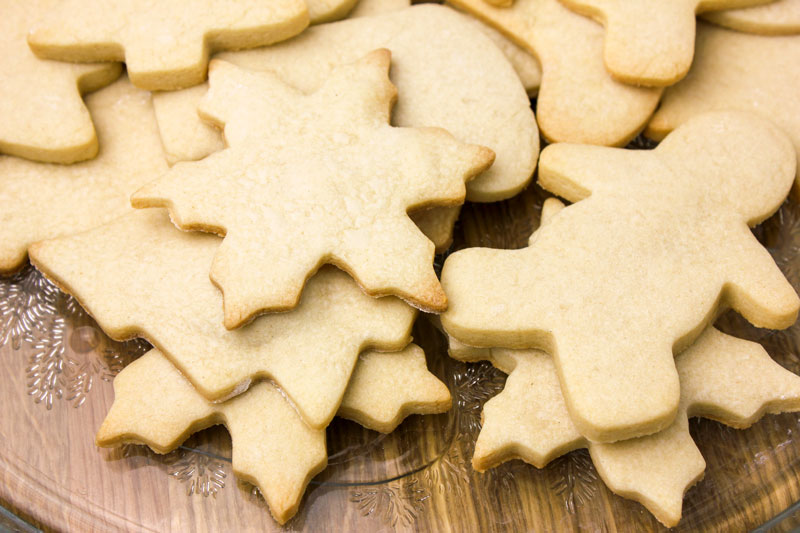
In a bowl, sift together flour, baking powder, and salt. Set aside. Place butter and sugar in a large bowl of an electric stand mixer and beat the mixture until light in color. Add the egg and milk and beat to combine. Next, put the mixer on low speed, gradually add the flour, and beat until the mixture starts to pull away from the side of the bowl. Divide the dough into two halves, then wrap in waxed paper, and refrigerate for two hours.
Rolling Out the Dough
After the dough has chilled for two hours, preheat the oven to 375 degrees Fahrenheit. Remove the wrapped packs of dough from the refrigerator, one at a time. Allow to warm up slightly for a few minutes as the dough will be cold and you may find it to be too tough to work with.
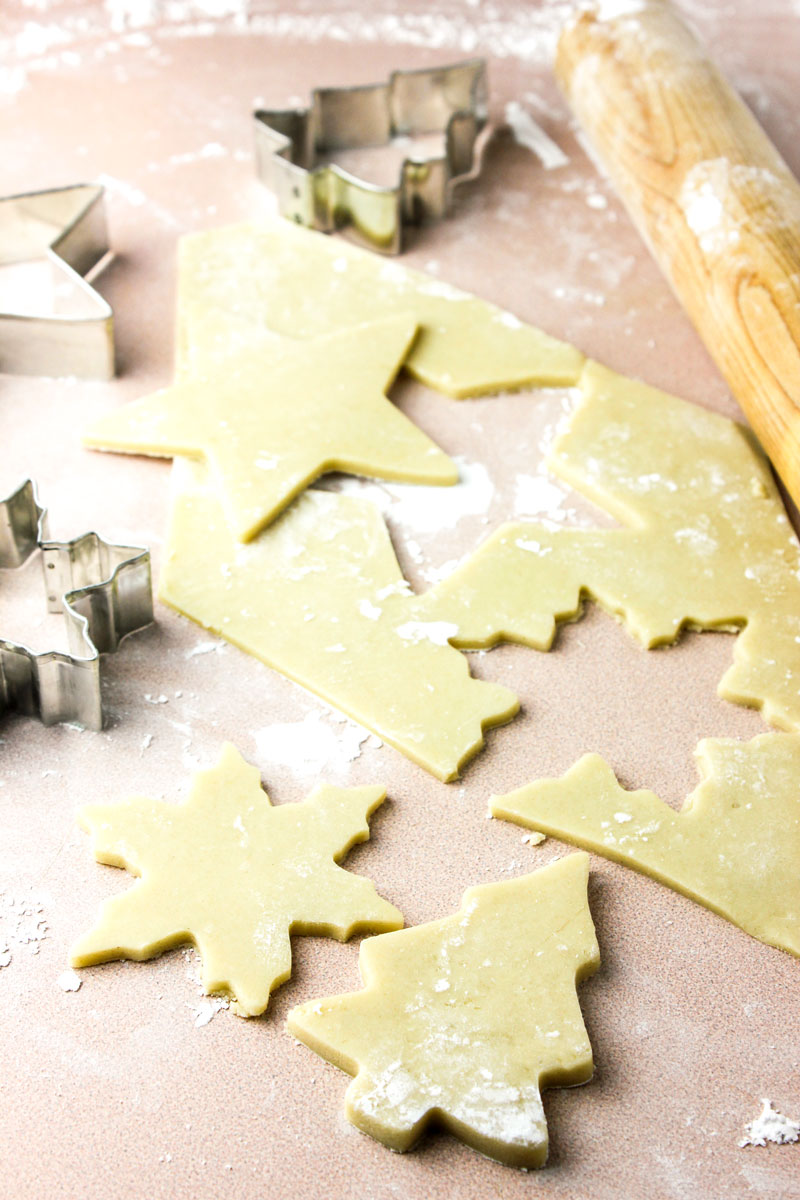
Next, sprinkle your working surface and rolling pin with powdered sugar. Roll out the dough so it’s 1/4-inch thick. Make sure to frequently move the dough around to make sure it isn’t sticking to your work surface. If you find that the dough has become too warm as you are working, simply put it back into the refrigerator for a few minutes to chill. This will make it easier for you to work with.
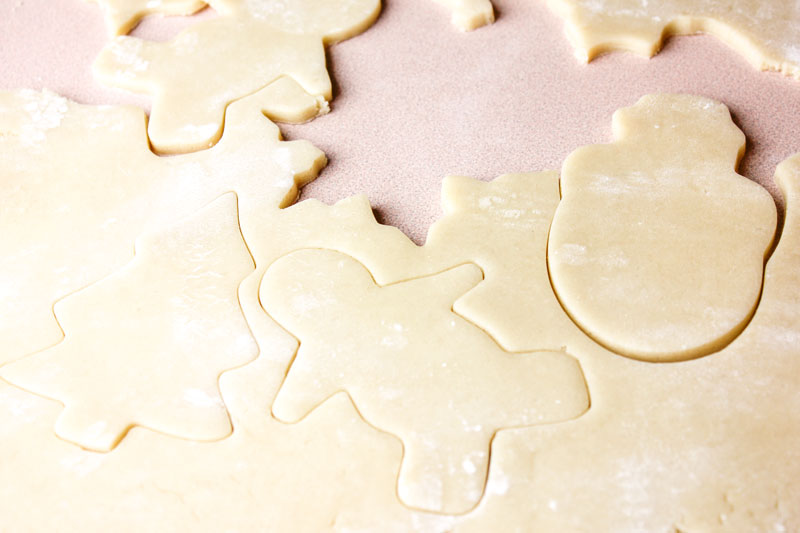
As you are cutting the dough into desired shapes, make sure to place your cookie cutter cuts as closely as possible. Also be sure to use equal pressure when pressing the cutters. This way, you can make the most out of your dough with fewer cuts.
Baking the Cookies
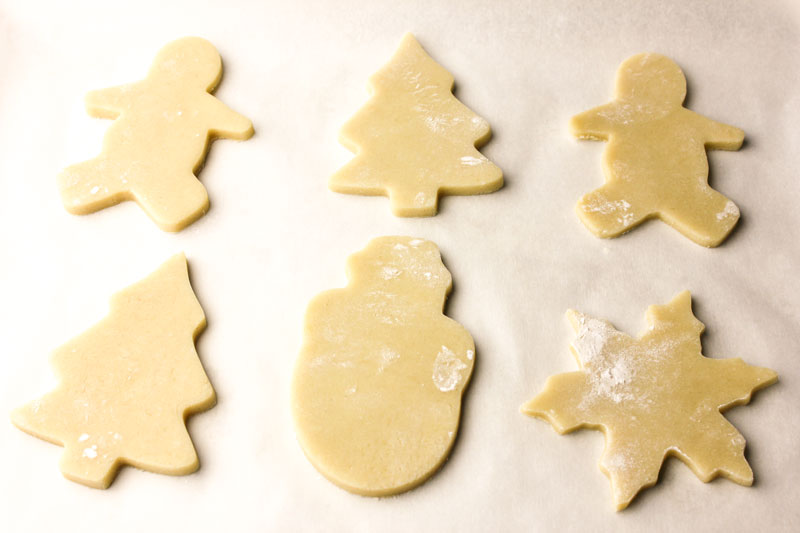
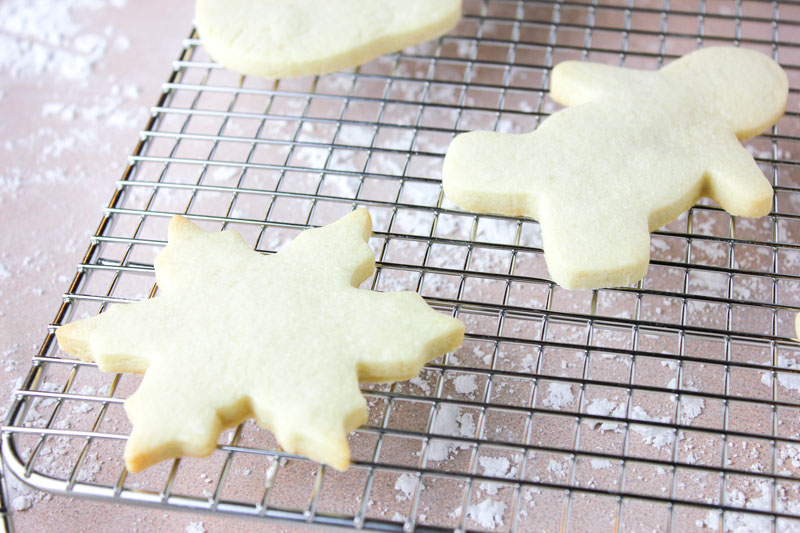
Place the cookies at least one inch apart on a greased baking sheet, parchment, or silicone baking mat, and bake for 7 to 9 minutes or until you find the cookies are beginning to turn brown around the edges. Also, rotate the cookie sheet halfway through the baking time. Let the cookies set on a baking sheet for 2 minutes and then move to finish cooling on a wire rack. You can serve your cookies simply as they are or ice as desired.
Now, it’s Time to Ice Your Cookies

I like the recipe from allrecipes, as it has worked best for me. This icing is quite versatile, it dries hard and shiny. The addition of almond extract gives your cookies that classic bakery flavor.
This icing dries hard and shiny and the colors stay bright. Choose as many different food colorings as you desire.
The Ingredients
1 Cup Confectioners’ Sugar
2 Teaspoons Milk
2 Teaspoons Light Corn Syrup
¼ Teaspoon Almond Extract
Step-by-Step Instructions
Combining the Ingredients
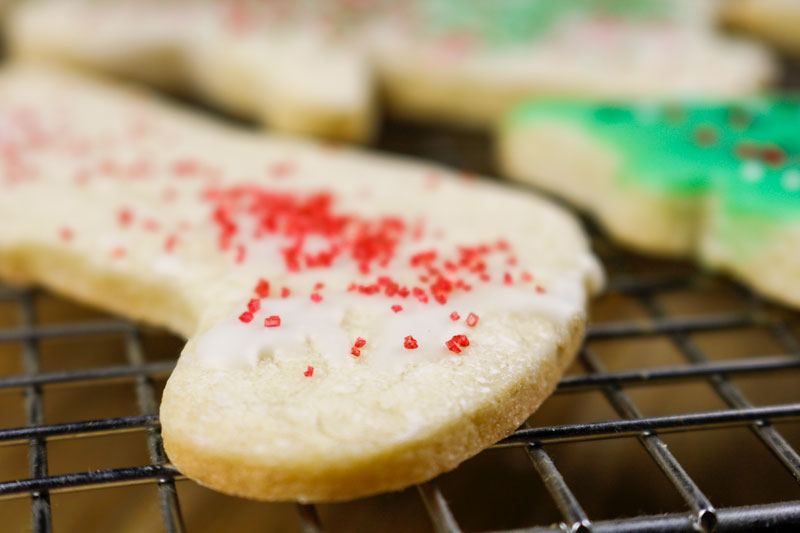
In a small mixing bowl, stir together the confectioners’ sugar and milk until smooth. Next, beat in the corn syrup and almond extract until the icing is smooth and glossy. If you find that your icing is too thick, simply add more corn syrup.
Divide into Seperate Bowls
Next, divide your icing mixture into separate bowls. Add your desired color and intensity of food coloring to each bowl. I would recommend using glass bowls as the food coloring will stain anything porous. Also, remember it is probably safer to go on the more modest side with the amount of food coloring drops you add to each bowl. As your cookies dry the colors will become more intense with time.
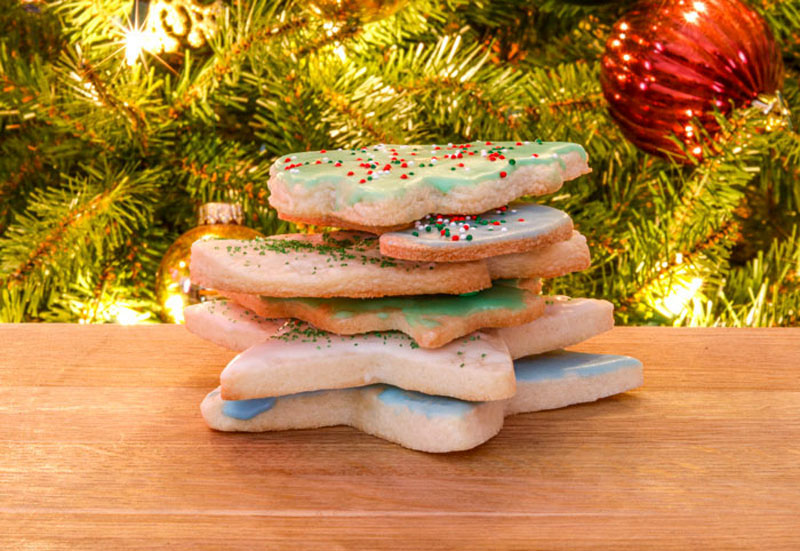
Dip the cookies, or my preferred method, simply paint with a brush. You can also add sprinkles before the icing dries. If you plan on stacking your cookies in a container, I would recommend waiting several hours until they are completely dry in order to prevent them from sticking together. Store in an airtight container for up to one week.
Remember, this recipe isn’t just for Christmas cookies. I use this recipe every time I make sugar cookies. I especially enjoy decorating these cookies as it makes me feel like a kid again. Now you can feel like a kid again, too!
Leave a Reply