Drunken mussels recipes are very liberal with their application. Some of these recipes use white wine and some use beer. I use both (independently), but tend to focus less on the inherent flavor of the alcohol and more on how I go about coaxing as much flavor out of the ingredients before I add the mussels to the pot.
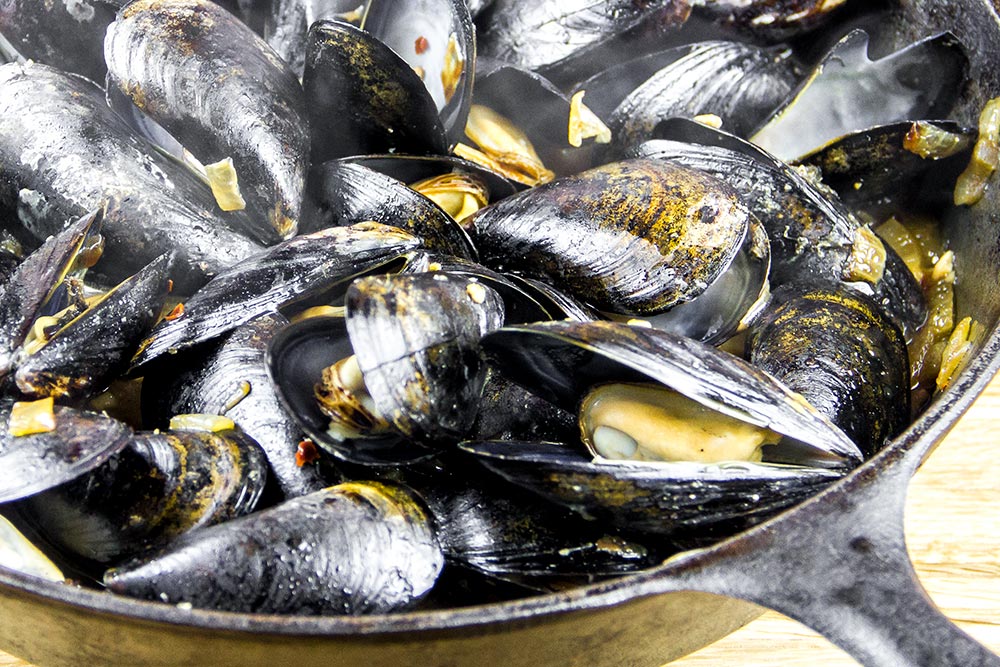
Lately, I haven’t been able to say no to those bags of cleaned mussels sitting in the seafood cooler at Hannaford. Mussels cost less than $2 per pound and bring me immense joy. They’re so simple to prepare, are good for you and are very filling, if served with an accompanying pasta. Laura and I tend to lean toward some sort of vegetable infused pasta, rather than the plain, more traditional, versions. I’ve seen a few pasta brands upping their games in the veggie arena and it’s fun to experiment with what’s new.
The Recipe
Samuel Adams Old Fezziwig Ale is considered a “winter warmer,” which means that it’s rich and balanced, has hints of cinnamon, citrus and spices that carry into the overall flavor. Oftentimes, these beers are backed by a sweet caramelly breadiness, if that makes any sense. In the most basic sense, winter warmers are ales that are blended with spices. If you haven’t tried one yet, you really should. They definitely add to the feeling of the season.
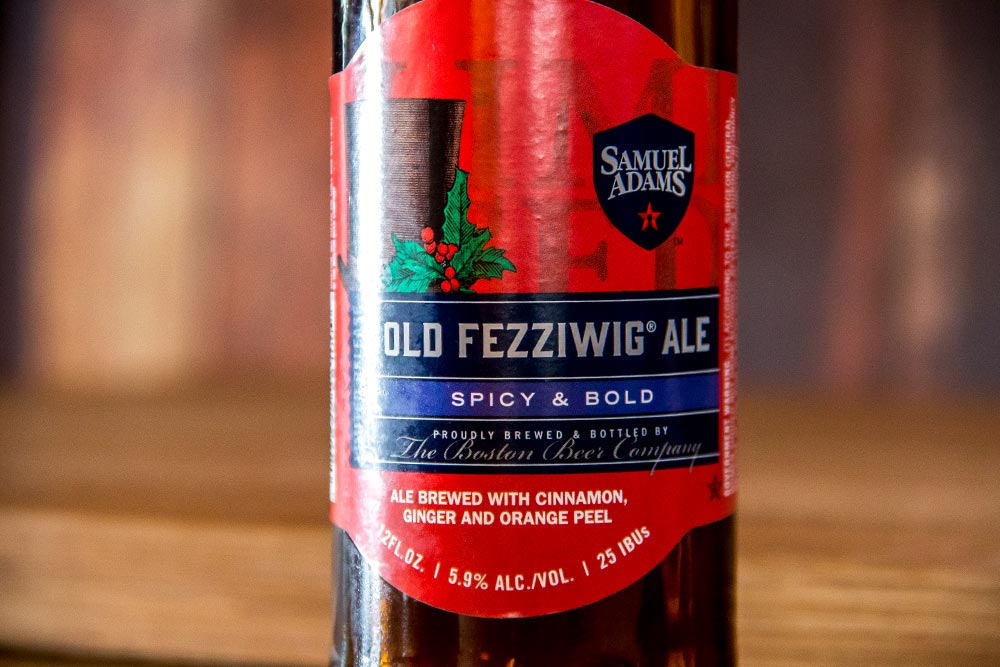
Since this ale is so robust and since I enjoy it so much, I wanted to see what would happen if I used it as the primary ingredient for my drunken mussel recipe. One of the techniques I employ during the preparation of these types of dishes is to boil the liquid down to add richness. There’s lots of caramelization and fond creation with these recipes. Those, coupled with the cooked down alcohol, create a deeply rich and flavorful collection of mussels on the plate.
Ingredients
Serves: 2
2 Pounds Mussels, Cleaned
2 Tablespoons Butter
1 Medium Sized Sweet Onion, Chopped
3 Teaspoons Garlic, Minced
1/2 Teaspoon Red Pepper Flakes
1 Tablespoon Lemon Juice
1 12-Ounce Bottle of Winter Ale
1/2 Teaspoon Table Salt
1/2 Teaspoon Ground Black Pepper
Step-by-Step Instructions
I was looking through one of my older mussels recipes last night and was reminded that I used an entire stick of butter for that one. While it was certainly delicious and was very rich, I decided to reduce the amount of butter used. Laura and I can’t be eating a half stick of butter each in one night. Butter injects creaminess into many dishes. If this is your desire, you can add more butter to this recipe. Double up, triple up – whatever you want. It won’t hurt things in any way.
Sautee the Onion
Warm a large, heavy skillet over medium heat. Then, once the pan is to temperature, add the butter and swirl it around until it melts. Once it does, add the chopped onion to the pan as well.
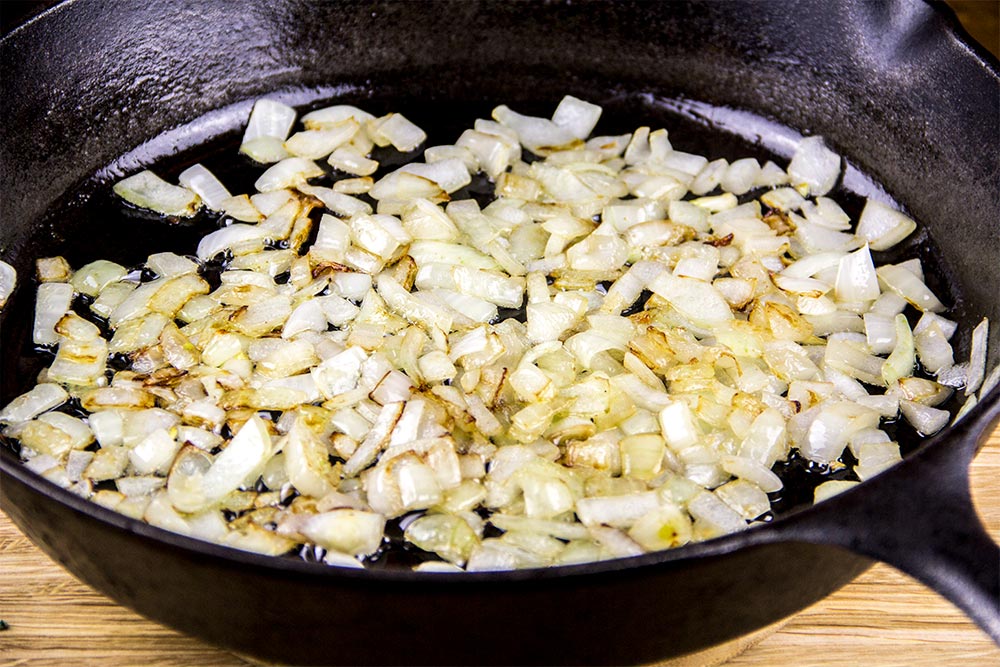
Continue cooking the onions until they are thoroughly browned. Don’t go so far as to burn them, but the browner you get them, the more flavor there will be. After the onions have browned, add the garlic, red pepper flakes and lemon juice to the pan as well. Cook and mix well for about 1 minute. The goal here is to blend the flavors and to break down the potentness of the garlic without going too far. You don’t want to brown the garlic, just soften it.
Add the Beer
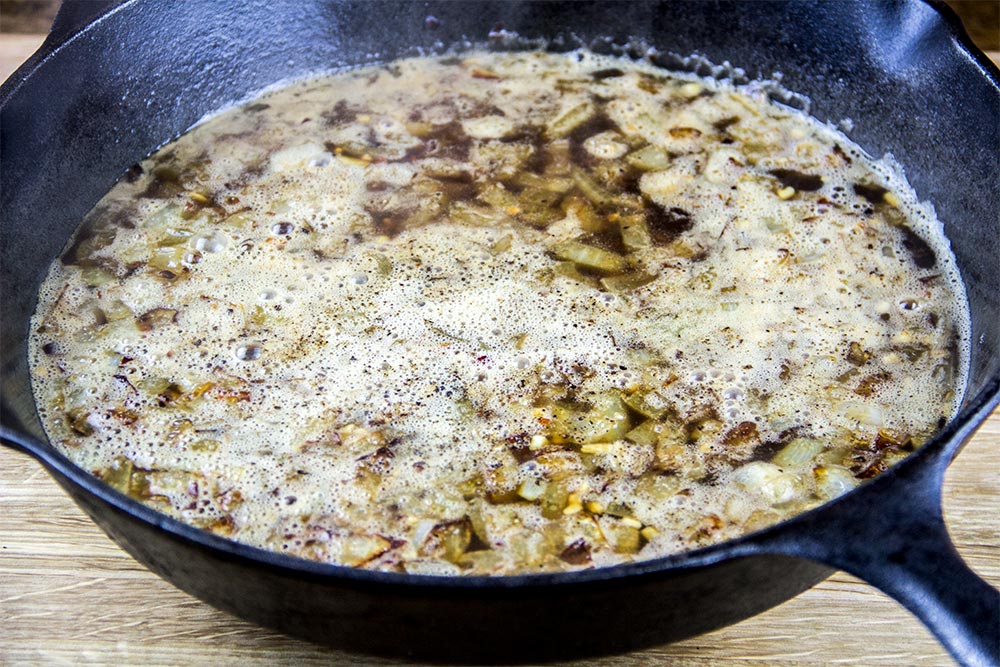
Next, add the beer to the skillet, along with the salt and pepper. Keep the pan uncovered and let the liquid reduce by half. This will most likely take about 5-7 minutes.
Cook the Mussels
After the beer has been reduced, add the cleaned mussels to the skillet.
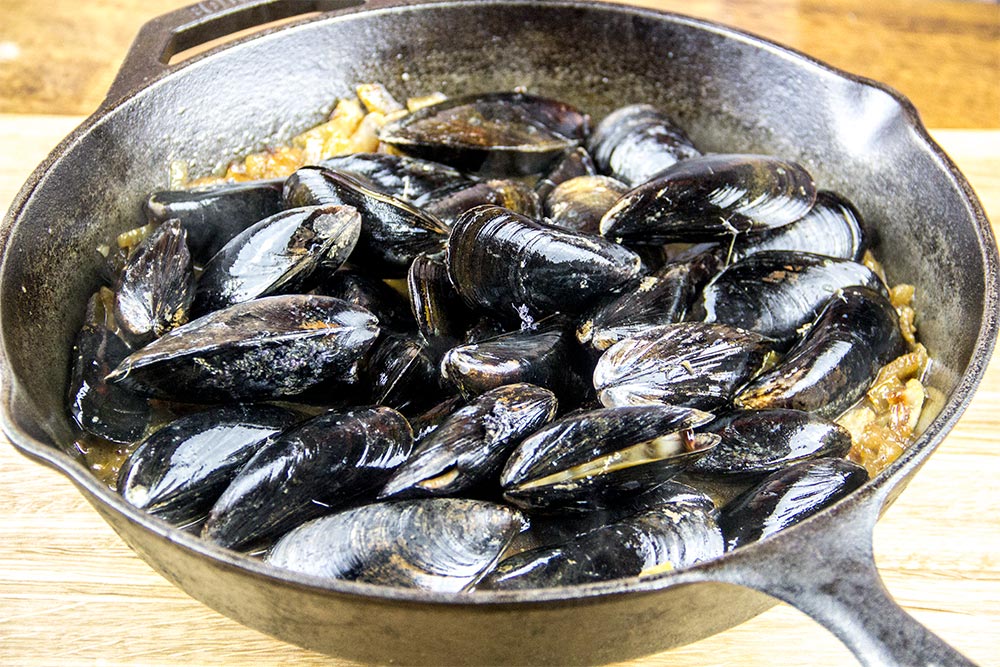
Cover the pan and let everything steam for about 2 minutes. Then, remove the cover, mix well so the liquid can get inside the opened mussels and then cover again. Cook for another 2 minutes. When that’s done, remove the cover and discard any mussels that didn’t open.
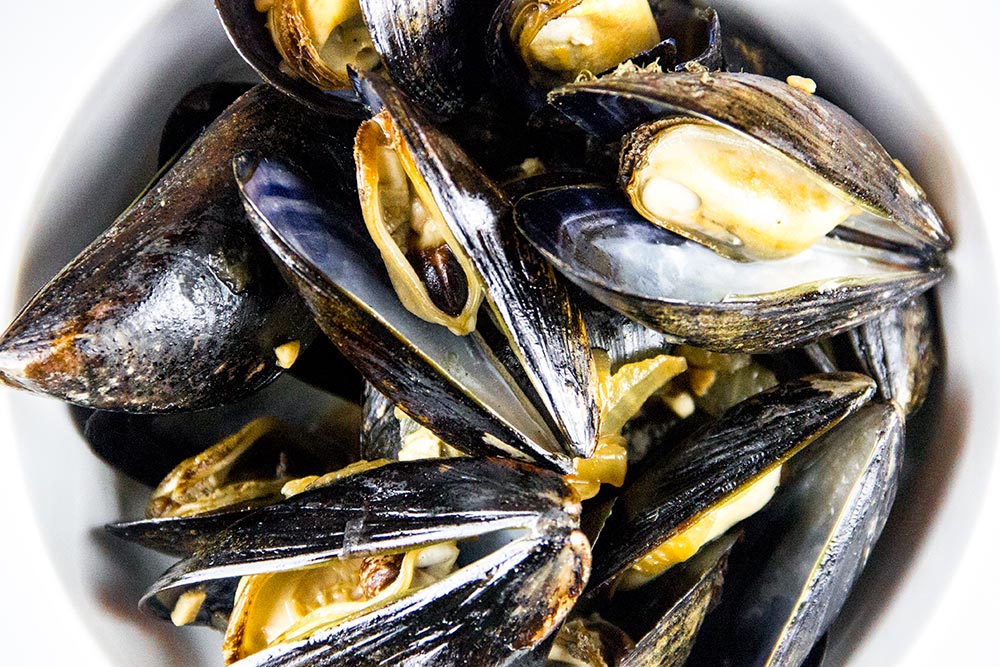
Finally, divide the mussels between two bowls and scoop out the juice and add that over the mussels.
The Final Dish
If you taste the liquid before adding the mussels to the pan, it will taste just “okay.” It’s not until you add the mussels and their flavors combine with the liquid that the entire dish becomes magical. Enjoy!
Leave a Reply