The goal of this recipe was to practice my blanching of vegetables. Blanching is something new for me, but after having a go at it, I can report to you that it’s really a simple process that truly does preserve color and tenderness. If you aren’t aware of what blanching is, please feel free to take a look at these resources:
How to Blanch Foods : The Reluctant Gourmet
How To Blanch Vegetables – The Kitchn
The recipe I’m using today, again, comes from America’s Test Kitchen. This is the second recipe contained in the Boiling & Simmering course. If you’d like, you can take a look at the first recipe here.
As usual, I’ll go over my experience with preparing this recipe below, but first, I’d like to talk about the final product for a moment.
It’s good. This recipe is a good one. You may have to adjust the cooking time of the green beans a minute more or fewer depending on your preference, but I think you’ll enjoy what you end up with. Regarding the toasted almonds and brown butter – I added more salt than less. Since I didn’t overly salt the boiling water the beans cooked in (which I should have – 1 tablespoon per gallon of water), I added a bit extra to the topping. The roast on the almonds was a very pleasant surprise. That, combined with the flavor of the salted brown butter made me think I was biting into a pretzel. If you plan on going forth with this recipe, please be careful when you brown the butter. It can burn in just a few blinks of the eye. For me, when it began browning, I removed it from the heat and then added it back after I placed the almonds in the pot.
Ingredients
Serves: 4
Regular Salt
1 Pound Fresh Green Beans
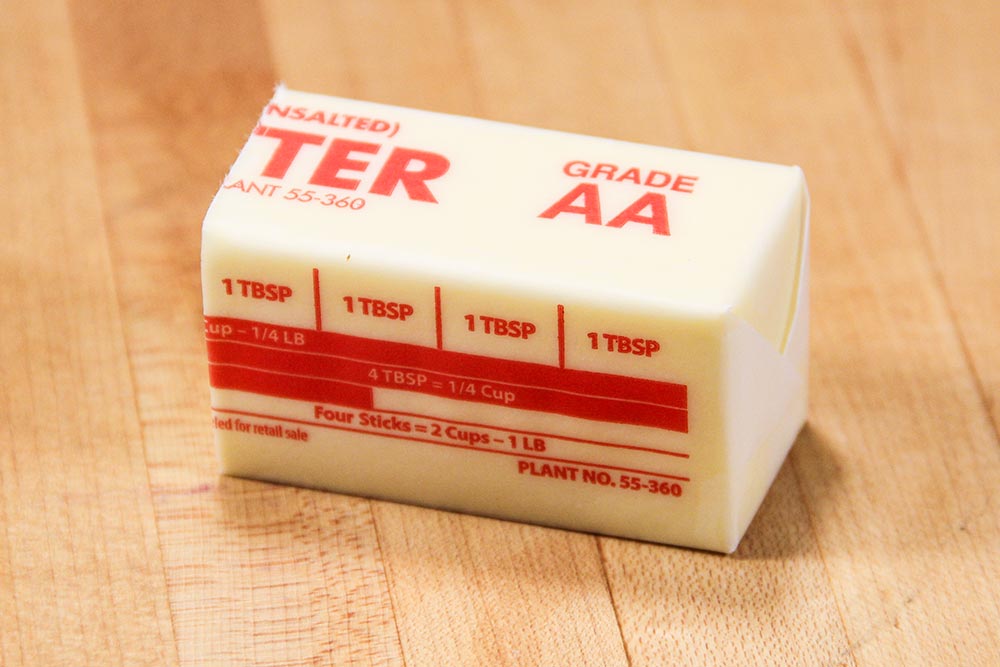
4 Tablespoons (Half Stick) Unsalted Butter
1/2 Cup Slivered (or Sliced) Almonds
Ground Black Pepper
Ice Cubes at the Ready
Step-by-Step Instructions
This is an easy recipe you can complete in less than an hour. It’s great practice on a number of fronts. From learning and understanding how to blanch vegetables to working on your timing in the kitchen. I especially enjoyed the fact that there weren’t too many moving parts. Once the beans were done, they were done. I set them aside and began working on the almonds and butter. Besides a few areas that I needed to keep my eye on, there wasn’t too much that could go wrong.
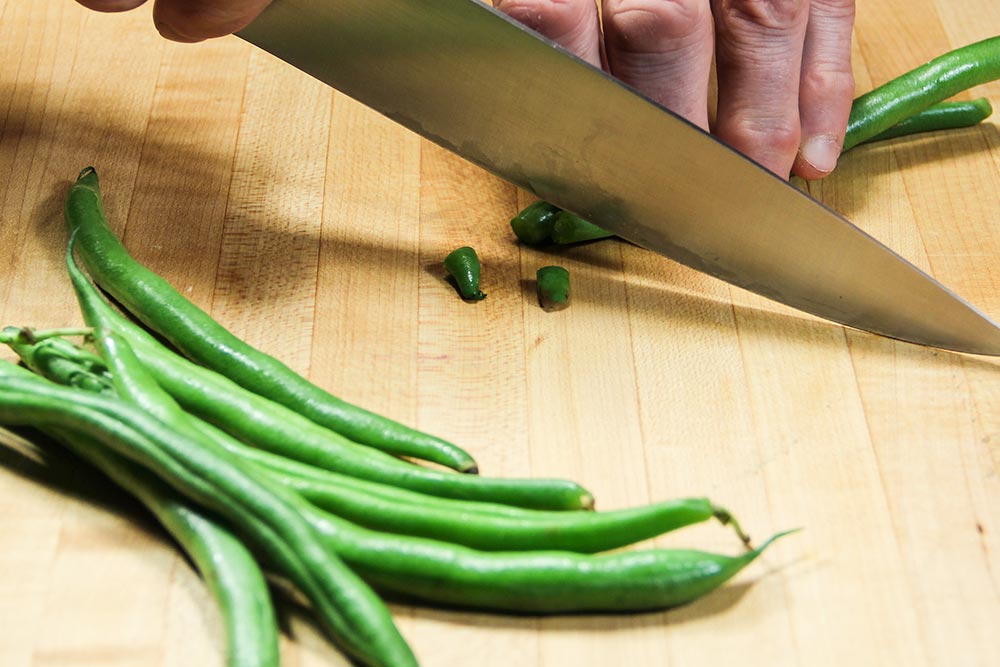
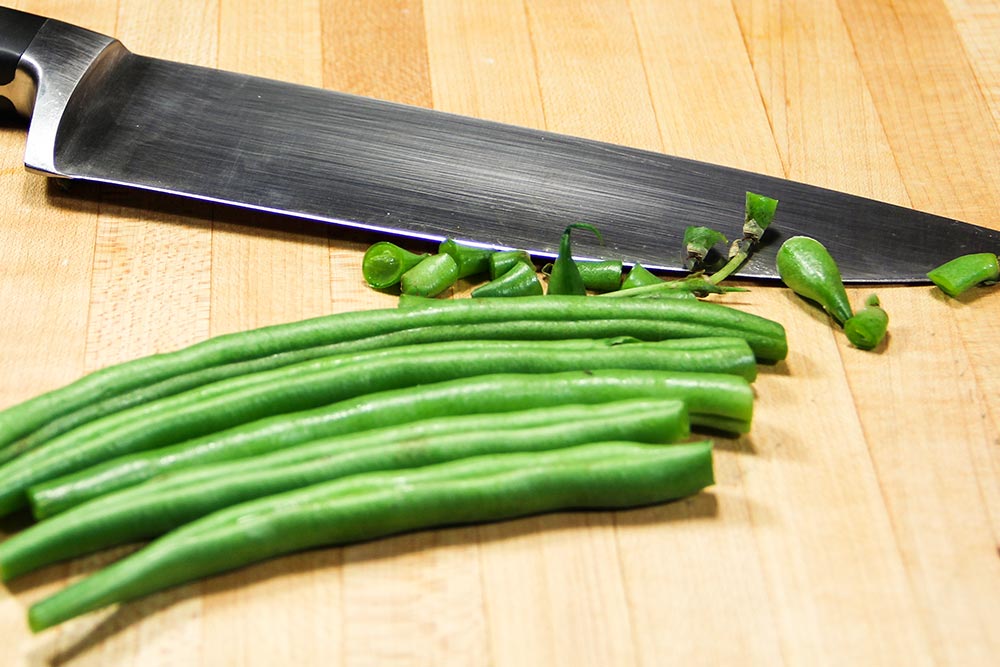
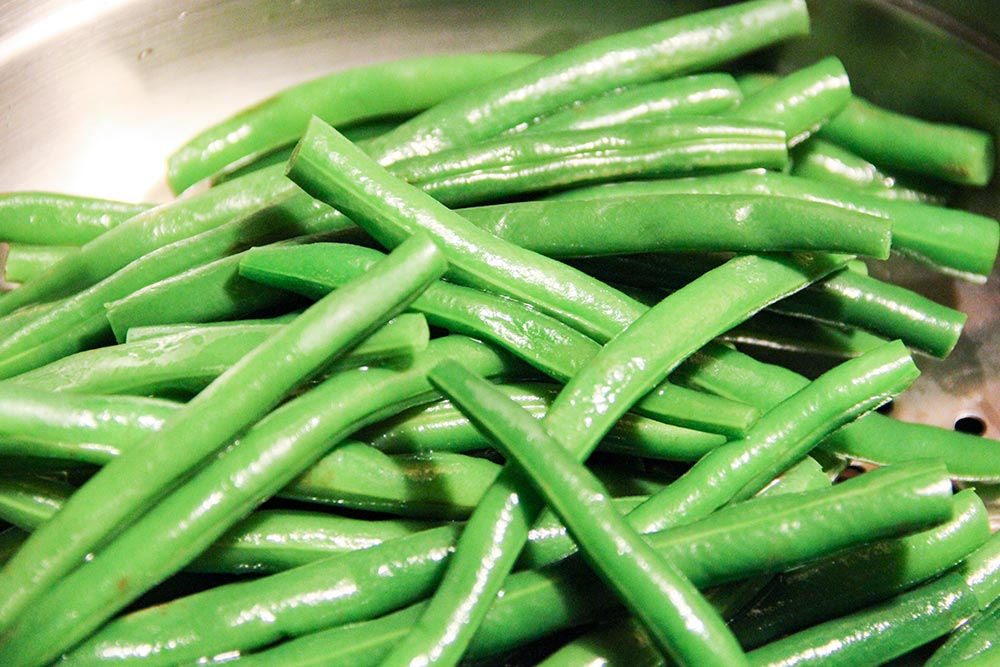
Wash & Trim Ends From Green Beans
The very first thing I did with this recipe was to wash the green beans. Right after that, I trimmed the ends off all of them.
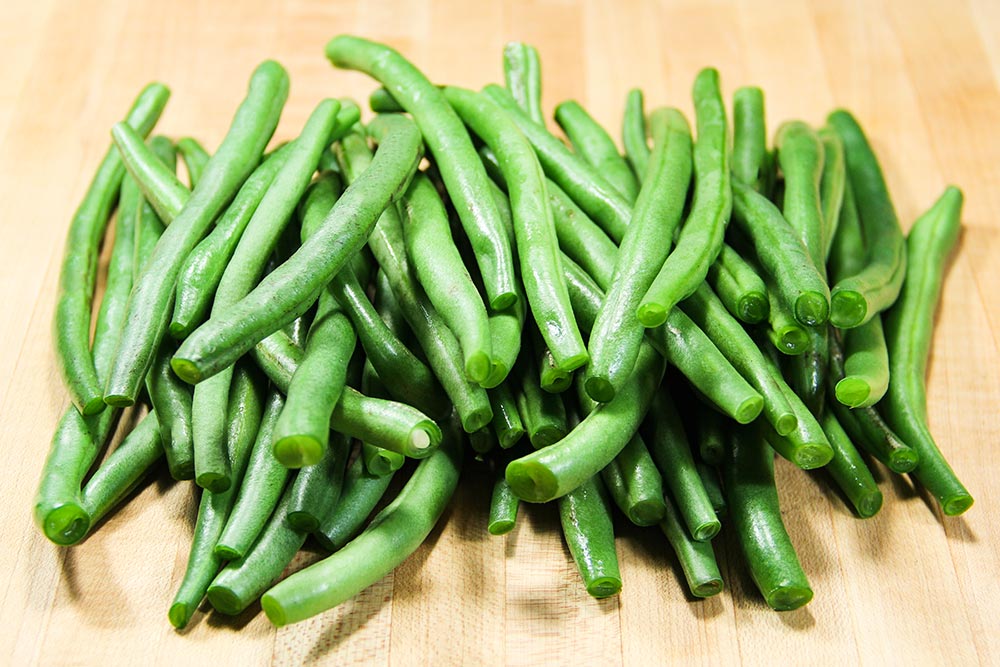
When I was finished trimming, we had a short photo shoot. I never knew how good looking these types of beans could be.
Chop & Roast the Almonds
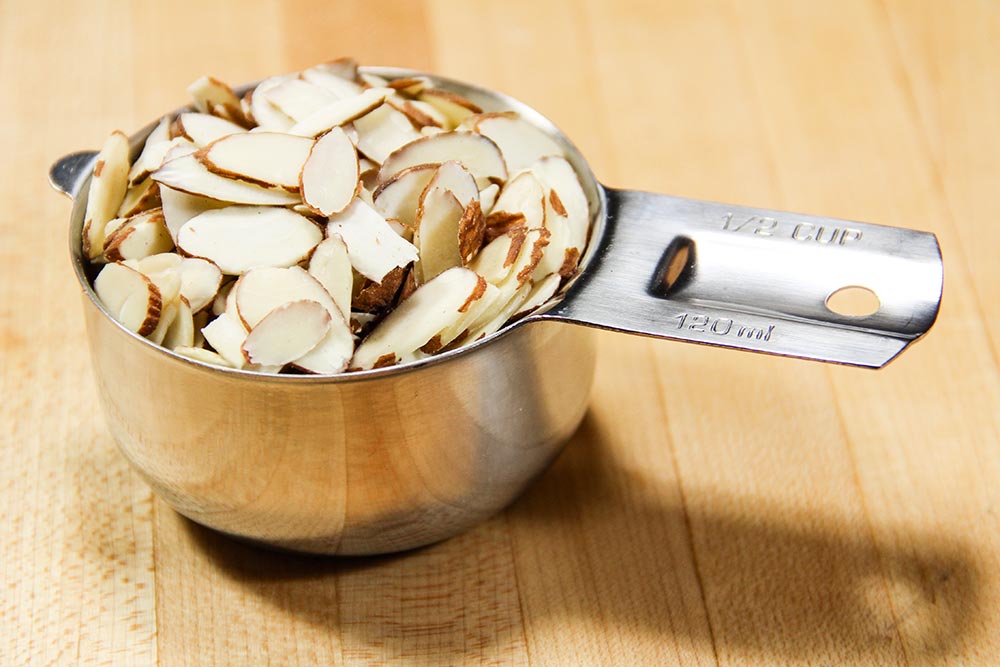
The next task I completed was to measure out the slivered almonds. I needed a half cup.
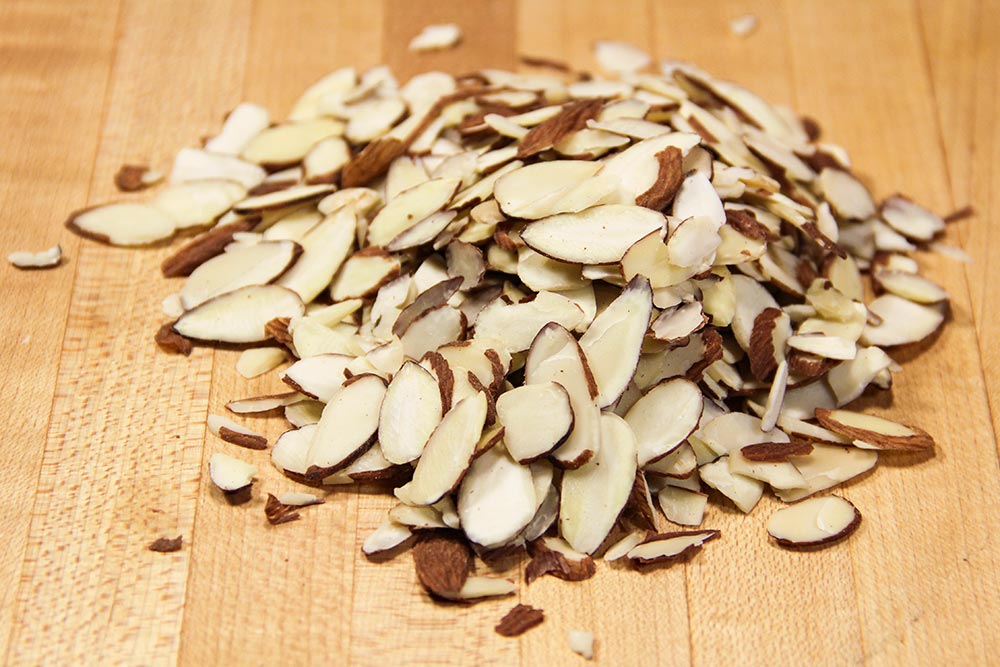
This is what the same amount of almonds looks like as a pile on the butcher’s block.
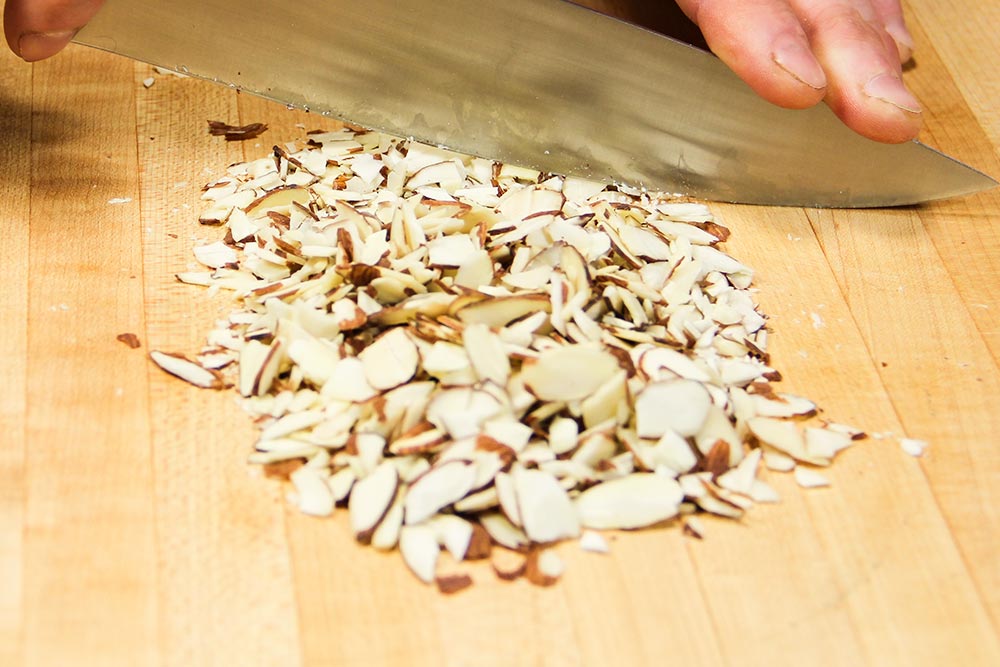
With my chef’s knife, I went ahead and chopped through the almonds for about a minute or so.
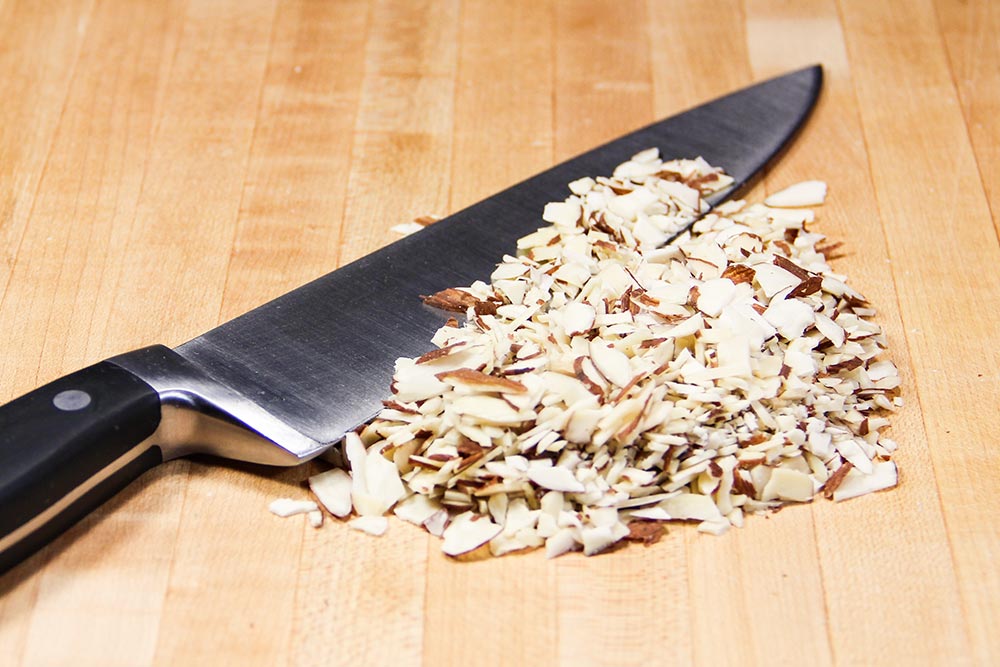
This is the result of that. I suppose I could have continued chopping, but I felt as though these were plenty small.
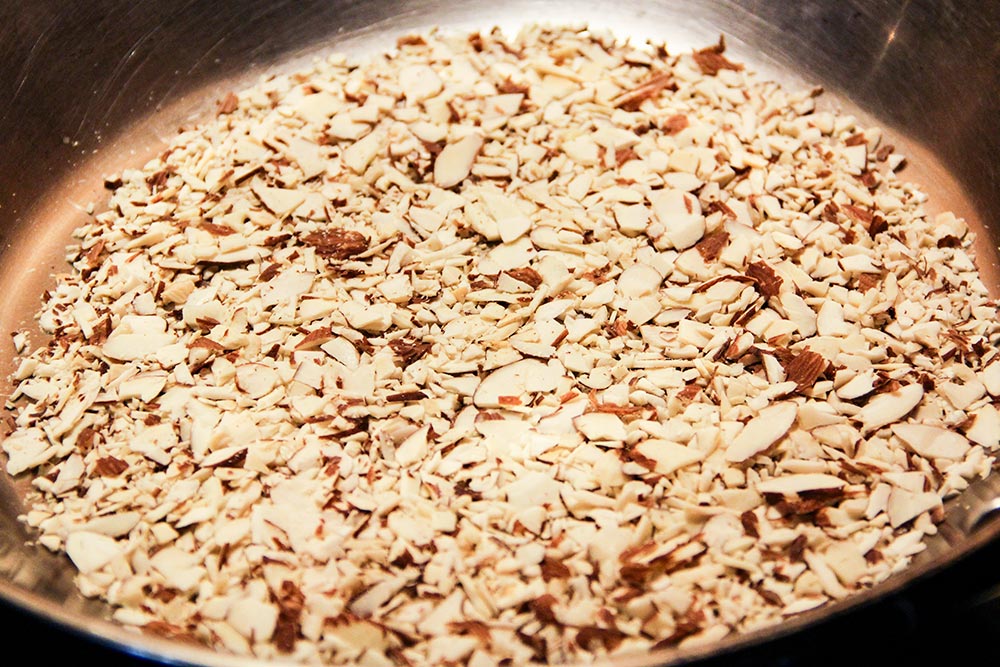
Finally, with my medium sized, stainless steel skillet, I roasted all the almonds. I noticed that after a few minutes, they began slightly changing colors. They also became quite scented. I roasted the almonds no more than 5 minutes and took the pan off the heat. After that, I transferred the almonds to a bowl to be sure they didn’t continue to cook.
Boil Water
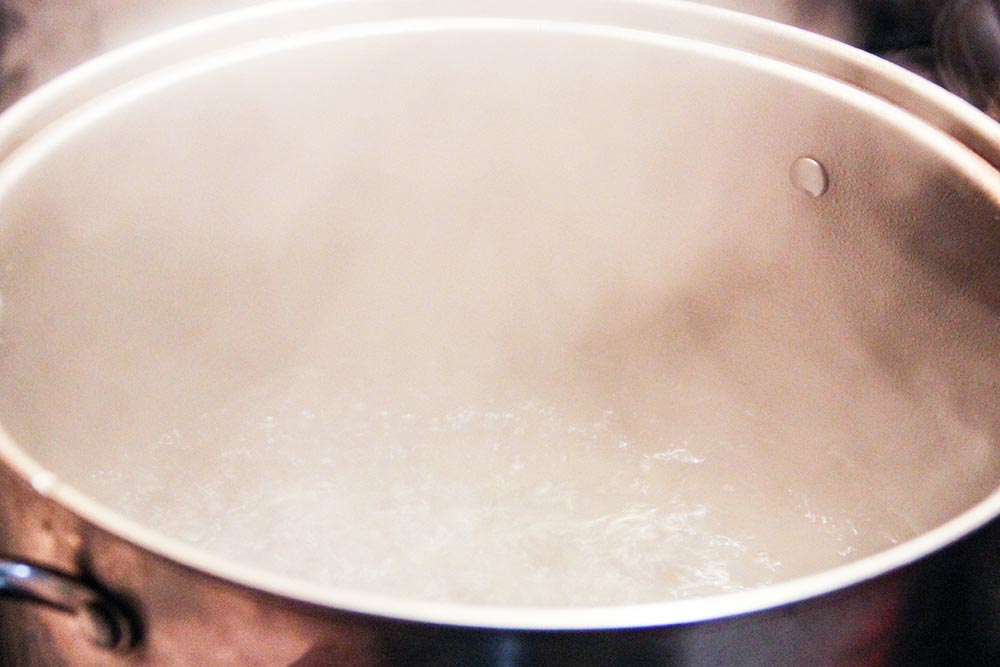
In a large pot, I brought 3 quarts of water to a rolling boil. The original recipe called for 2 1/2, but more doesn’t hurt. The goal here is to have momentum, meaning, have enough water boiling that it continues to boil once the beans are dropped in. If there isn’t enough volume of water, the beans may cool it to the point of it taking too much time to re-heat. If the beans are in the pot too long and don’t become tender on the interior, the exterior overcooks and turns an army-green color. With this in mind, I used a large pot and added extra water.
I also added 1 teaspoon of regular table salt to the water. As I mentioned above, I wish I had added about 4 teaspoons because that additional salt would have accentuated the flavor of the beans. As it was, the beans didn’t absorb enough salt in the short period of time they cooked.

Add Beans to Water
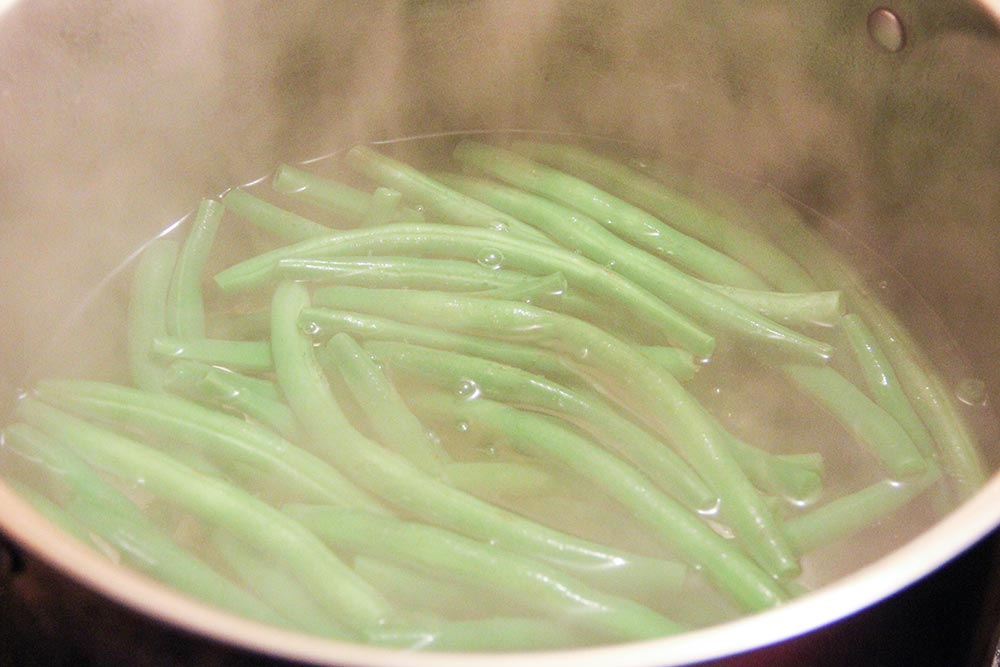
Like I mentioned above, it’s critical to bring the water to a rolling boil. Once I did that, I added the beans to it and let them cook (continue to boil) for approximately 4 minutes. The beans should brighten in color. If you prefer more tender beans and don’t mind losing some of the bright green exterior color, you can let them cook longer. The point of blanching, though, is to maintain the beautiful color of the beans, so please be careful with this step. Also, take a few bites (after cooling) of a bean during the process to check on its tenderness. Blanching is a skill that needs practice, but once you get it down, I think it’ll stick with you for life.
Prepare Bowl of Ice Water
This step can be taken at the very beginning or as the beans are boiling. Just be sure you have everything ready to go before the bean cooking time is up. The step is to prepare a bowl of ice water that’s large enough to plunge the hot beans into. There needs to be enough ice and water in the bowl so that the beans don’t warm it up too much. An alternative to this is to rinse the ingredient under very cold water at a faucet, but I think the shock of ice is better. The trick is to immediately stop any continued cooking that’s occurring.

Place Beans in Ice Water
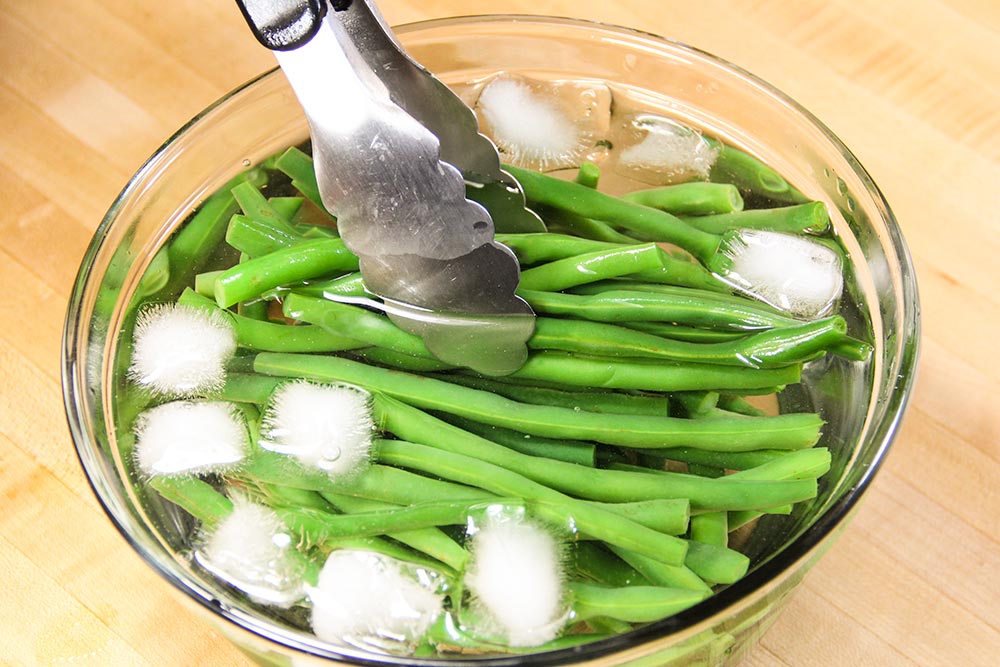
The original recipe calls for straining the beans with a colander, but I used my tongs to simply grab, shake and plunge them into the ice water. Either way, everything quickly became submerged and cooled off. I had to stir a bit to make sure the cold filtered through each one, but it turned out well. Notice that wonderful green in the photo below. That’s an indication of a proper cooking time.
Drain & Store the Green Beans
After I cooled the beans off in the ice water, I drained all the water from the bowl and transferred the beans to a colander. I shook them around a bit and let them sit there until they were needed again later.
Melt & Brown the Butter
I used the entire 4 tablespoons of butter for this portion of the recipe.
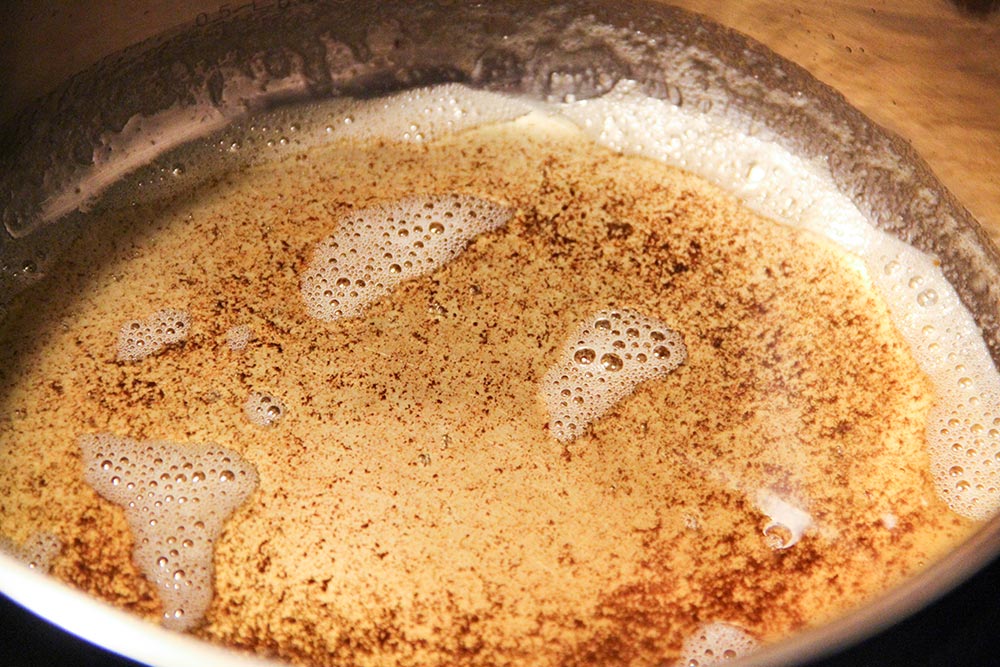
I turned my stove on to medium heat and melted the butter in a mid-sized saucepan.
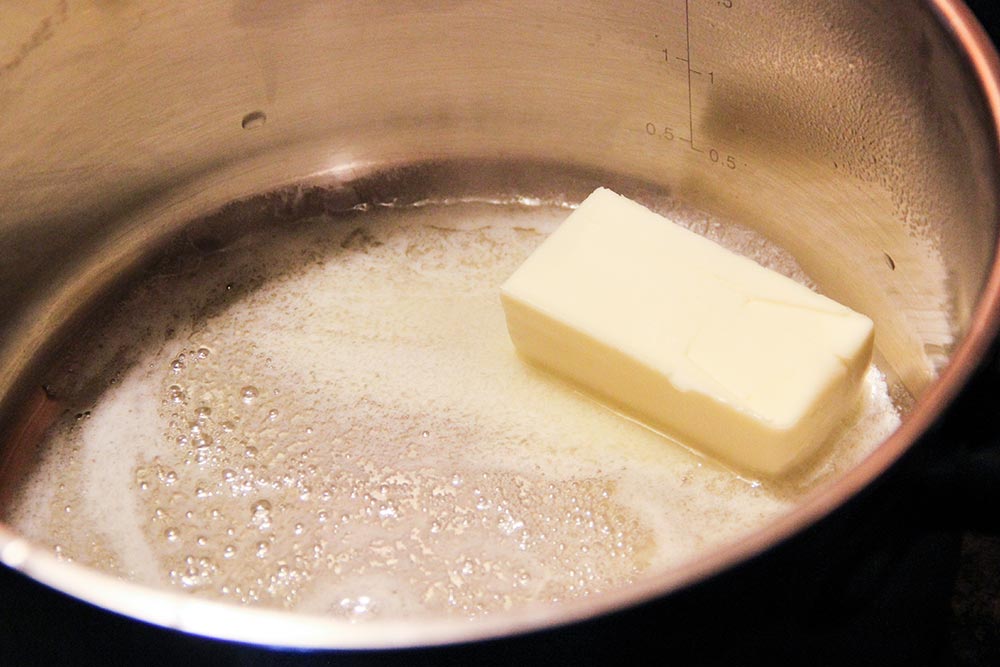
I continued to let the butter cook and swirled and stirred the entire time.
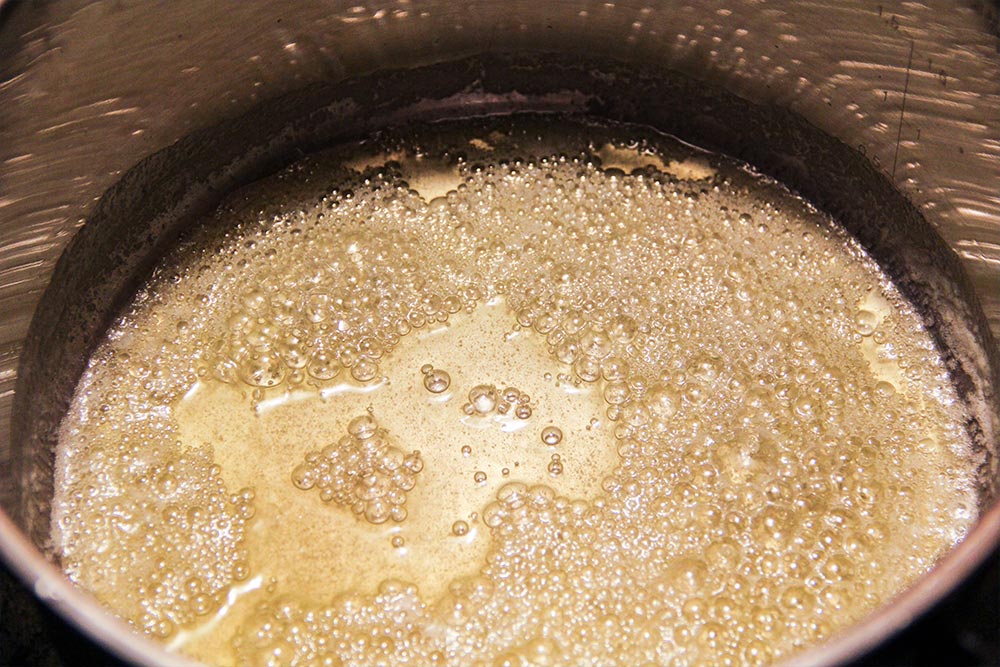
Once I began smelling the butter and noticed that it was changing color, I removed it from the heat for just a moment. It only took about 4 minutes or so. I was extra careful not to brown it too much. It can burn extremely easily.
If you’d like to learn how to brown butter, please take a look at this resource:
How To Brown Butter | Joy the Baker
Add Almonds
After that, I quickly added the almonds and returned the pot back to the medium heat for another minute.
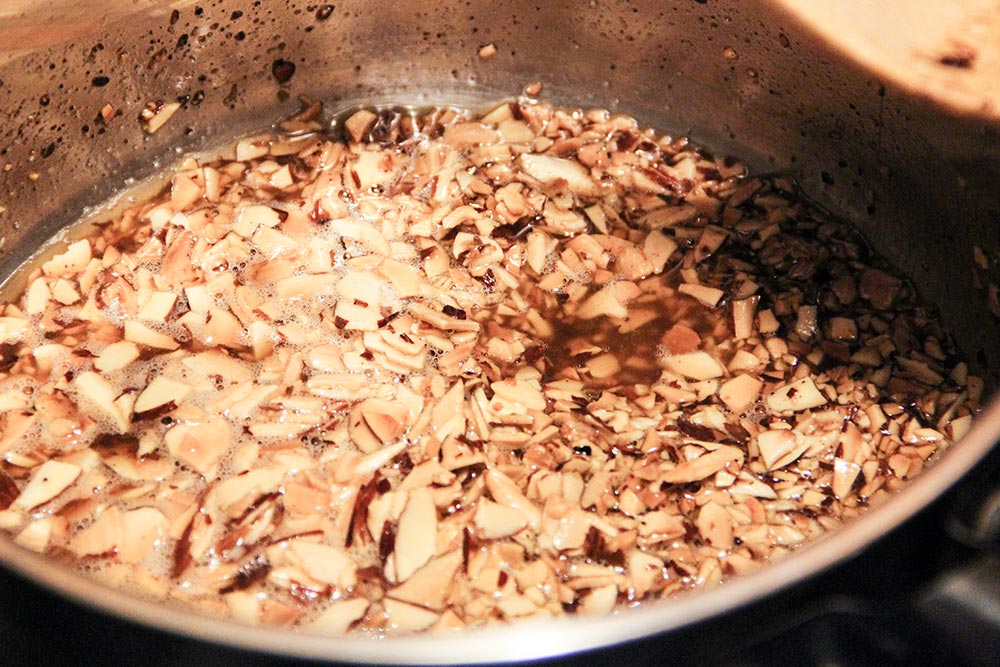
At this point, I ground up a small amount of black pepper into the pot and I added some salt. Strange thing about the salt – I discovered that when food is hot, the salt isn’t all that prevalent, but when the food cools down, it really pops out. I probably added too much at around a half-teaspoon, but at the end, I’m glad I did. Like I mentioned above, the almond and butter topping, along with the salt is what adds all the flavor to this dish.
Re-Heat Beans in Skillet
Remember that beautiful skillet I purchased a month or two ago? Well, I got to use it again. I placed the stored beans into it and added 1/4 cup of water. I turned my stove burner to high and flipped the beans with my tongs for around 1 minute. Just until they were hot again.
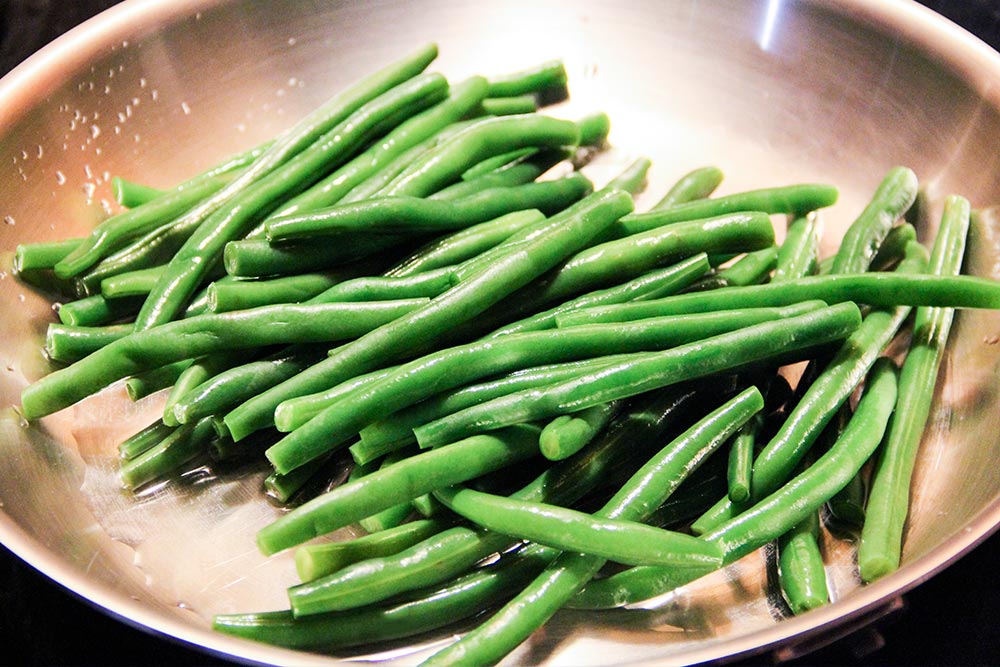
I was sure to not go overboard with this step. I wanted to keep the brilliant green on the beans. If I re-heated for too long, they would turn that ugly shade of green. As I was stirring and flipping the beans, I shook some salt on them for flavoring.
Pour the Almond & Butter Over Beans
Once I was finished with the re-heating, I transferred the beans to a serving dish. I then slid the almond and butter topping onto the beans. I tried to be as uniform as possible.
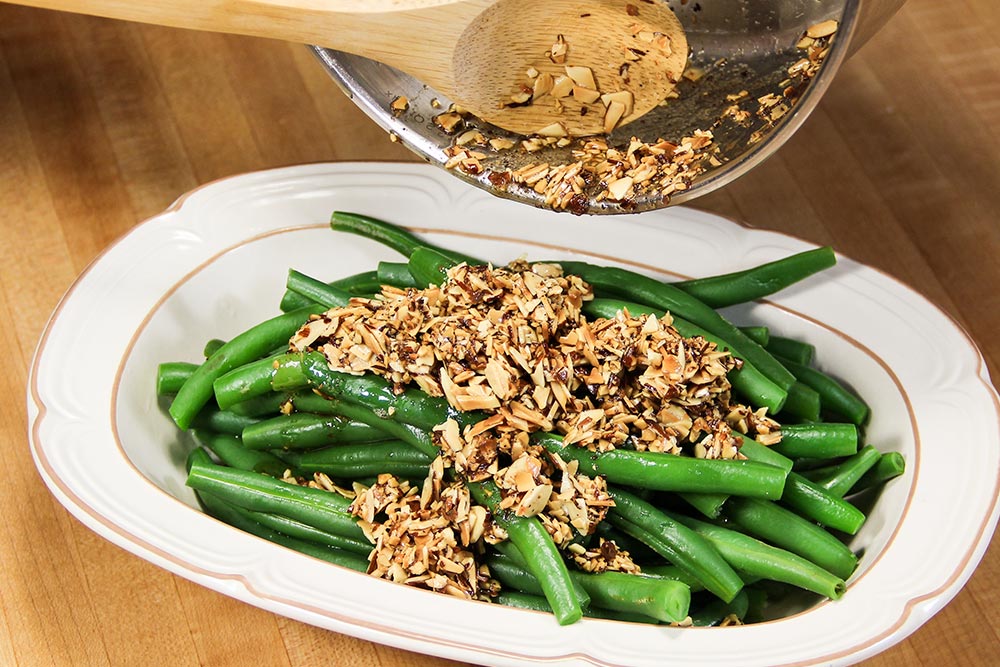
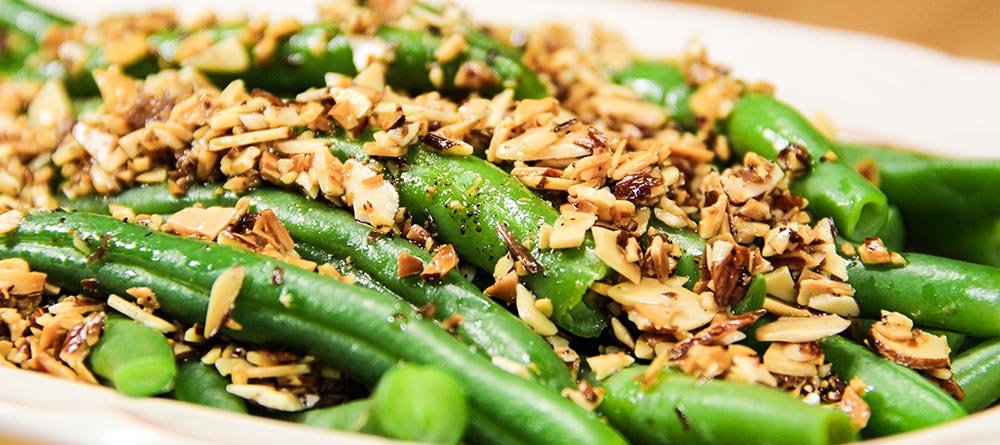
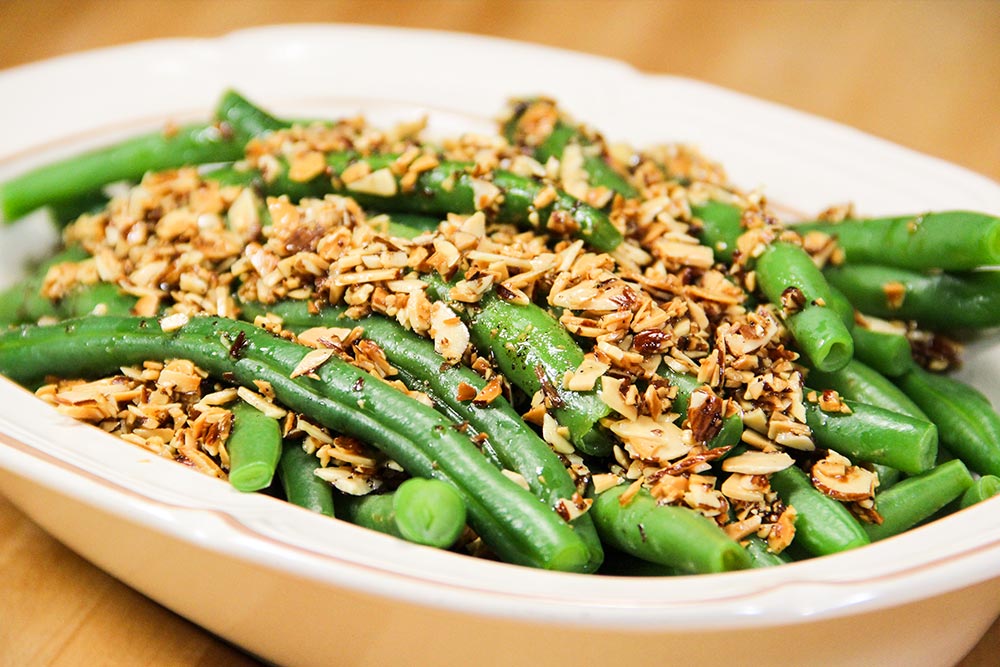
The Finished Product
As I mentioned above, this is a good recipe and I suggest you give it a try. It’s a perfect side dish for the holidays or for when you have friends over. With the strong flavors in the almond and butter topping combined with the vibrant greens, it’s sure to be a hit.
——
If you’ve enjoyed today’s post and found it helpful, please share it with a friend. Also, if you’d like to continue reading and would like our posts sent directly to your email inbox, simply sign up for our newsletter. We’ll send each and every post directly to you. Thanks!
Leave a Reply