If you remember back to the last broccoli soup recipe I tried, you surely remember how many ingredients were involved as well as how much flavor development needed to be achieved. Granted, that recipe was part of a course that was teaching about soups and stews. If there wasn’t much to do, I don’t think I would have learned anything. The thing is, when I was finished preparing the soup, I wasn’t blown away with what I tasted. If I can recall, there was some blur in the flavor profile. I guess what I’m trying to say is that there wasn’t much going on in the way of ingredient independence. I know it was all blended together, but still, I’ve tasted soup that’s knocked my socks off.
I’ve recently discovered that as I go about preparing a recipe, I become somewhat obsessive. I’m not sure if this is a good or bad trait to have. When I finish preparing the recipe, if everything doesn’t come out as expected, I can’t stop thinking about it. Just ask Laura about the flat bread debacle. For some reason, I can’t get past that one. I’ve got new Dutch oven bread recipes lined up across my desktop (that I’m sure I’ll share with you).
Anyway, part of the reason I wanted to learn how to cook in the first place was to delve into the aspects of flavor. I wanted to know what flavors were and how they can combine with each other to form new ones. I wanted to know how the masters do it and I wanted to see if I could do it myself. While I’m learning the basics of cooking online in my courses, I still peek around a bit, on my own, to see if I can simplify and separate ingredients to such a degree that I’m able to identify precisely what I’m eating. And lucky for me, I believe I’ve stumbled across a recipe that’s going to let me do exactly that.
Enter Gordon Ramsay‘s simple broccoli soup recipe. When you see the ingredient list below, you’ll understand why I was initially attracted to this one. In the most basic sense, all I need is broccoli and water. Oh yeah, and a little salt. There are a few more optional ingredients that I’ll use, but from what I can tell, many people choose not to.
I’m writing this section of the post before I’ve attempted anything. I’m going to head to the kitchen in a bit to see what happens. I’d like to prepare the recipe, taste it, have Laura taste it and report back with an honest determination. I like to think that we’re in this together. First though, I’ll give you the full ingredient list.
Ingredients
Serves: 4
2 Large Heads of Broccoli
Table, Sea or Kosher Salt
4 Quarts Water
Goat Cheese
Shelled Walnuts
Extra Virgin Olive Oil
Ground Black Pepper
Step-by-Step Instructions
Below, I’m going to proceed through this recipe, step by step. There really isn’t all that much to do. If I had to guess, I’d say the entire event should take about 15 minutes.
Boil the Water
Since the only ingredient that needed preparation at this point was the broccoli, I decided to fill my largest pot with 4 quarts of water and 1 tablespoon regular table salt. I turned the stove top to high and gave everything time to boil.
Trim the Broccoli Heads
I started things off with two rather large broccoli heads that I picked up from the grocery store a few days ago.
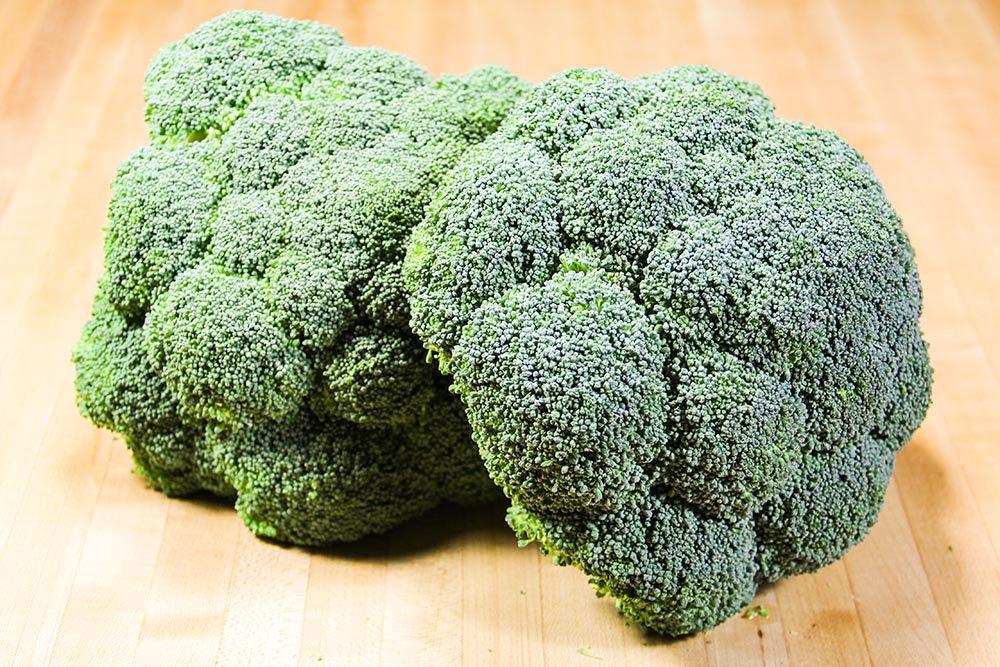
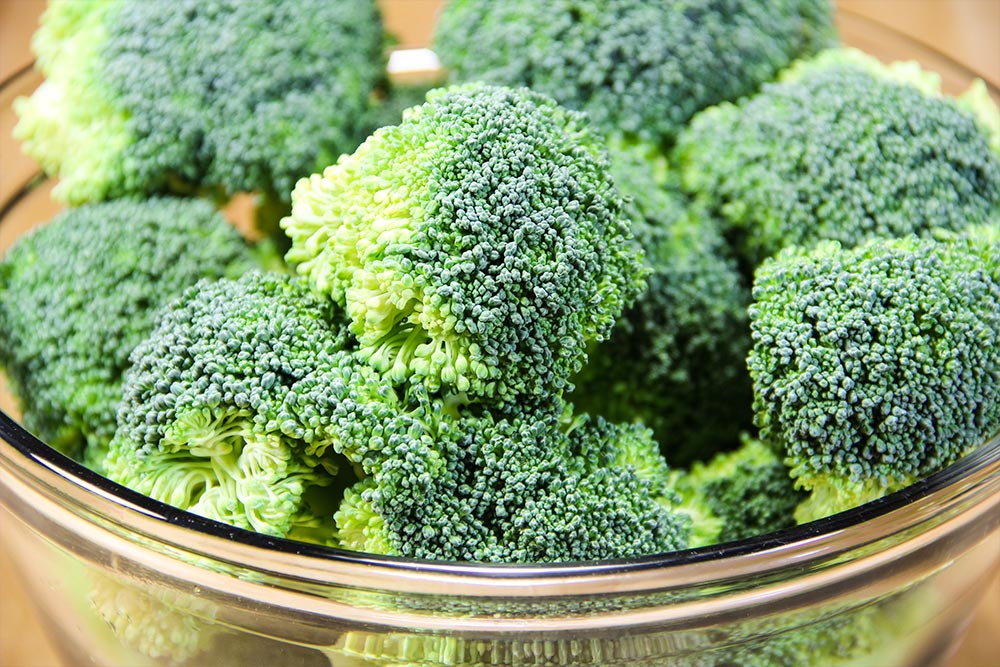
After they had their photo shoot, I trimmed the florets from the stems. Once that was finished, I stored the florets in a bowl for use once the water was ready to go.
Add Broccoli To Rapidly Boiling Water
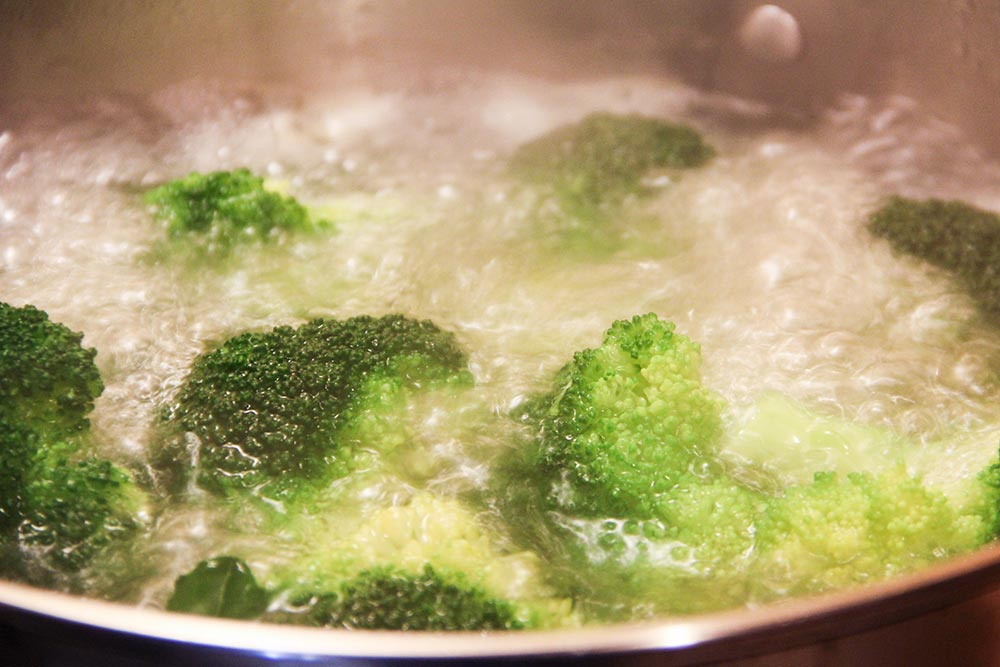
This is important. The broccoli needs to be added to the water only once it’s boiling rapidly. This means the water should be rolling. The broccoli is going to cool the water down a bit, so you should do everything you can to keep it as hot as possible. In my case, the water only stopped boiling for a few moments and then it heated right back up. During this step, the lid needs to be on the pot.
Prepare Walnuts, Goat Cheese & Black Pepper
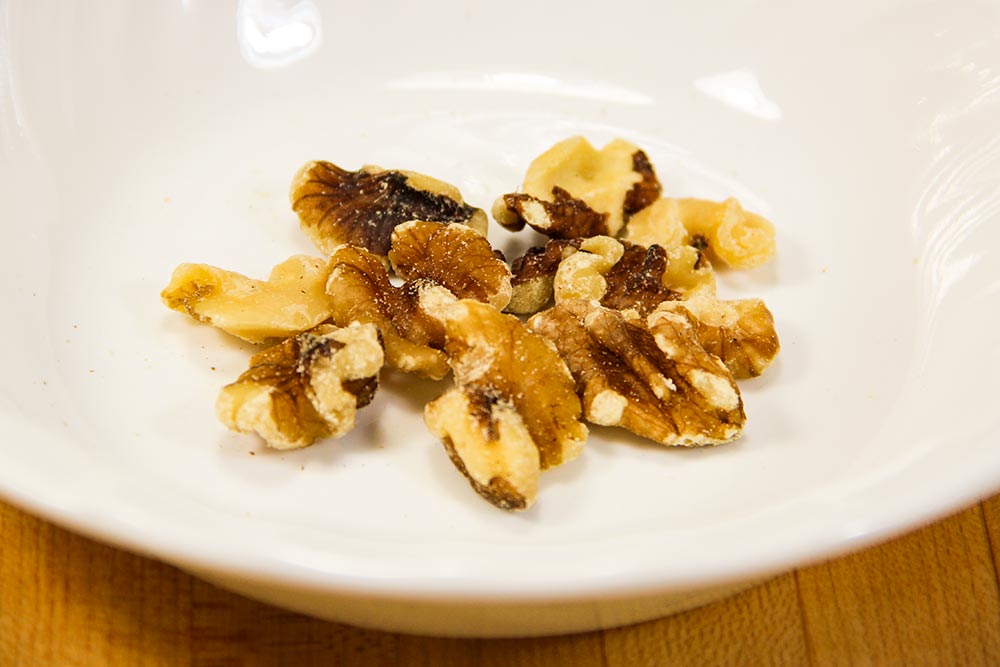
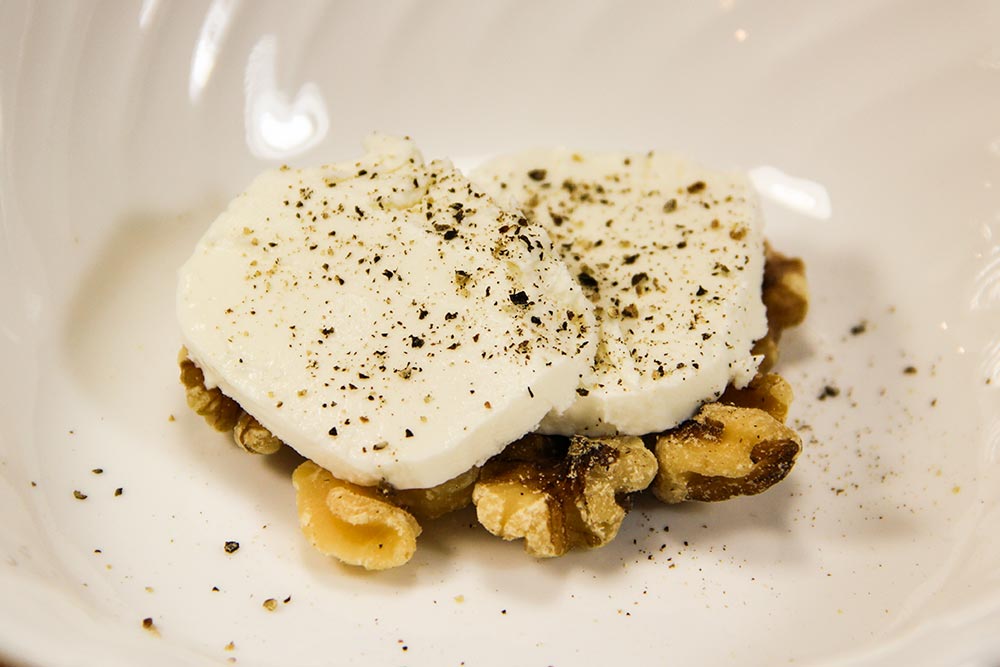
The broccoli is going to need at least 4-5 minutes to tenderize in the pot. It was during this time that I decided to prepare the ingredients that went together with the eventual soup in the bowl. The first was the shelled walnuts. I arranged 10 in the center of the bowl.
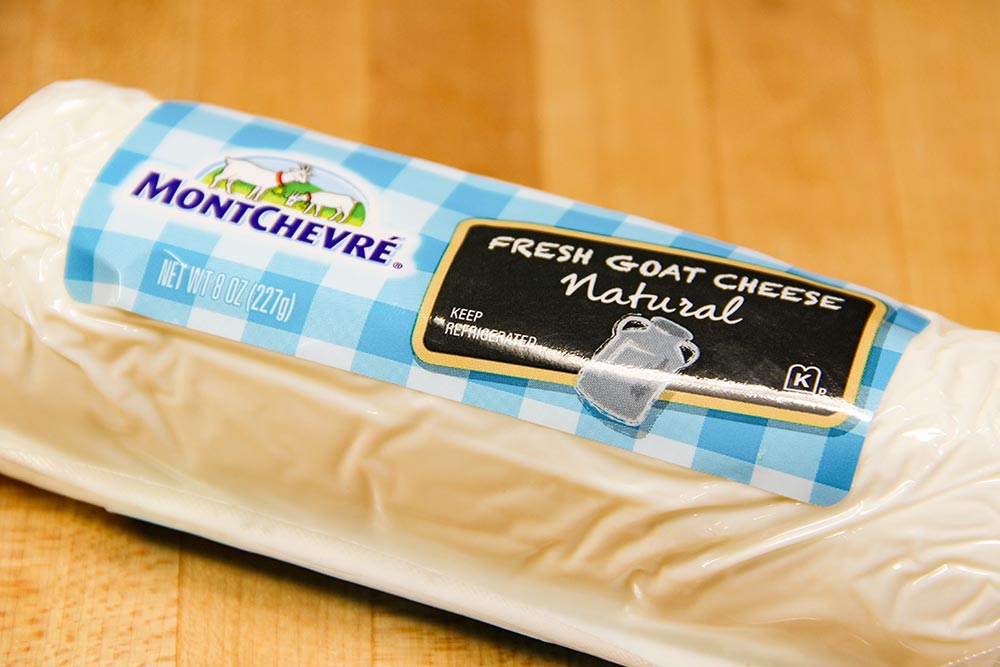
Once that was finished, I took the roll of Montchevré goat cheese I also purchased from the grocery store a few days ago, unwrapped it and placed it on a serving dish.
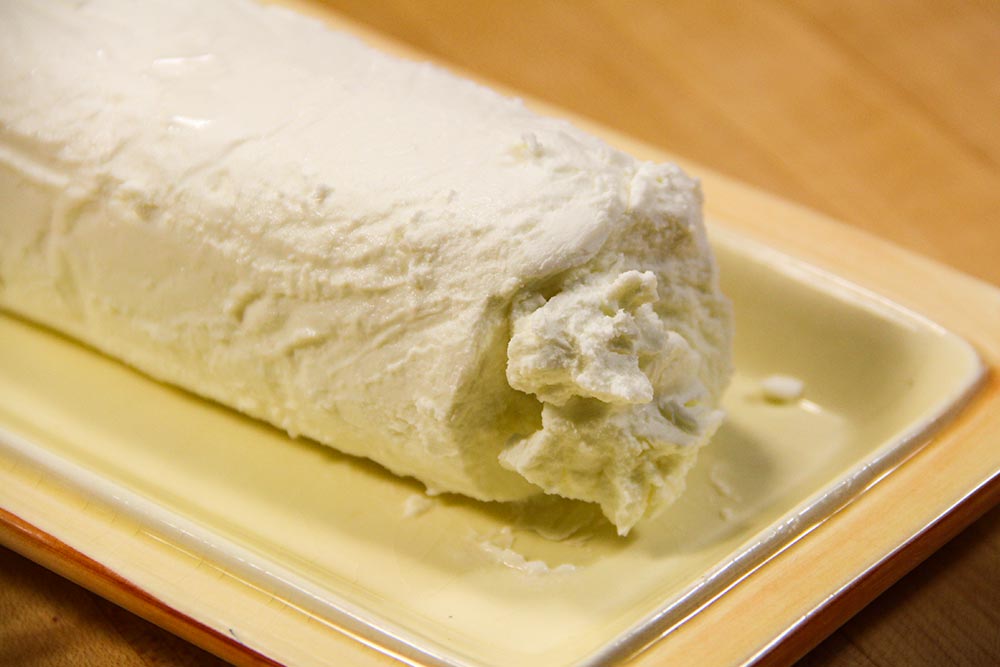
It’s not pretty, but it sure does taste good.
Now, the method Gordon uses to slice through the goat cheese in his video is to dip a knife into the boiling water that the broccoli is in. Once the knife is hot enough, he slices right through the goat cheese like a hot knife through butter. I had to throw that in. Seriously, his method works. I dipped my knife in the boiling water and it went right through the cheese. I forgot once and it was ugly. My advice is to heat your knife first. Then cut.
I only needed 2 slices. Once they were cut, I placed each one right on top of the shelled walnuts.
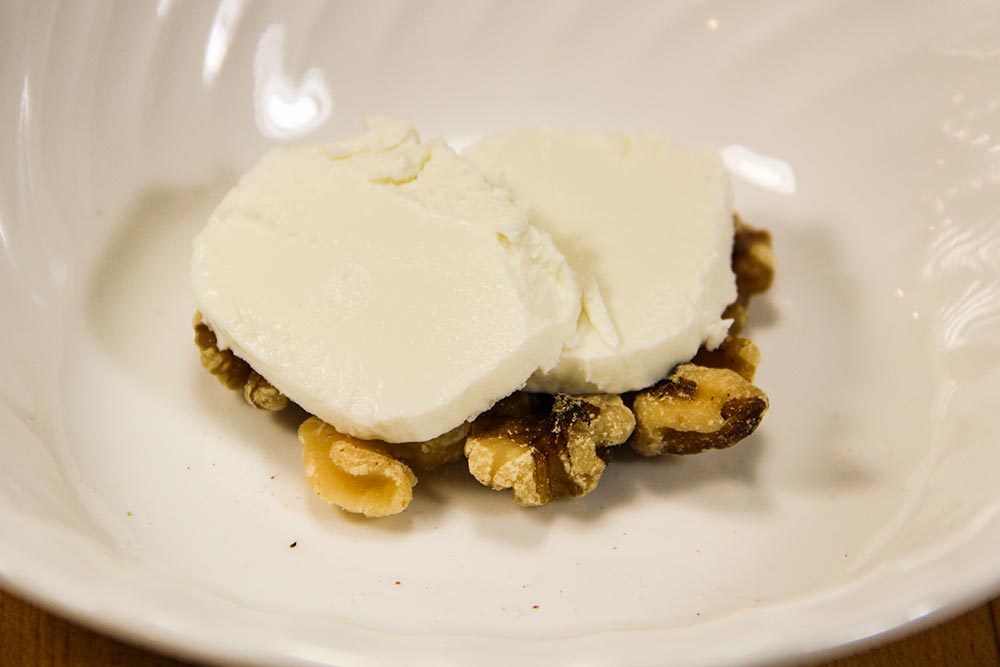
And after that was situated, I ground some black pepper on top of everything.
Strain Broccoli & Keep Water
By this point, the broccoli was finished boiling. I tasted its tenderness by pushing one floret against the wall of the pot with my knife and then pushed through it, blade first. Since the knife easily slid through, I knew it was ready. I placed my steamer into my other pot and poured all the contents of the broccoli and water pot into it. This left me with tender cooked broccoli in the steamer and the water that boiled it in the pot.
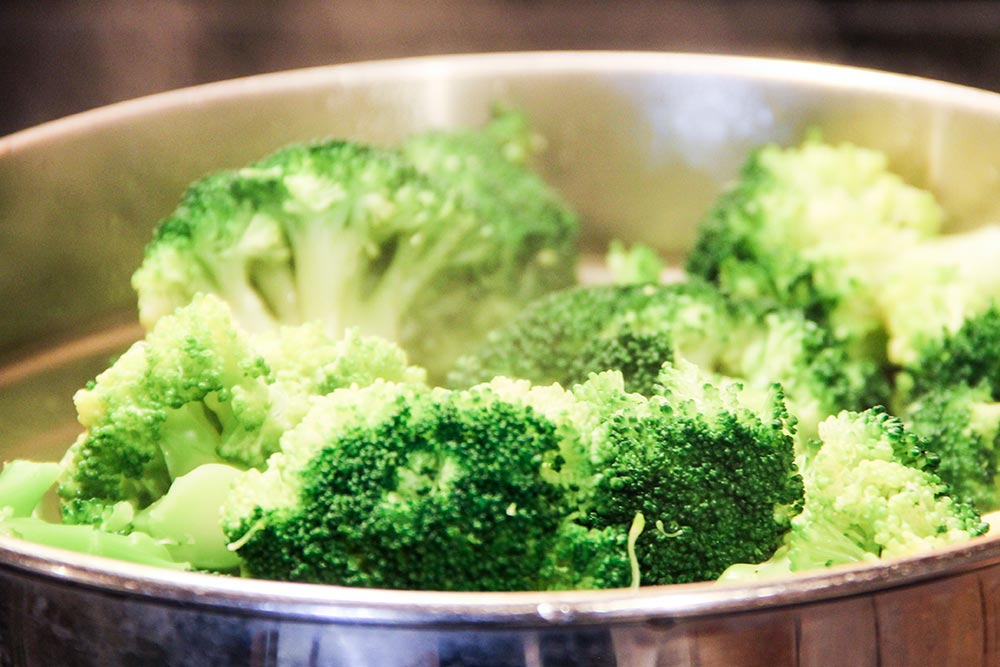
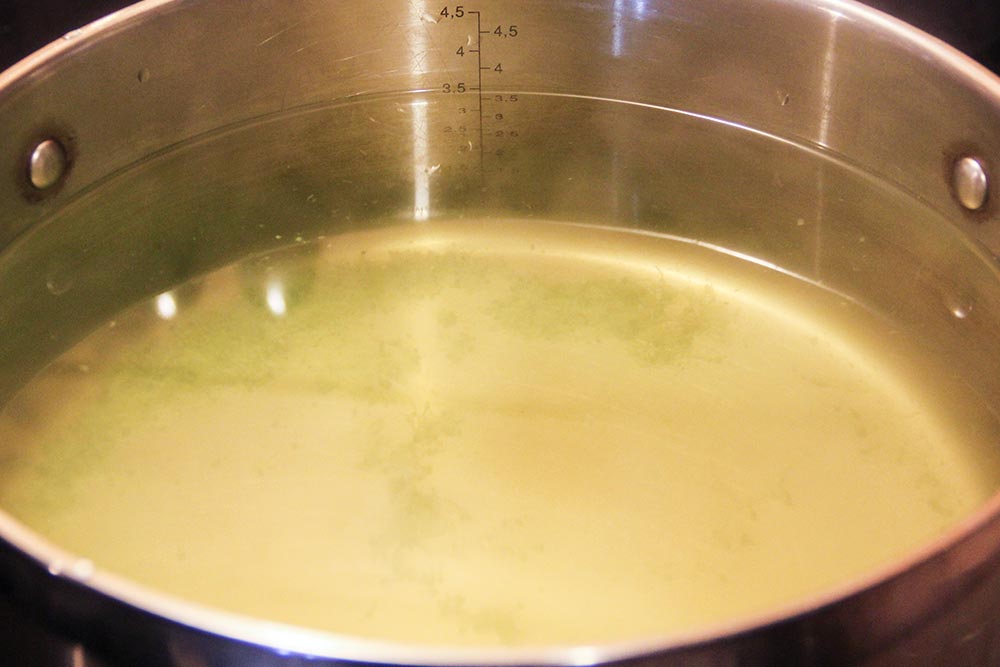
According to Gordon, the water is where the magic is. It’s got some flavor and color from the broccoli as well as some flavor from the salt.
Add Broccoli & Water to Blender
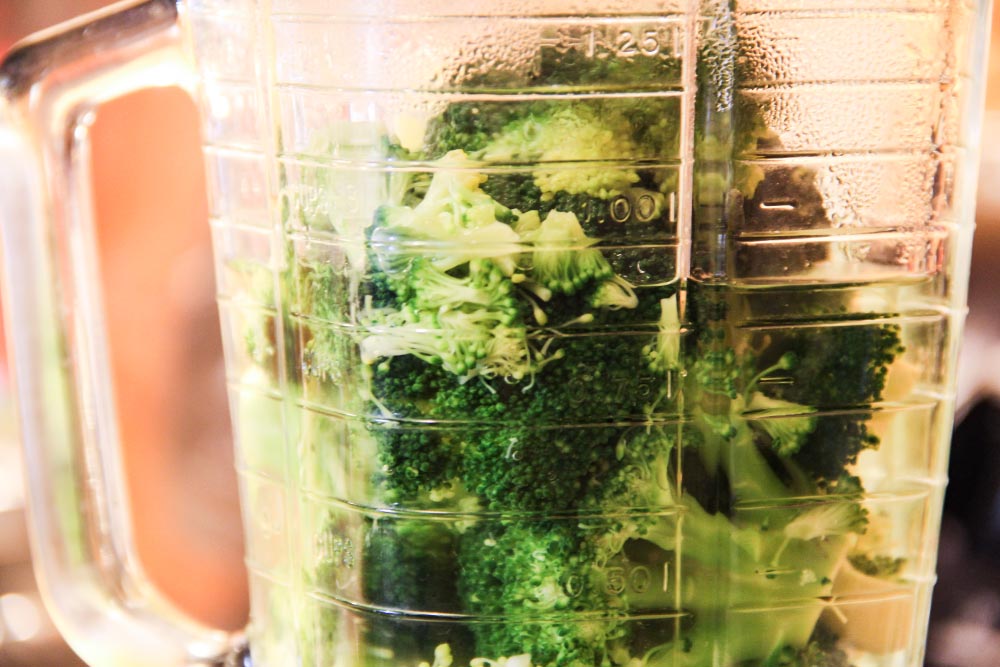
For me, this was somewhat of a trial and error. Gordon says to add some broccoli to a blender (probably around 3/4 of the way full) and then to add some water (probably about 1/2 of the way full. I then saw him fill his blender with more water than he said to add. I followed his lead and after I blended, I found that my mixture was too watery. I should have listened to him.
Blend Ingredients
This part was really fun. Once I found the correct ratio between broccoli and water, I blended well. What I discovered afterward was wonderfully bright green soup that actually tasted great.
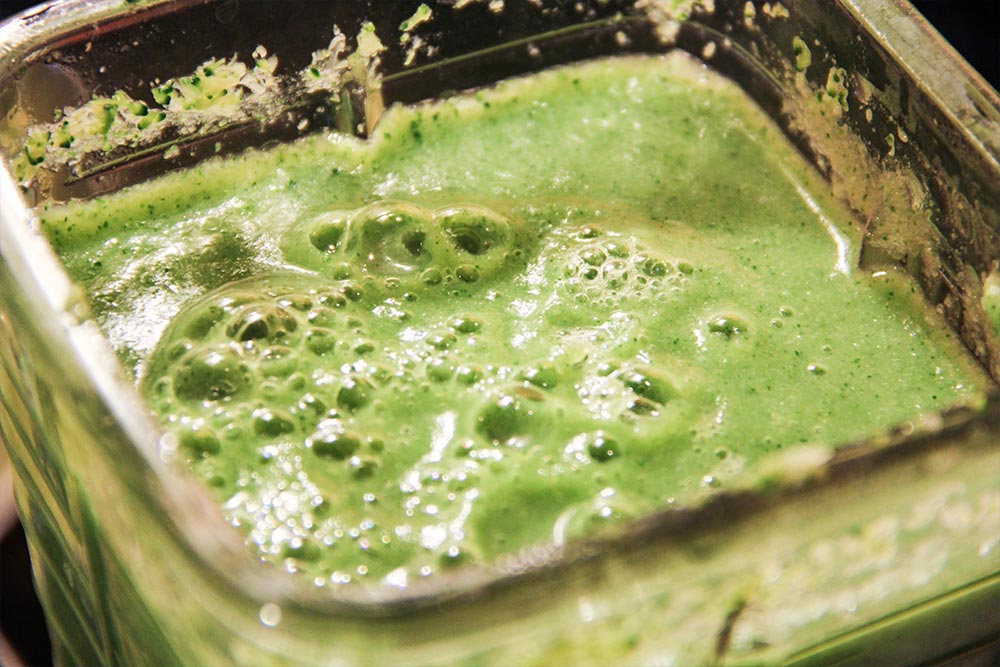
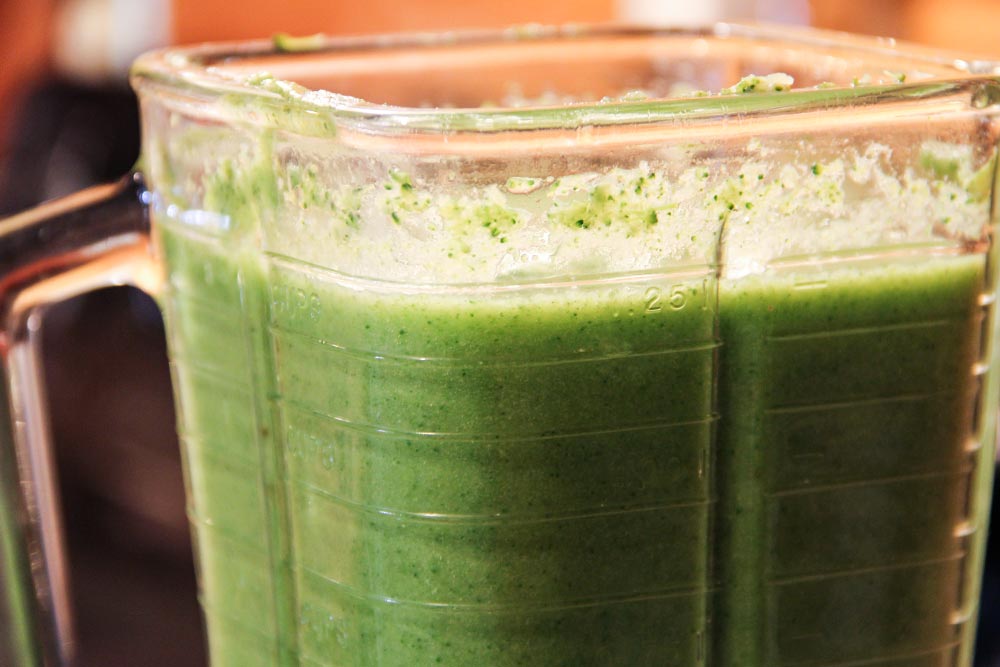
These photos really aren’t an exaggeration. The soup is green! I’m not sure how it got so green, but it did.
After tasting a few times, I seasoned with a few more pinches of salt and called this step finished.
The Finished Product
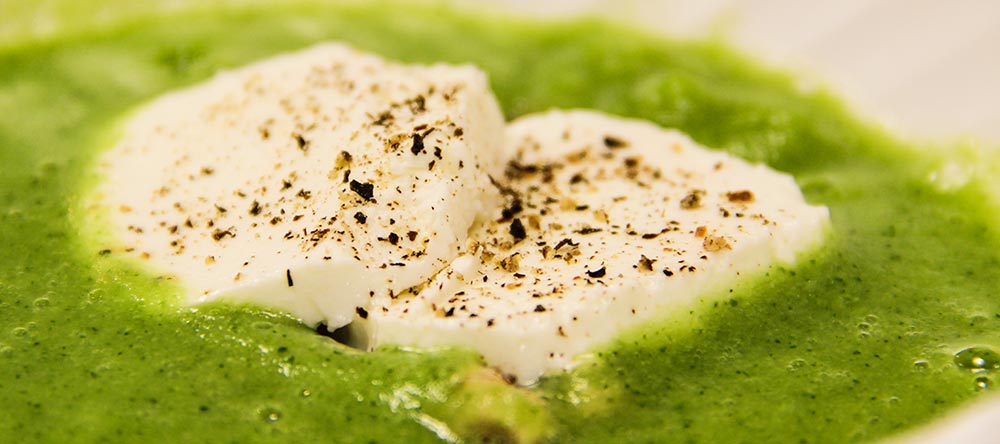
Since I had my bowl already finished and ready for the soup, I merely poured some in, being sure to surround the center ingredients. This is what I got.
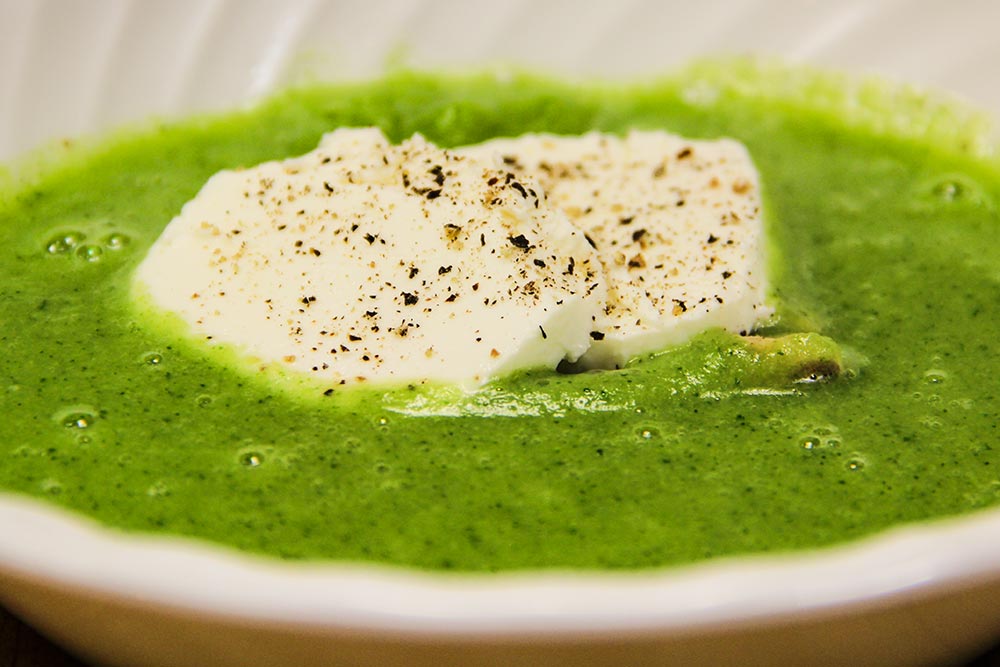
I didn’t add any olive oil to this particular bowl because Laura and I shared it. She preferred not to have any. In my next bowl, I’ll be sure to drizzle some around the goat cheese.
You wouldn’t believe how difficult it was to get this final photo. Because we don’t have any shallow soup bowls and because the center ingredients were so low in the bowl, I had issues. Eventually though, Laura and I managed to get a few decent shots. Trust me, we’ve got a few items on our shopping list.
My review of this soup is very favorable. I’m pleased with how well the broccoli was seasoned by the salt during its boiling and how well it accepted it as a flavoring agent. I think what I like most about Gordon’s recipe, besides its simplicity, is that it keeps its ingredients separate. When I taste it, I can definitely tell what I’m biting into and what’s in my mouth. This is my kind of eating!
——
If you’ve enjoyed today’s post and found it helpful, please share it with a friend. Also, if you’d like to continue reading and would like our posts sent directly to your email inbox, simply sign up for our newsletter. We’ll send each and every post directly to you. Thanks!
Leave a Reply