This year for Jay’s birthday, I wanted to change things up and make something new and exciting for his birthday cake. I usually make a fall-themed cake or our favorite a classic Tiramisu. A few months ago we were watching Gordon Ramsay’s MasterChef show and during one of the episodes, the contestants had to make an upside-down pineapple cake. I have never made one of these cakes and I thought I would be up for the challenge. Currently, my other challenge is making gluten-free desserts. After doing some research, I came across a recipe using King Arthur gluten-free yellow cake mix. Due to the current situation of the world, I found that coming across a box of this mix to be quite difficult. Eventually, I did have success in finding a box of Krusteaz gluten-free yellow cake mix online through Walmart.com, so I combined the two recipes and if I do say so myself, my cake came out pretty nicely.
The Recipe
For those of us who are gluten-free, this recipe allows us to enjoy classic desserts such as this upside-down pineapple cake. Do you know where the upside-down cake originated from? The term “upside-down cake” first appeared in the late 1800s, but this style of baking “upside-down” dates as far back as the Middle Ages with skillet cakes. These types of cakes were prepared in cast iron skillets. Fruit and sugar were added to the bottom of the pan while a simple cake batter was placed on top. This cake also became popular in the 1950s and 1960s and is currently gaining in popularity again because it is so delicious.
I usually make cakes from scratch, but I didn’t want to experiment too much for this occasion, so like I mentioned, I went ahead and used Krusteaz gluten-free yellow cake mix for this classic cake. I used the gluten-free upside-down pineapple cake recipe from the King Arthur Baking Company for the topping and then went ahead and followed the directions for baking the cake portion of the dessert. This will all become clear as I break down the ingredients and baking instructions.
Ingredients
Yields: 2 Cakes: One Pineapple, One Plain
Topping
4 Tablespoons Cold Butter
1/2 Cup Light Brown Sugar, Packed
1/4 Teaspoon Cinnamon
1/4Tteaspoon Ginger
20 Ounce Can of Pineapple Rings in Juice, Drained, Juice Saved
Candied Red Cherries or Maraschino Cherries
Diced Pecans or Walnuts, Optional
Cake
1 Stick (1/2 Cup) Butter, Melted
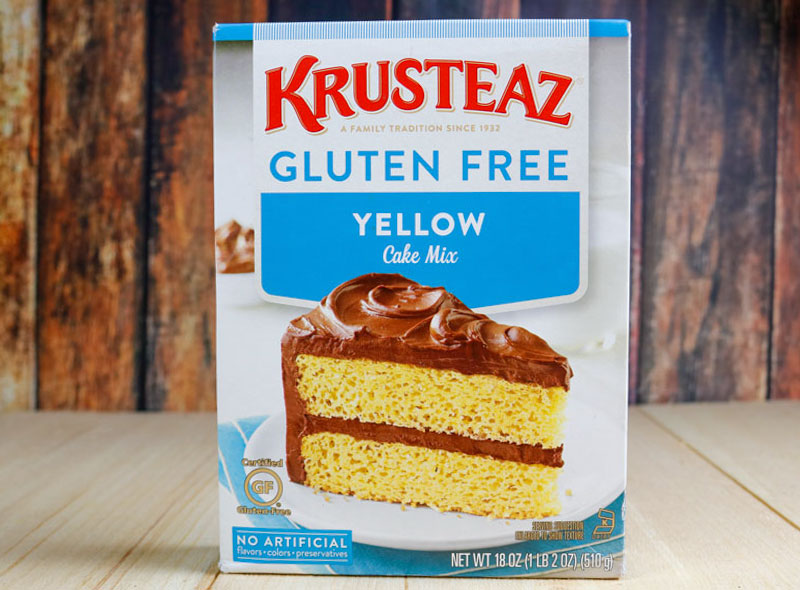
1 Box Krusteaz Gluten-Free Yellow Cake Mix
3 Large Eggs
1 1/4 Pineapple Juice (From the Can of Pineapple Rings)
Step-by-Step Instructions
Prepping the Cake Pan
To begin, preheat your oven to 350 degrees Fahrenheit. Next, lightly grease the bottom only of two eight-inch round cake pans. I used nine-inch pans and they worked out fine.
Preparing the Topping
To make the topping, melt the butter and mix with the brown sugar, cinnamon, and ginger in a saucepan over low-medium heat. Spoon the mixture into one of the cake pans.
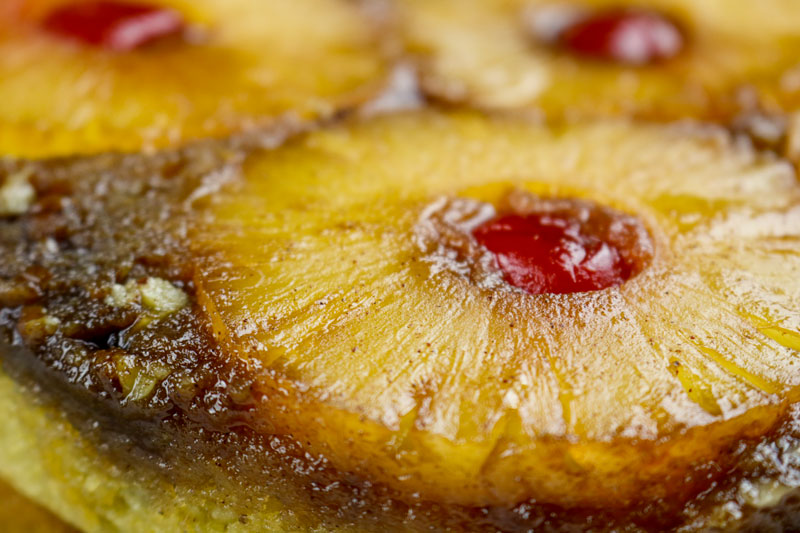
Drain and save the juice from the can of pineapple rings. Space the pineapple rings on top of the brown sugar mixture.
Place a cherry in the center of each pineapple ring. If you are using nuts, scatter them in any of the empty spaces.
Combining the Ingredients for the Cake
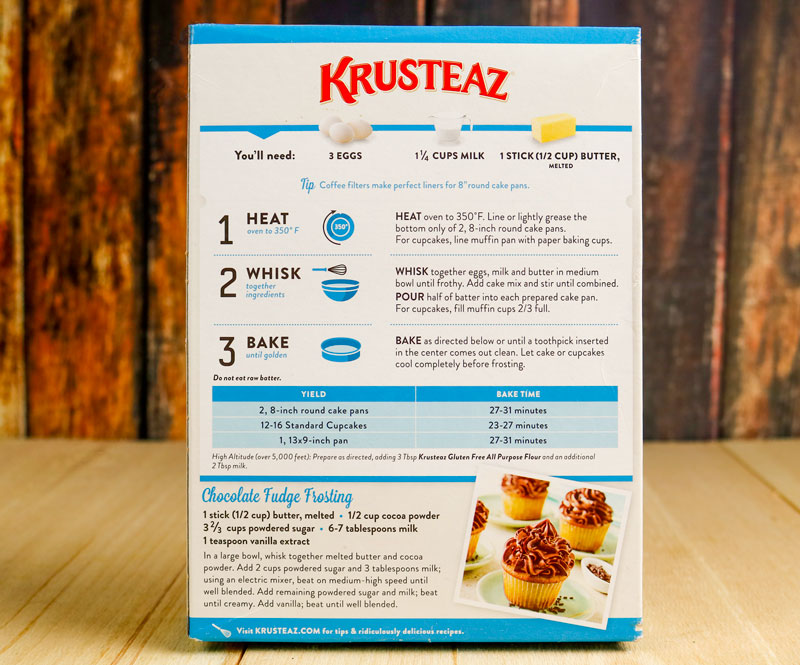
I followed the directions on the back of the box, except for the use of milk. During this step is when you substitute the milk for pineapple juice. Whisk together eggs, butter, and the juice from the can of pineapple rings. If you don’t have enough to make the 1 and 1/4 cup of juice, you can make up the difference with water. Add the cake mix and then stir until combined.
Next, Spoon half the batter into the pan, spreading it over the fruit to the edges. Then spread the other half of the batter into the second pan.
Baking the Cake
Bake the cake for 40 to 45 minutes, until it’s firm on top and the edges of the crust are brown.
Removing the Cake from the Oven
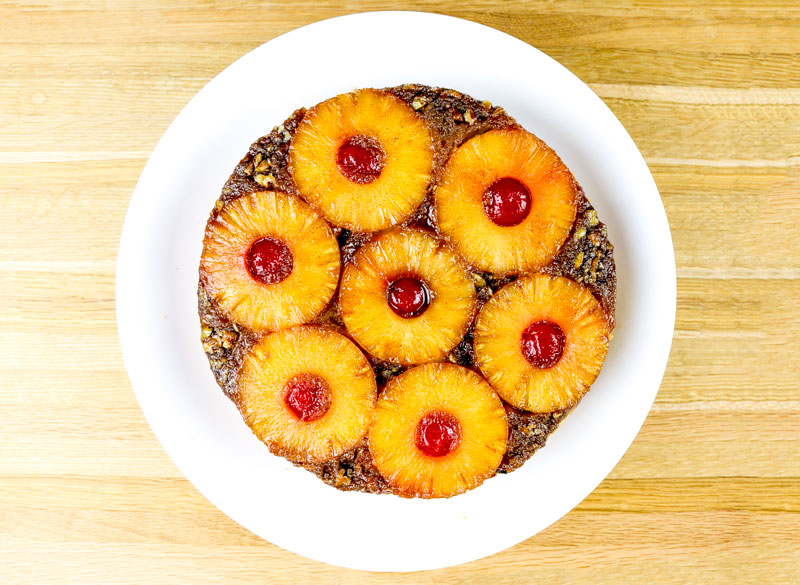
Remove the layer without the topping from the oven, run a spatula around the edge, wait 3 minutes, then turn the pan over onto a serving plate. Wait another 30 seconds, then lift the pan off. Then, repeat this step with the second layer with the topping. If anything sticks to the pan, just scrape it out and spoon it back on the cake. Best served when warm.
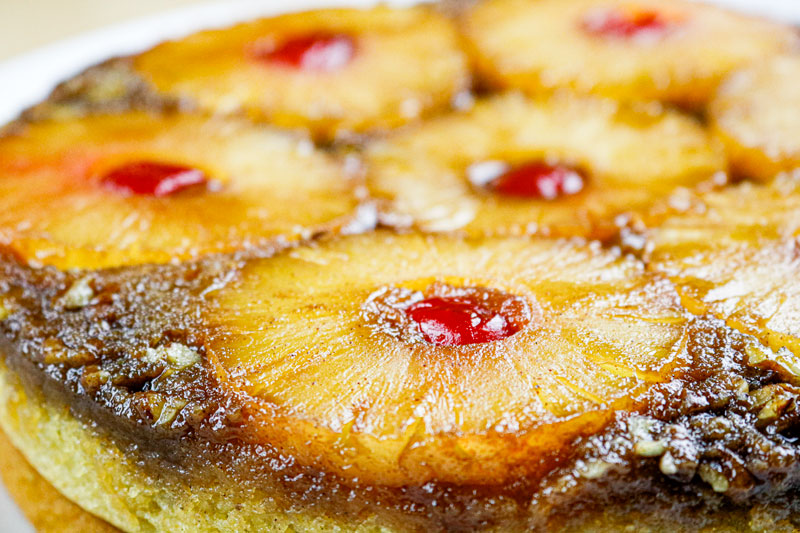
Combining the two cake recipes turned out quite wonderfully. The cake was flavorful, moist, and very buttery-sweet. I think it was a birthday hit and I don’t think we could tell it was gluten-free at all.
Can’t I just use the entire recipe in 9×13 pan? Thanks.
Yes, I think so. We used the pans we had, but I don’t see any reason not to use one larger pan.