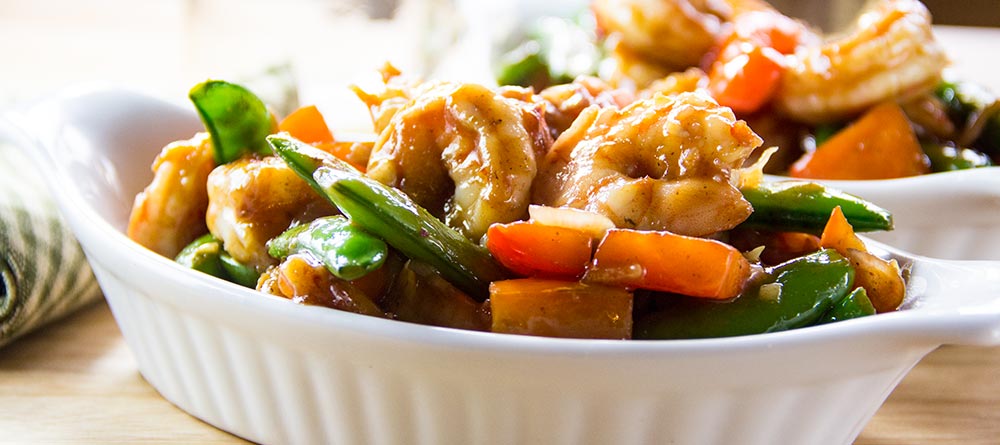
Even before I began putting this recipe together, I knew it was going to be good. One look at the ingredients told me so. For starters, I love shrimp. Add pretty much any type of stir-fry sauce to that and my life gets incrementally better. Throw in some red bell peppers, some snap peas, garlic, shallots and ginger – I’m all set. That’s what I call a good dish.
I’m just finishing up the Stir-Frying course over at America’s Test Kitchen and this is the recipe I chose to prepare. There were some beef and chicken recipes to choose from, but I decided to go with this because, well, shrimp is where it’s at. Seriously.
Before we begin, I feel that I should warn you that there’s a smidgen of heat in this dish. Nothing to write home about or anything, but if you have a serious aversion to spice, then perhaps you should simply look at the pictures and leave it at that. But, if you’re like me and you love spice in your life, get your chef’s knife out and read on.
The Recipe
I think the aspect I enjoyed most about this recipe was the use of many diverse ingredients. Some, I’ve never had the pleasure of utilizing before. As you review the list below, you’ll see what I’m referring to. This ain’t no mac and cheese.
Ingredients
Serves: 4 tiny people or 2 adults
2-3 Garlic Cloves
1 Pound Extra-Large Shrimp
1 Tablespoon Minced Fresh Ginger
3 Tablespoons Vegetable Oil (I used pure olive oil)
1/2 Teaspoon Regular Table Salt
1 Teaspoon Soy Sauce
3 Tablespoons Sugar
3 Tablespoons White Vinegar
1 Tablespoon Asian Chili-Garlic Sauce
1 Tablespoon Dry Sherry
2 Teaspoons Toasted Sesame Oil
1 Tablespoon Ketchup
2 Teaspoons Cornstarch
1 Large Shallot
8 Ounces Snow Peas or Sugar Snap Peas
1 Red Bell Pepper
Step-by-Step Instructions
The original recipe calls for using a 12″ non-stick skillet. Since I don’t use that type of skillet anymore, I went with my cast iron. For those of you who have decided to walk the cast iron road as I have, rejoice in the fact that these types of pans work wonderfully with recipes like this.
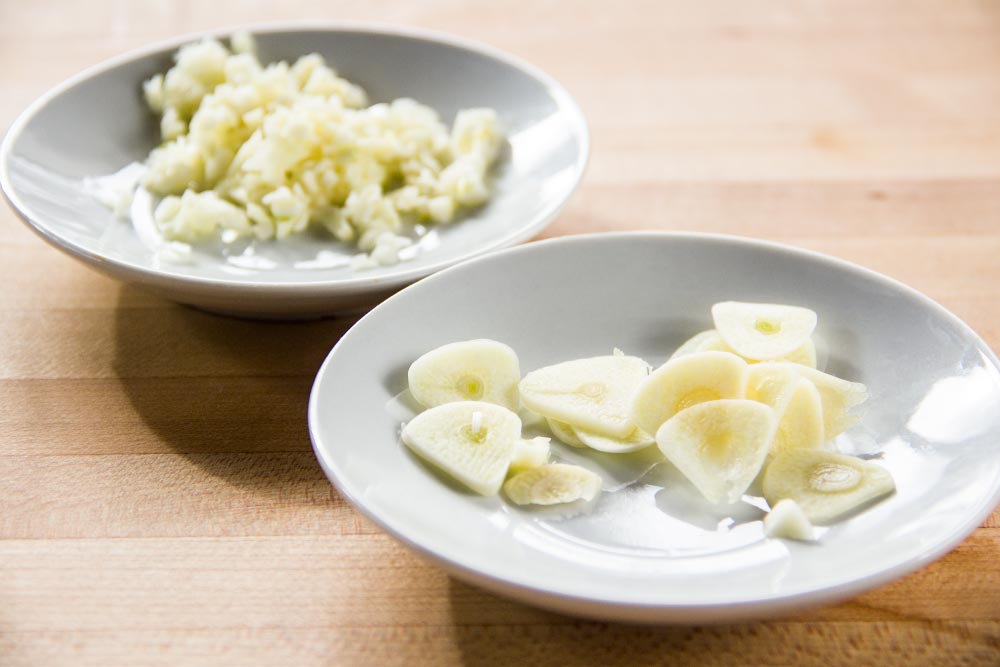
Peel, Slice & Mince Garlic
The recipe calls for two different type of cuts when it comes to the garlic. The first is sliced (one clove) and the other is minced (the other clove). They are used at different times.
Defrost, Peel & Clean Shrimp
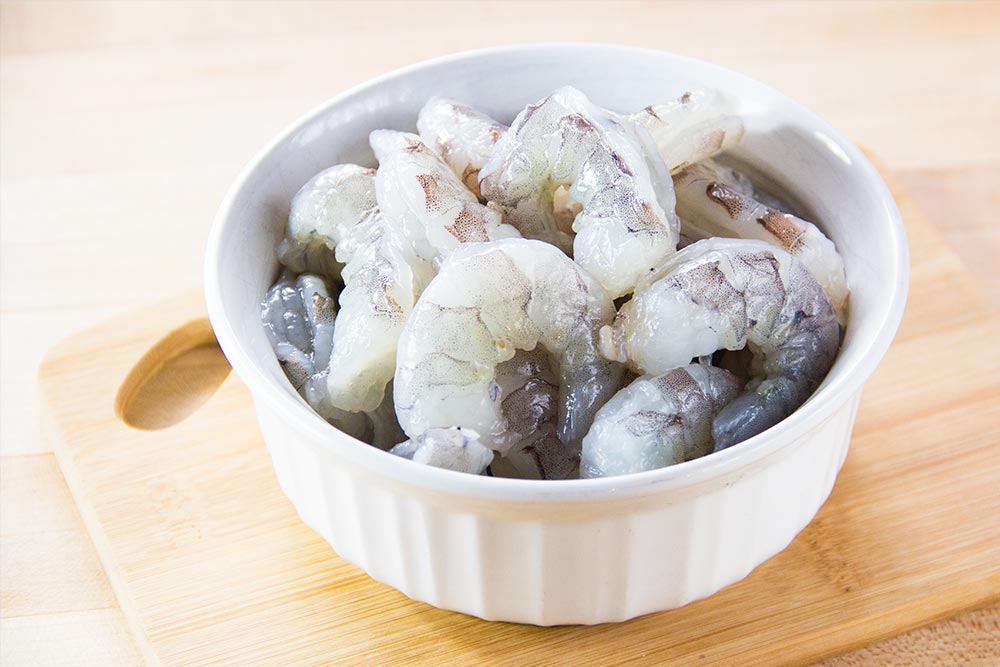
From what I can gather, shrimp is flash frozen at sea. It’s been recommended to purchase frozen shrimp at the market as opposed to thawed or “fresh.” I think the “fresh” claim means thawed from frozen. In my case, I purchased one pound of peel-on frozen shrimp that was already deveined. When I bought it, I didn’t know it was deveined, which, as you can imagine, was a special treat.
Before I began the recipe, I poured the bag of frozen shrimp into a bowl and covered them with water. I let them sit like that for a while until they were thawed. After that, I peeled them and stored them in a bowl for later use. If you happen to purchase shrimp that haven’t been cleaned yet, be sure to clean them before you use them in this recipe.
Mince Fresh Ginger
If you have fresh ginger, go ahead and peel and mince about 1 tablespoon’s worth. I didn’t have fresh, so I went with dried. I used a bit more than a half tablespoon.
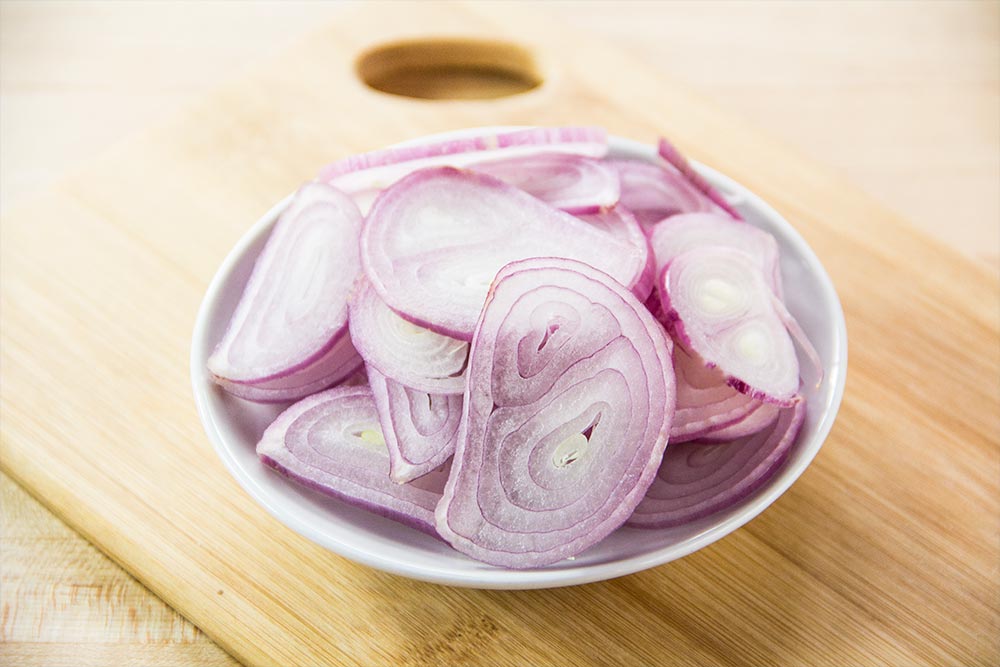
Peel & Slice Shallot
I’m really getting the hang of working with shallots. I like them a lot too. Last week, I attempted to substitute an onion for a shallot and didn’t have good results. Shallots are the way to go, especially when the recipe calls for them. For this recipe, I sliced the one large shallot thinly and set it aside for later use.
Trim Snow or Snap Peas
If you purchased snow peas, go ahead and stem and string them. Since I bought snap peas, I simply trimmed the ends off as closely to the tip as I could. I didn’t want to lose too much material, but I wanted to clean up the pod as much as possible.
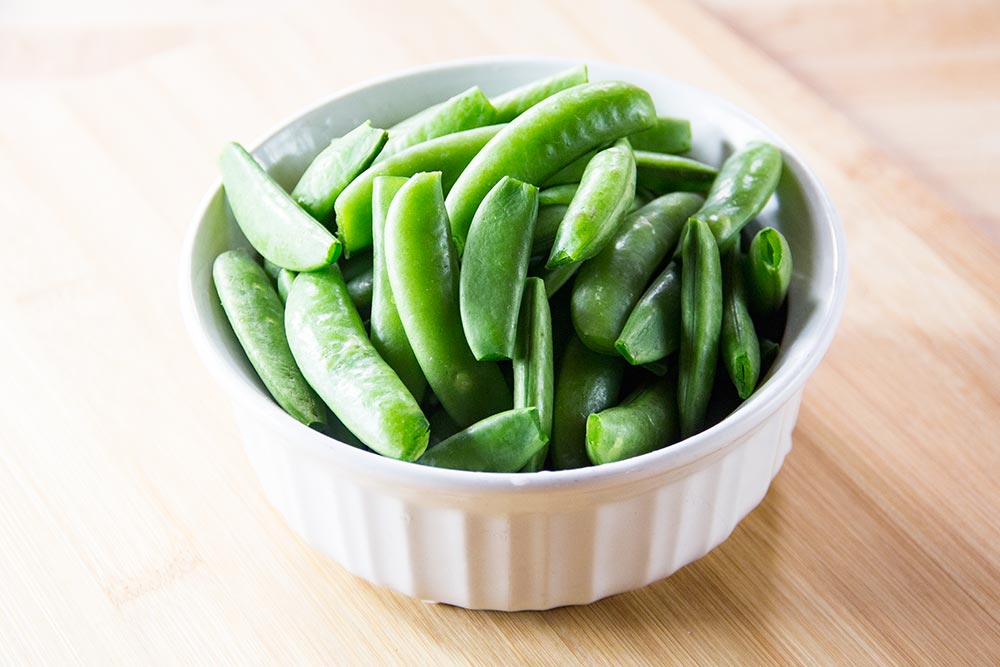
After I was finished, I put them aside for later use.
Chop Red Bell Pepper
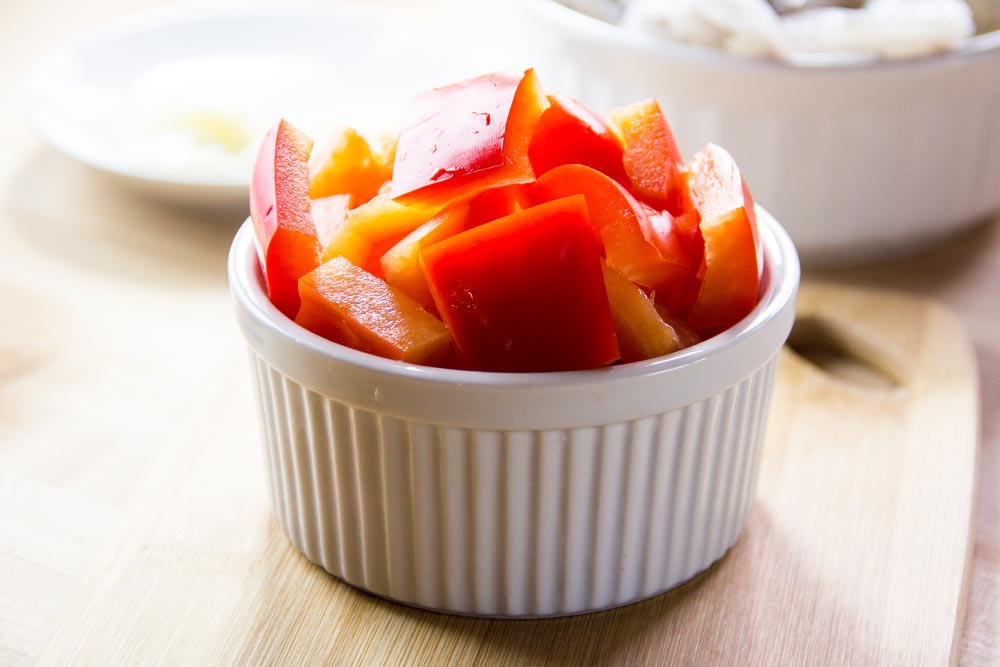
The red bell pepper is what gives this dish its wonderful color. I’m loving these peppers, especially when it comes to the photography for this site. At this point in the recipe, I stemmed and cleaned out the pepper and then chopped it into 3/4 inch pieces. In the photo below, almost all the pieces are inside of the bowl. I had to leave just a few out because there wasn’t enough room.
Marinade the Shrimp
The time has come to marinade the shrimp. This will be your very first dose of flavor during the preparation of this recipe. At this point, I placed all the shrimp into a medium sized bowl and added the minced clove of garlic, the 1/2 tablespoon of dried (or 1 tablespoon fresh) ginger, the 1 tablespoon of pure olive oil and the 1/2 teaspoon of salt. Once everything was together in the bowl, I mixed with a rubber spatula until the shrimp was evenly coated. I let that mixture sit together at room temperature for 30 minutes.
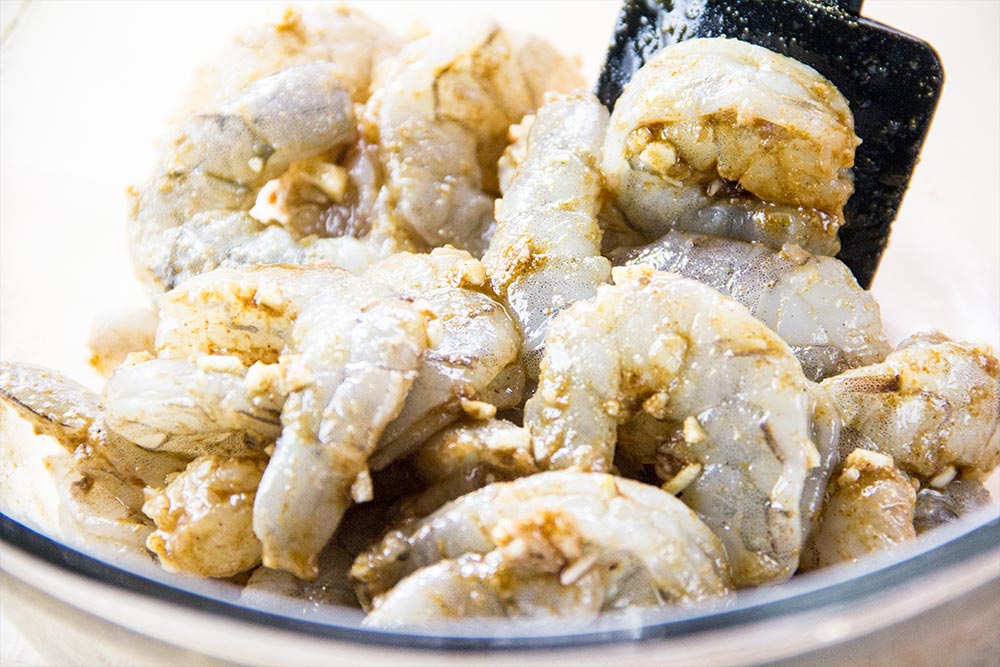
If you want, you can smell the ingredients inside the bowl to see what you’re soon in store for.
Mix Sauce Ingredients
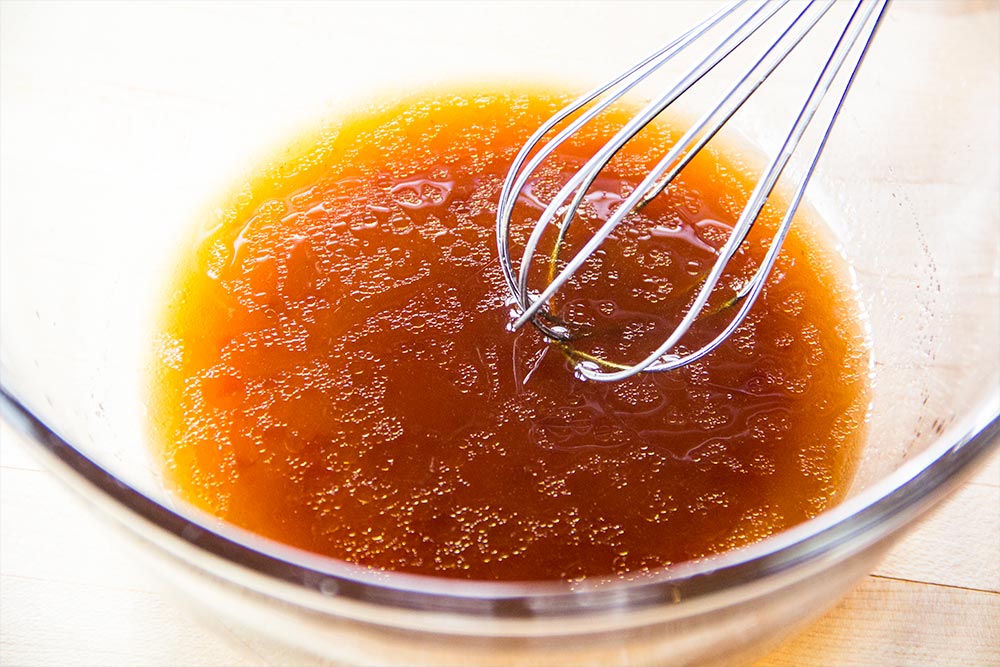
In another bowl, I went ahead and added the 1 teaspoon of soy sauce, 3 tablespoons of white vinegar, 3 tablespoons of sugar, 1 tablespoon of the chili-garlic sauce, 1 tablespoon of dry sherry and the 2 teaspoons of toasted sesame oil. I whisked all the ingredients together.
Thicken the Sauce
Once the majority of ingredients for the sauce were mixed together, I thickened it by adding the 2 teaspoons of cornstarch and 1 tablespoon of ketchup. I whisked that together as well.
Add the Garlic to the Shallots
This is easy. Everything I’ve already done was mere preparation. For the final steps of this recipe, speed is of the essence. Because of this, it’s important to combine ingredients that will be used together. This will save time. Two of these ingredients are the remaining garlic slices and the shallots. I placed them together in a small bowl and set aside.
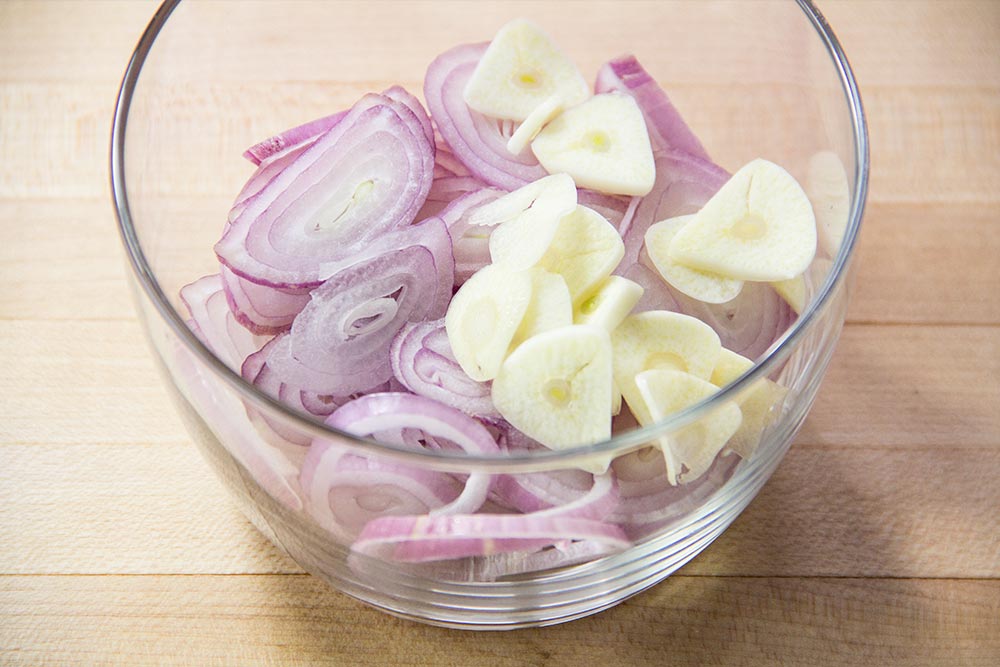
Heat Skillet & Add oil
The time has come to heat up the skillet. For this step, since my skillet is made of cast iron, I heated it over medium-high for about 5 minutes. During that time, I added 1 tablespoon of pure olive oil to it. Once the oil began to show wisps of smoke, I turned the heat to high and moved onto the next step.
Add Pepper & Peas to Skillet
When the pan was nice and hot, I tossed in the chopped red bell pepper and the snap peas.
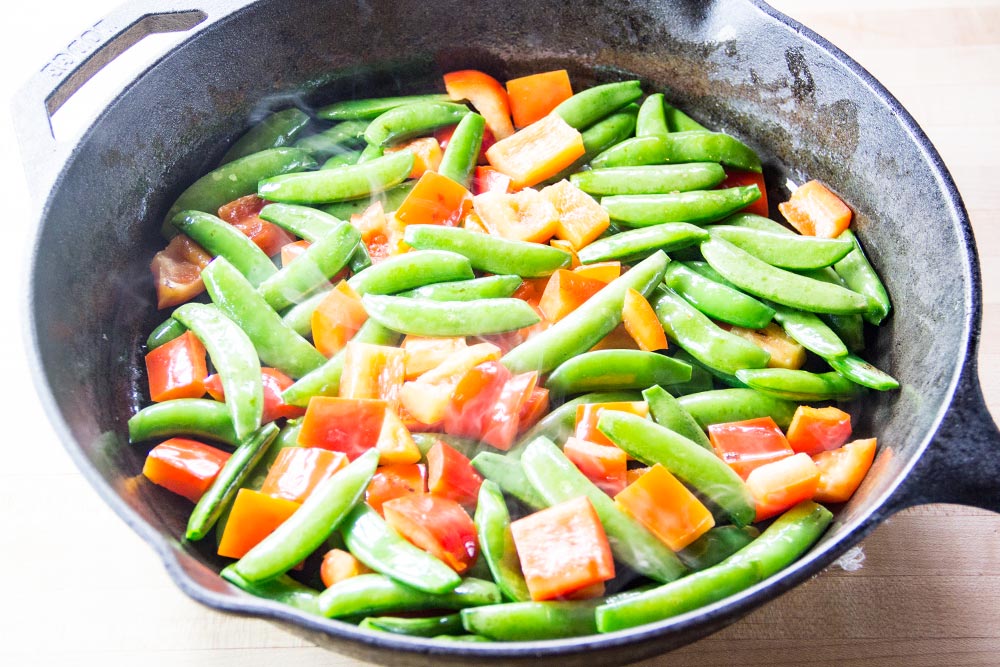
It’s important to note here that these two ingredients aren’t meant to “cook.” The idea behind stir-frying is to heat certain ingredients over high heat, quickly. The pepper and snap peas are meant to ultimately be tender, yet crisp. Because of this, I only kept these ingredients over the high heat for about 2 minutes. After they were slightly browned, I removed them from the pan and placed them in a bowl to set aside. I also stirred them the entire time they were over the heat.
Add Garlic & Shallots to Skillet
Since the skillet was empty, I added another tablespoon of pure olive oil to it and kept it over high heat. I then added the garlic and shallots to it.
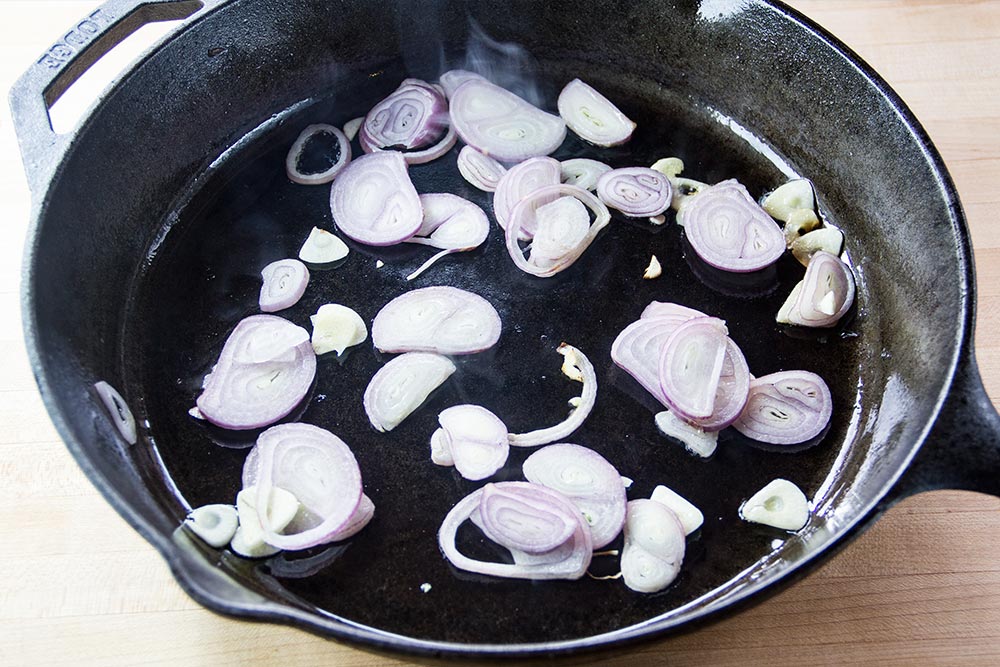
These ingredients are even more sensitive than the previous. I cooked these over high heat for only 30 seconds, while stirring constantly, before moving onto the next step.
Reduce Heat & Add Shrimp
After 30 seconds of stirring, I reduced the heat to medium-low and tossed in the shrimp.
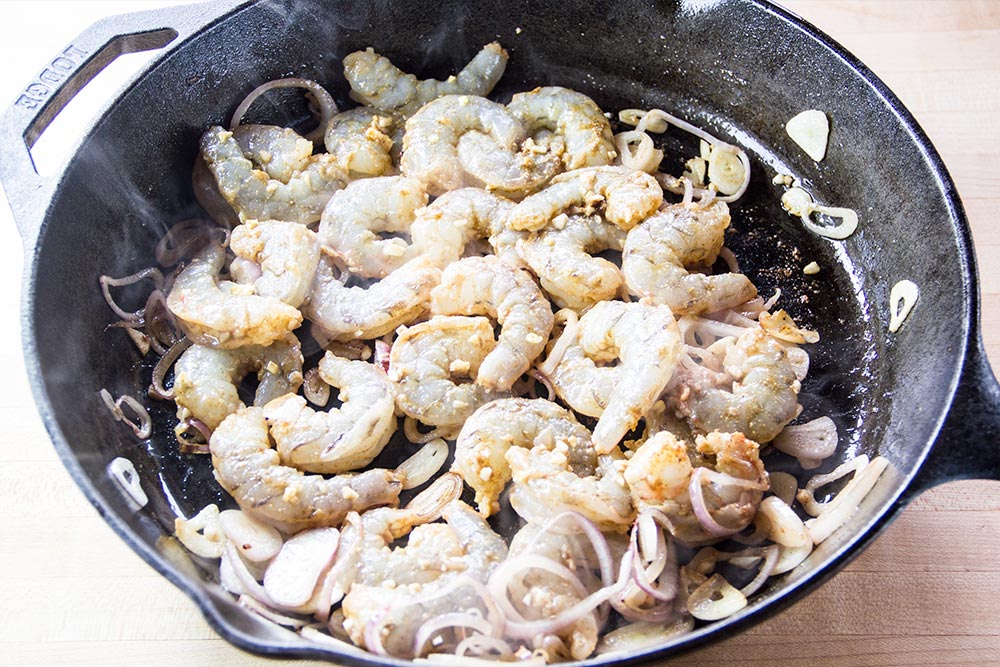
I cooked these for about 2 minutes, flipping each shrimp over as necessary. This is what they are supposed to look like after that time.
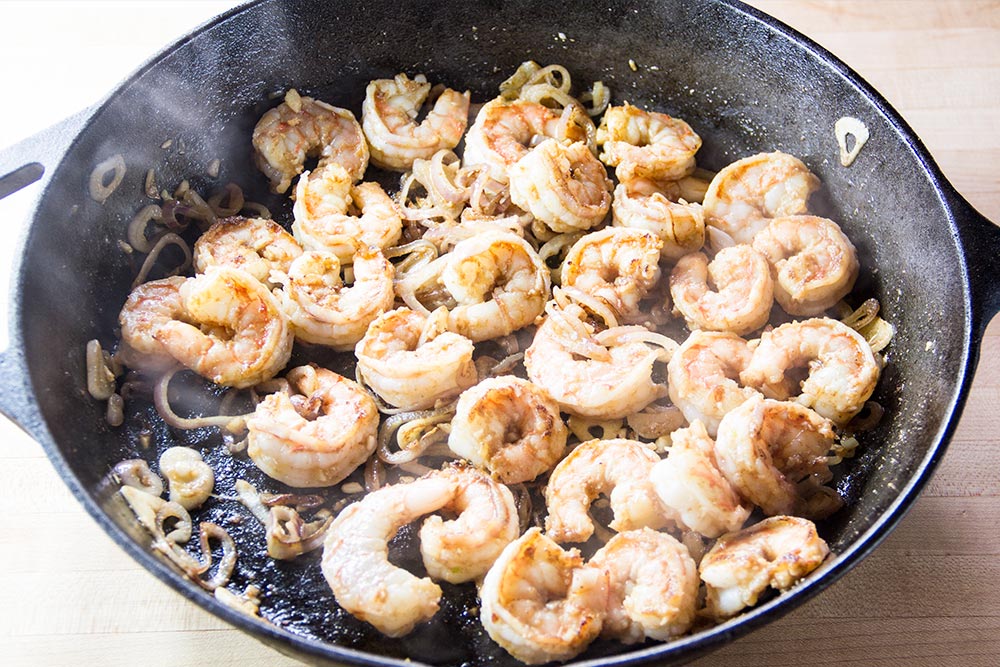
Remember, each side of the shrimp needs color.
Add Sauce & Cook
After completion of the previous step, I turned the heat back to high and added the sauce to the skillet. I cooked, constantly stirring, for 2 more minutes.
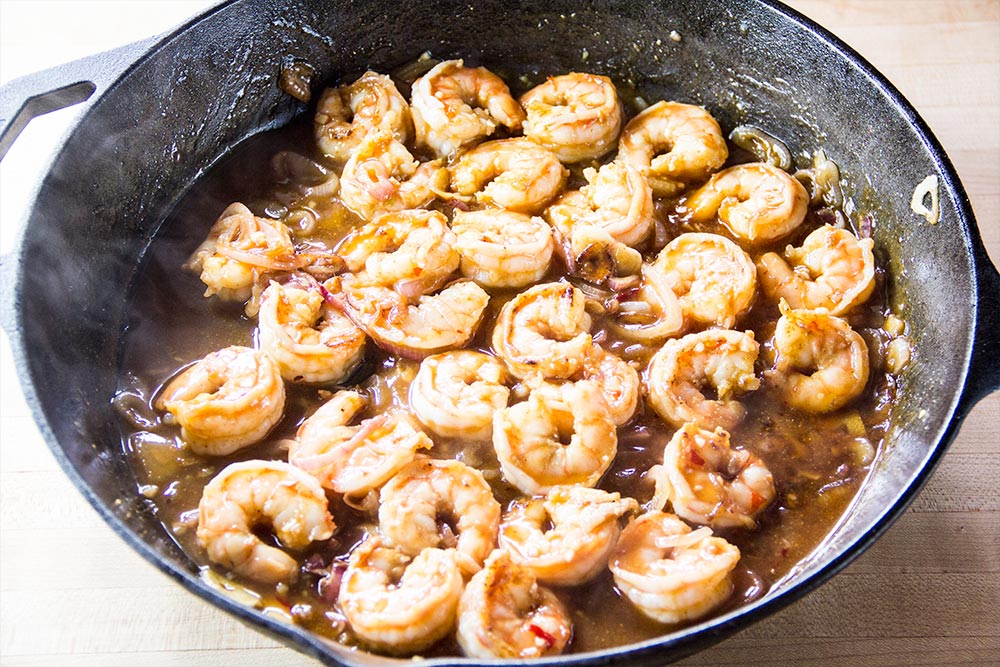
During this time, the sauce should thicken and the edges of the shrimp should brown.
The Final Product
After all that was finished, I added everything to a large bowl and mixed together. Then, I plated and enjoyed.
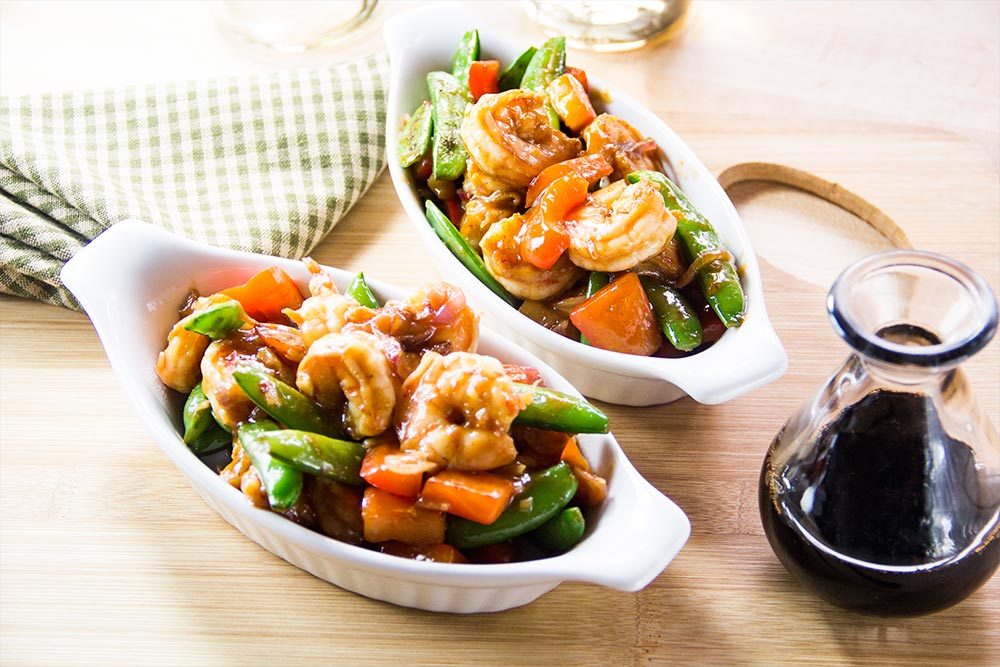
This is an excellent recipe and I highly recommend you give it a try. It’s very tasty and I think you’ll place it on your list of recipes to keep for the future.
——
If you’ve enjoyed today’s post and found it helpful, please share it with a friend. Also, if you’d like to continue reading and would like our posts sent directly to your email inbox, simply sign up for our newsletter. We’ll send each and every post directly to you. Thanks!
Leave a Reply