This year, I had quite a wonderful bounty of cucumbers from our vegetable garden. We have been enjoying them sliced up in our salads and with various other dishes. I wanted to make them into pickles, but I didn’t want to go through the hassle of jarring them. The thought of long-time storage of pickles didn’t interest me either. After searching the web, I found this great recipe for easy refrigerator pickles. What a great idea! This recipe is for pickle chips and with this method, you don’t need any kind of canning equipment. They are made with a simple brine and pickle in just 24 hours.
The Recipe
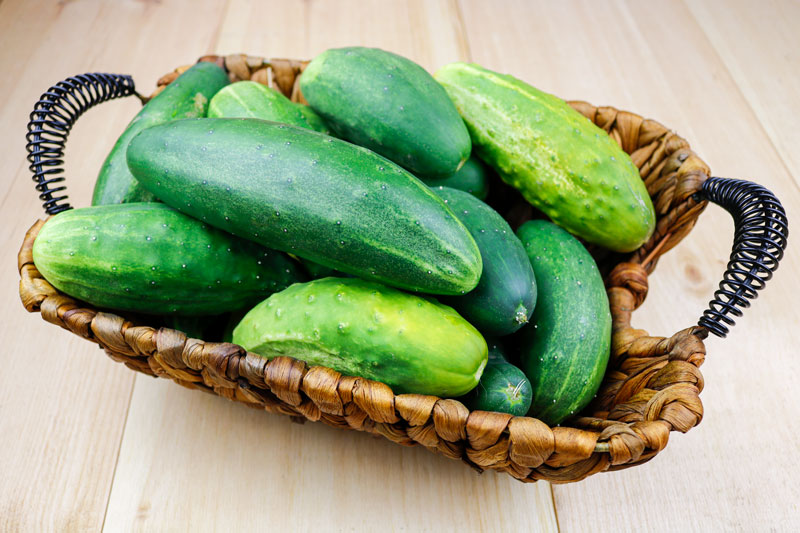
For this recipe, it is recommended that you use Kirby or another small type of cucumbers to make these easy pickles. Make sure to look for cucumbers that are six inches long and have bumpy skin. These types of cucumbers hold up better during the pickling process than those of the smoother skin of other types. I would like to thank Coco Morante at Simply Recipes for sharing this easy pickling recipe. These delicious pickles make an excellent addition to your burgers and sandwiches and can be enjoyed all summer long.
Ingredients
Yields: 2-Pint Jars of Pickles
1 Pound of Kirby or Other Small Cucumbers
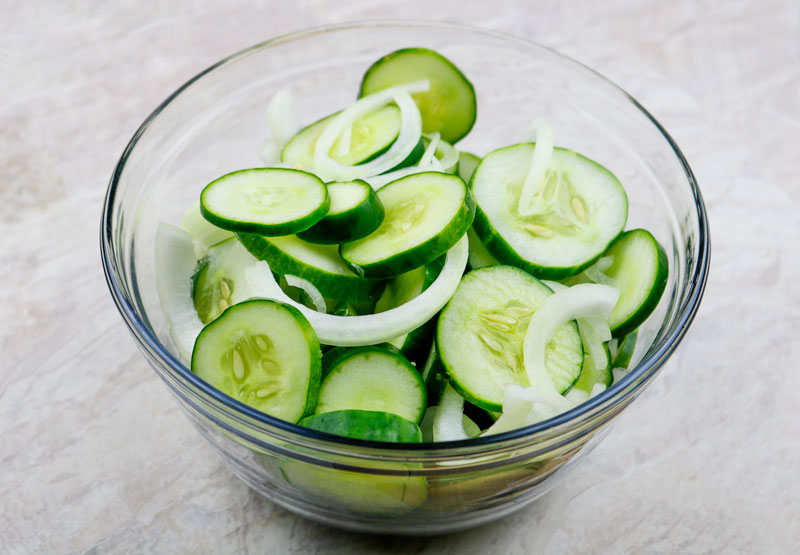
1 Small Sweet Yellow Onion
1 Cup Apple Cider Vinegar
1 Cup Water
1/4 Cup Granulated Sugar
1 Tablespoon Salt
1 1/2 Teaspoons Pickling Spice, a Store-Bought or Homemade Basic Pickling Spice Blend
Special Equipment:
2 Wide-Mouth Pint Canning Jars
Canning Jar Lids, Plastic or Metal
Mandoline, or Sharp Knife
Canning Funnel (Helpful, but not Essential)
Step-by-Step Instructions
Wash and Dry the Jars and Cucumbers
Wash two wide-mouth pint jars and their lids in hot, soapy water. Set them aside to dry. Next, rinse the cucumbers well under cold water, pat them dry, and then set them on a towel to dry completely.
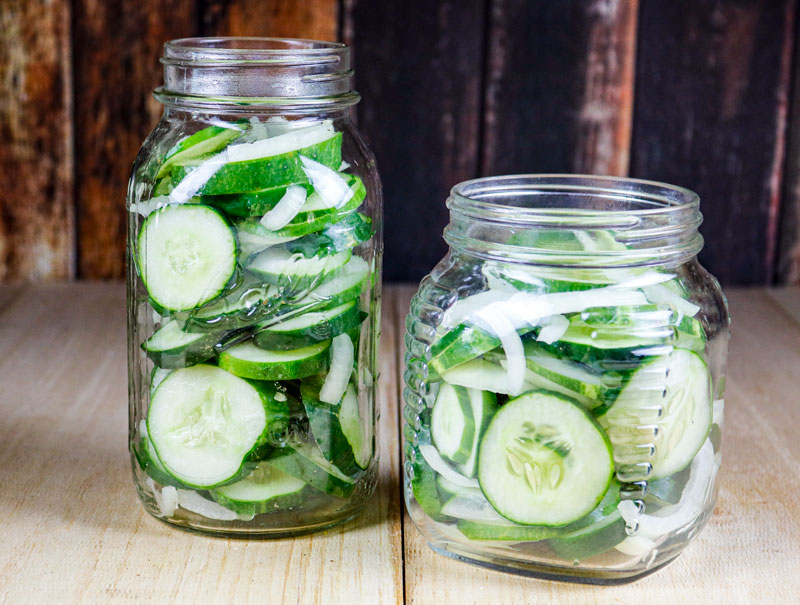
Slicing the Cucumbers and Onion
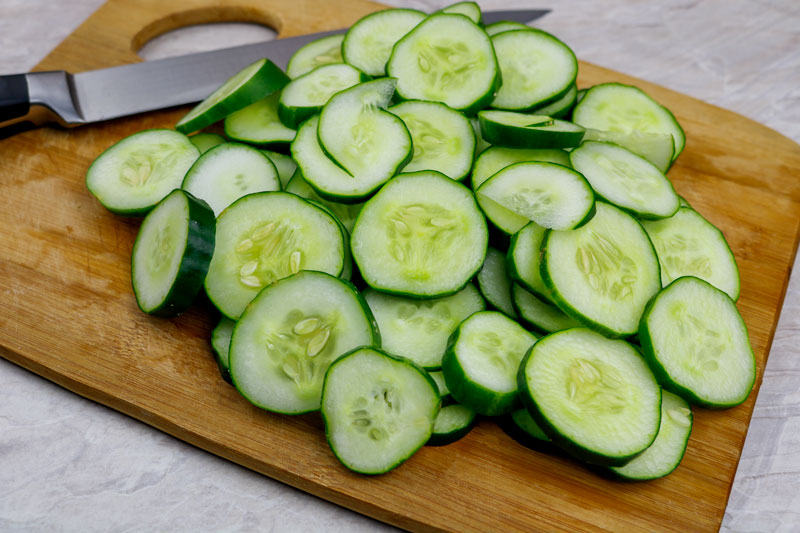
Cut the cucumbers and onion into 1/8- to 1/4-inch thick slices with a sharp knife or mandoline slicer and then pack them in the jars. Firmly pack the cucumbers and onions into your jars, fitting in as many as you can without smashing the vegetables. Make sure to leave 1/2-inch or so of space at the top of the jars.
Making the Brine
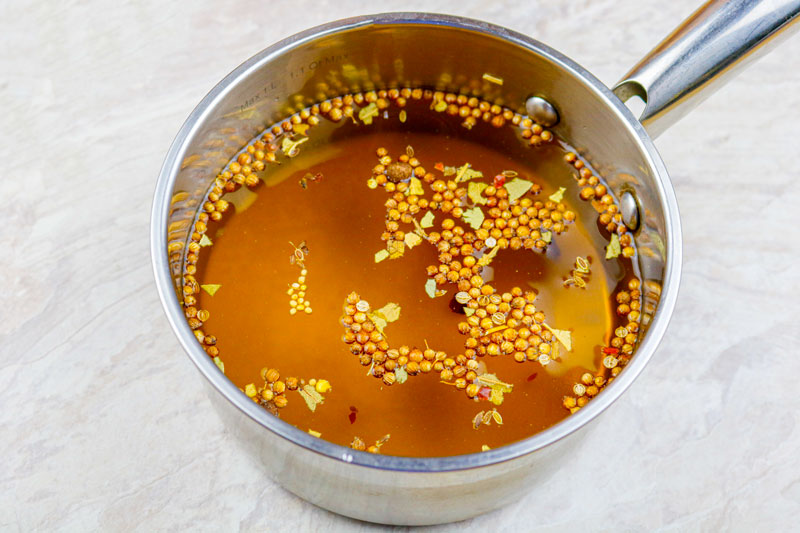
In a small saucepan over medium-high heat, bring the vinegar, water, sugar, salt, and pickling spice up to a simmer. Stir occasionally and continue to simmer until the sugar and salt are dissolved.
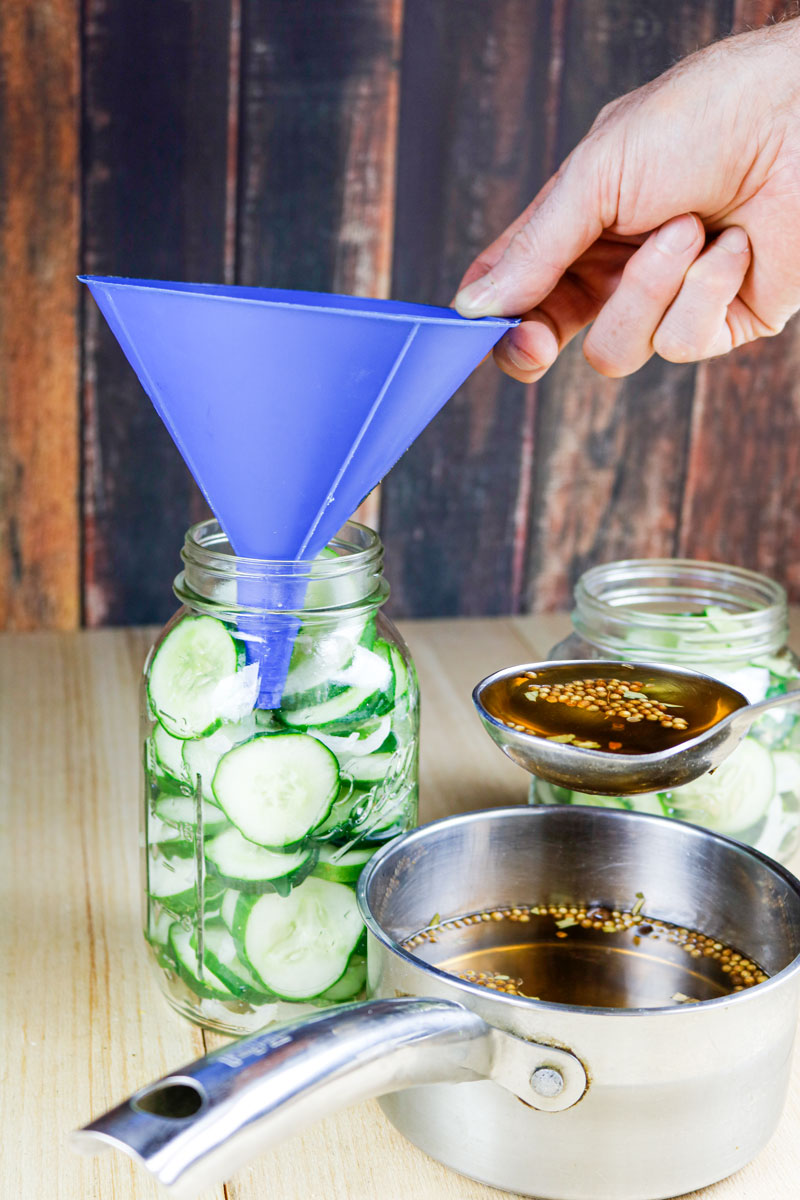
Pouring the Brine Over the Vegetables
Next, pour the brine over the vegetables in the jars. If you have a canning funnel handy, go ahead and use this, it will make this task much easier. I can’t seem to locate mine, so I used a regular funnel and things worked out fine.
Carefully pour the hot brine with a ladle into each jar.
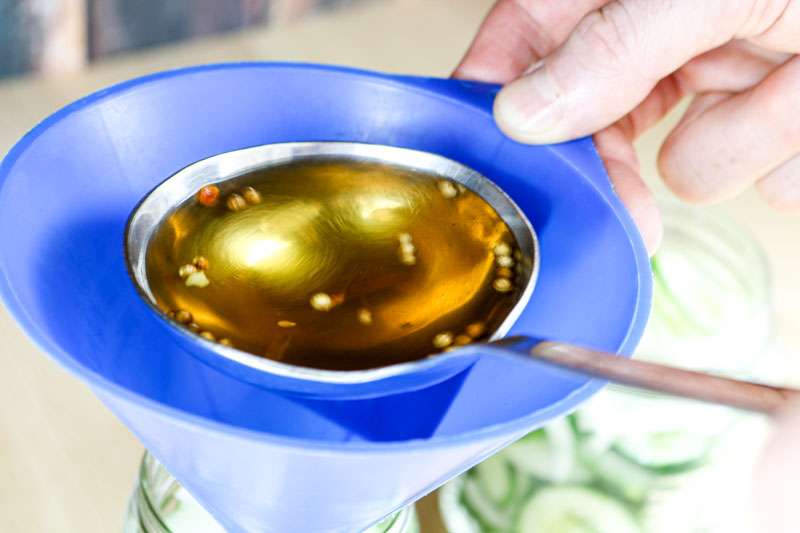

Make sure to fill the jars until the cucumbers and onions are covered. It is fine if a few small pieces poke out of the top.
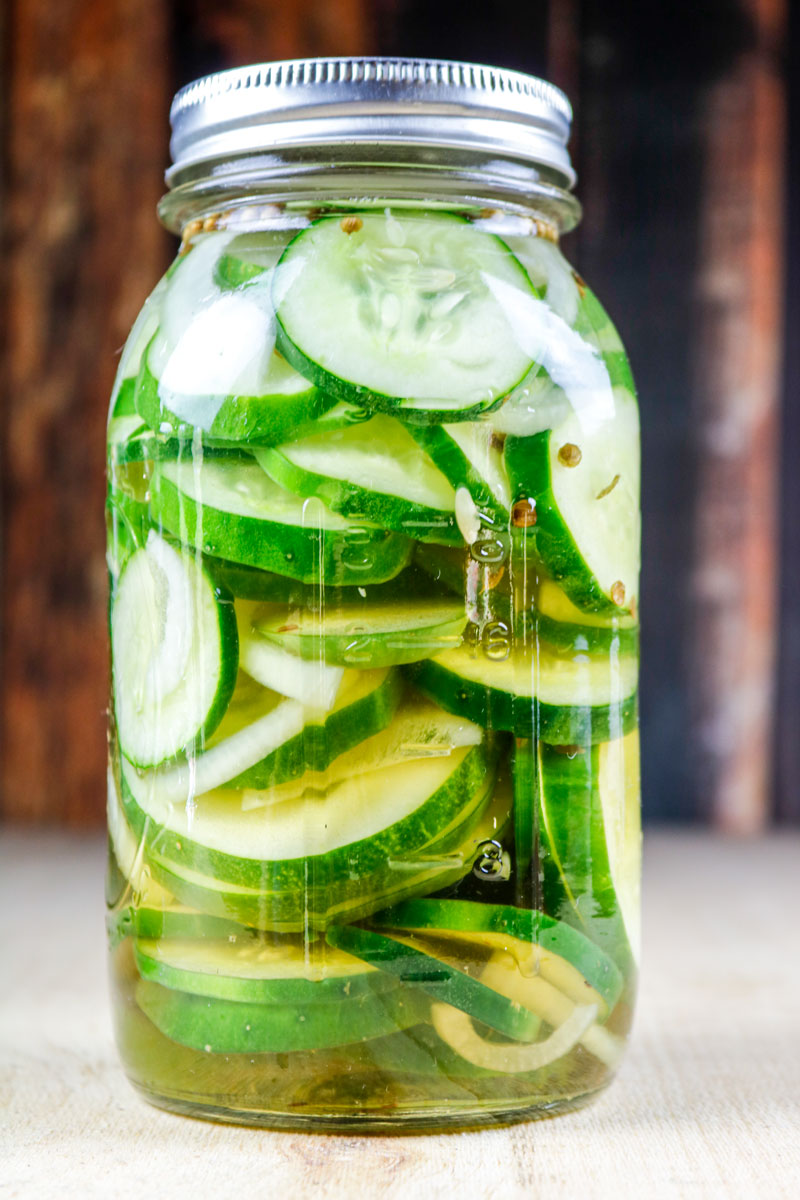
Cool Pickles and Refrigerate
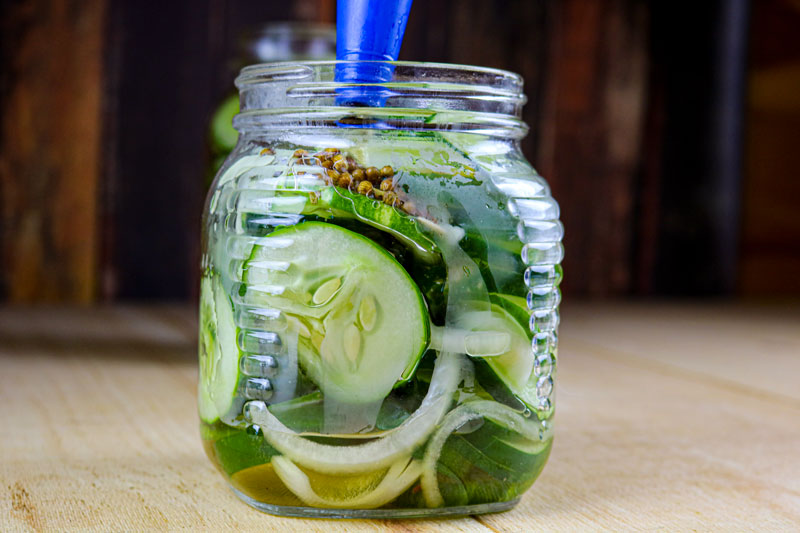
Screw on the lids and let the jars cool to room temperature. This should be for about an hour. Your cucumbers will start off bright green and then will become a darker “pickle-color” as they cool.
Place the jars in the refrigerator. Wait at least 24 hours before eating your pickles. This way, the flavors will develop further for a more flavorful experience. Also, make sure to consume within one month – if they last that long!
Leave a Reply