
If you’re an egg lover, I encourage you to read this post through in its entirety. The result of the following recipe was intensely flavorful and (I am finding myself saying this an awful lot lately) probably the best omelet I’ve ever tasted. I’m not kidding. When I find myself still thinking of what something tasted like hours after I made it, that’s got to say something. I even get butterflies in my stomach. Perhaps it’s love.
French vs. American Omeletes
I think we should get one thing out of the way. We need to talk about what a French omelet is and what an American omelet is. If we do this, it’s going to give some background on why I decided to name this post the way I did.
If you’re reading this post, you most likely have eaten an American omelet. This is the style of omelet that’s cooked while whoever is preparing it continuously lifts the edges to allow the remaining liquid parts to run underneath the more firm cooked parts. By doing this, the omelet becomes more dense and thick. Also, while preparing an American omelet, the pan isn’t shaken as it is with a French omelet. This allows for some browning of the underside. And finally, the American omelet is traditionally folded once in half.
Now, the French omelet has a soft, tender exterior. Also, it’s cooked while the pan is shaken and the loose eggs are stirred until they are just about set. Fillings are often added and before the top layer of the omelet is cooked, the entire thing is rolled upon itself to give it somewhat of a roll-up appearance. French omelets have interiors that are much more loose than their American counterparts.
The Recipe
A funny thing happened as I reviewed the recipe I was about to undertake. I realized that I needed an 8″ non-stick skillet, which I didn’t have. I have three stainless steel skillets and one large cast iron. If I had a smaller cast iron, I would have gone ahead with the French styled preparation. At this point, I can say that I’m glad things turned out the way they did. Since I really wanted to prepare this recipe today, I went ahead with full knowledge that I might be in for an omelet that completely and utterly sticks to stainless steel pan. That’s happened before. But, I may be in for an omelet that doesn’t stick at all. That’s happened too. Since each omelet only takes three eggs to make, I figured it would be a good idea to go ahead with my stainless steel and just see what happens. So that’s what I did. I can tell you, under very low heat, nothing stuck. I did, however, end up with a very sweet surprise.
For the remainder of this post, I’m going to cover the steps I took to prepare one wonderfully tasting French-American styled omelet. I suggest you bookmark this page because this is a good one.
Ingredients
Serves: 1 (for 2, simply double)
1 Tablespoon Unsalted Butter
3 Large Eggs
Table Salt
Ground Black Pepper
1/2 Teaspoon Pure Olive Oil
1 Tablespoon Shredded Gruyère Cheese (or your favorite Swiss substitute)
2 Teaspoons Fresh Chives or Scallions
The reason I just gave the ingredients for one omelet is because each one that you prepare needs to be cooked separately. The eggs, butter, salt, pepper, cheese and herbs need to be prepared in batches, so I didn’t want you going ahead and mixing everything together. It would be a hassle to pull apart later on.
Step-by-Step Instructions
Over the past two days, I think I heard the term Mise en place at least four times. I’ve never heard of this before in my life, but once I did, I’ve heard it everywhere. Mise en place is a French culinary phrase that means “putting in place.” In other words, it means that you should prep everything you can before you begin cooking because if you don’t, you’re going to be in trouble. This strategy especially applies to recipes like the one I’m going to explain below because the cooking needs your undivided attention and goes quickly. The very last thing you want to do during a recipe like this is to shred cheese while your omelet is over heat.
Enough of this talk. Let’s get to the cooking.
Prepare the Ingredients
For the sake of simplicity and photography, I prepared all the ingredients I’d need for two omelets. After the below photo was taken, I separated what was doubled up onto their own small plates. What I tell you below is what you’ll need for one omelet.
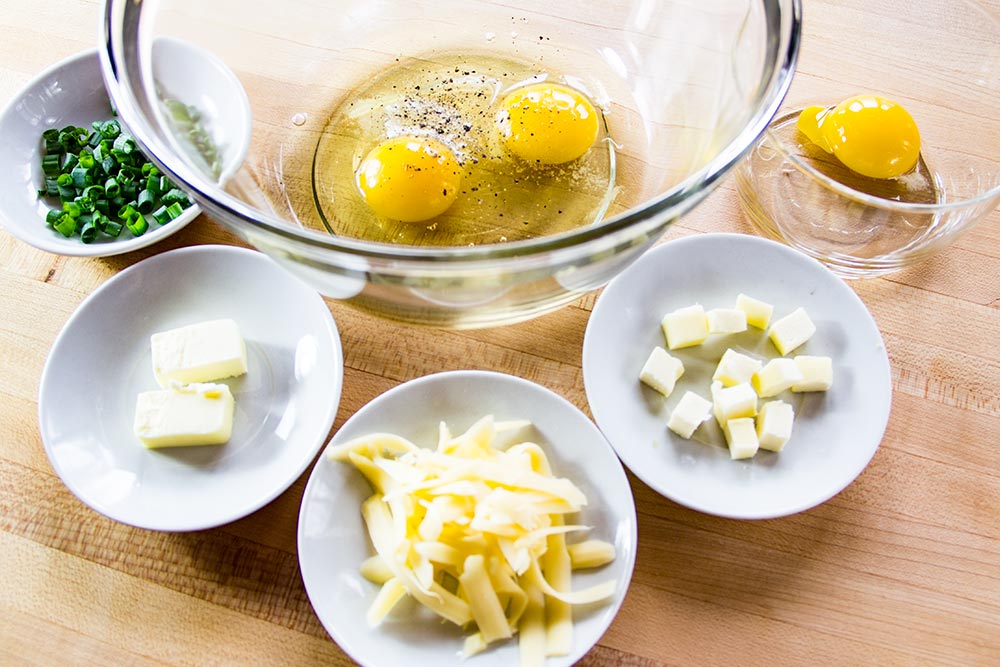
I cut one tablespoon of butter from its package. I then cut it in half. I kept one of those halves intact and cut the other half into 6 equally sized pieces. I put those 6 small pieces on a small dish and into the freezer.
Next, I shredded 1 tablespoon of some wicked good tasting Swiss cheese. After that, I chopped 2 teaspoons of fresh scallions and stored them on a small plate.
Heat & Oil the Skillet
After everything was prepped, I turned my stove on low and placed my small stainless steel skillet on the burner. If you have a non-stick or cast iron, go ahead with that. I’d say the stainless steel is the riskiest here. I added the 1/2 teaspoon of olive oil to the pan and let it warm up for a good 10 minutes.
Crack Eggs & Stir
In the meantime, I cracked two eggs into a bowl and separated one egg yolk. I added the yolk only to the other two eggs. I added an 1/8 teaspoon of regular table salt to the eggs, along with a pinch of black pepper and stirred. As I was mixing, I was sure not to mix too fast or too much. I simply wanted to create a consistency that was yellow throughout and that maintained some large bubbles. If you want to read what I wrote earlier about mixing eggs like this, you can read my scrambled eggs post.
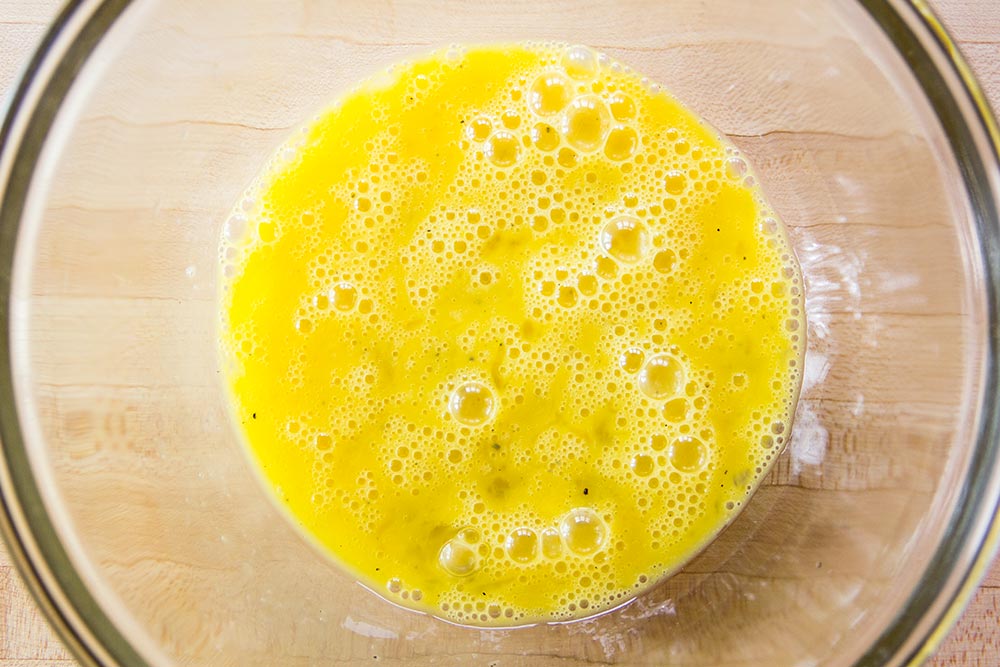
When I was finished mixing, I pulled the 6 chilled pieces of butter out of the freezer and added them to the egg mixture.
Add & Melt Butter in Pan
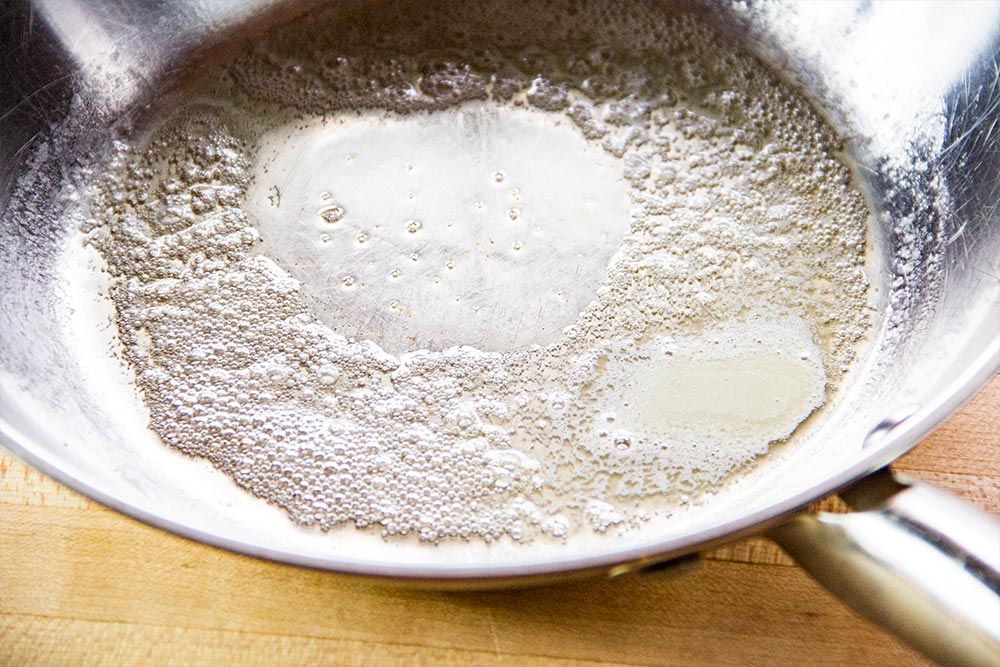
After 10 minutes, my pan was warm enough to use. I placed the 1/2 tablespoon of butter (one piece) into the pan and let it melt. Once it was melted, I made sure to swirl it around to coat everything, even partially up the sides.
Add Egg Mixture to Pan
The original recipe for this omelet calls for adding the egg mixture to the skillet and then increasing the heat to medium-high. Since I was using stainless steel and wanted to eventually roll the omelet into something that looked French, I decided it would be safer to only increase the heat to medium-low. So with that idea, that’s what I went with. The cooking took a bit longer, but the bottom stayed flexible and rollable.
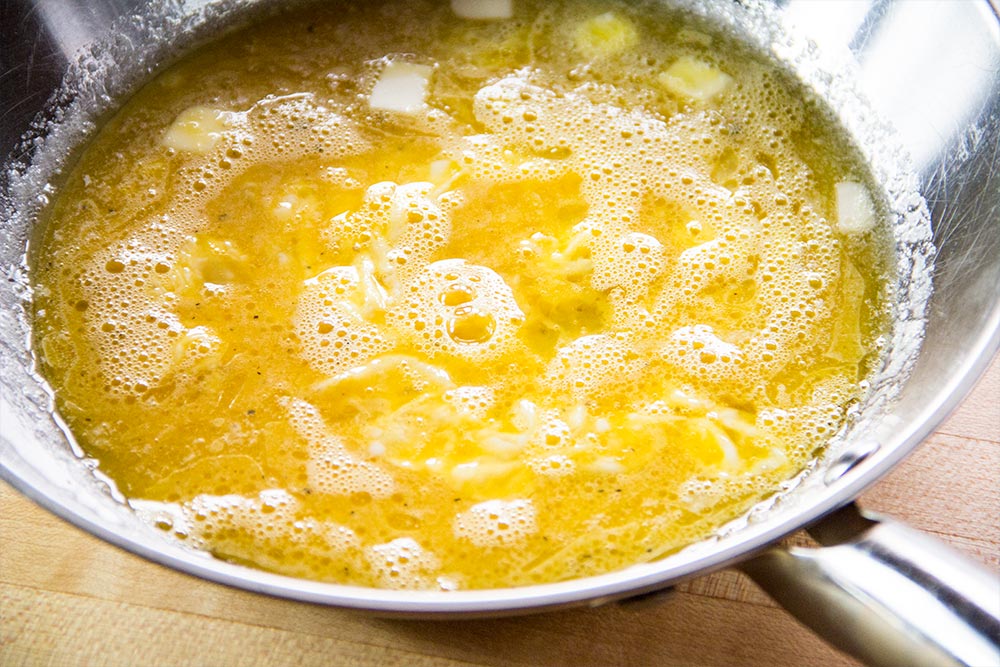
Upon adding the eggs to the skillet and increasing the heat slightly, I immediately put the ends of two chopsticks into the eggs and gently mixed. Basically, the idea was to lift what had already cooked to add tenderness. I did this throughout most of the cooking time, until I saw the eggs becoming firm. Also (and this is important), I used my rubber spatula to constantly run around the edge of the eggs to keep them lifted from the sides of the pan. Since I was using stainless steel, I was very nervous about them sticking.
Remove Eggs From Heat & Add Ingredients
As you can see, this recipe calls for a light touch. The heat is low and the stirring is gentle. As soon as I saw the eggs begin to firm up, I removed the pan from heat. After that, I added the chopped scallions and the shredded cheese.

Cover the Pan, Wait & Roll
After I added the final ingredients to the eggs and the pan was off the heat, I covered it and waited about a minute and a half. The remaining warmth added some further firmness to the eggs. Not much, but enough.
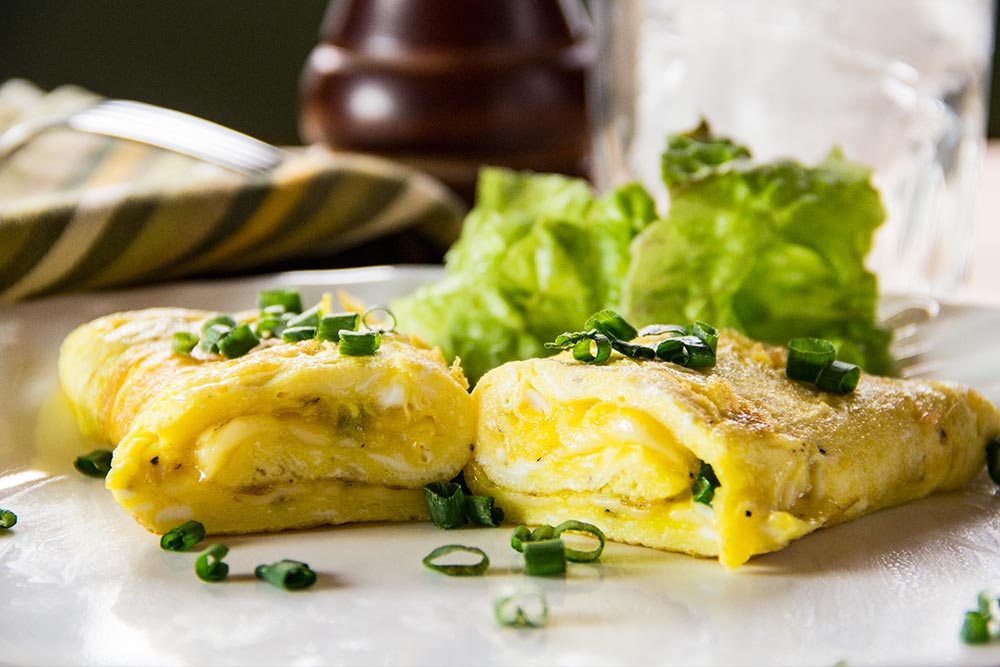
When I saw the eggs solid enough, I uncovered the pan and rolled them up as tightly as I could. I used the rubber spatula and a fork to very carefully accomplish this. What I found (the sweet surprise) was that by me running the rubber spatula around the edges of the eggs as they were cooking, I inadvertently allowed the fat (butter and oil) to run down below. That, in turn, lightly browned the underside of the omelet, adding tons of very unique flavor. This is the part of the final product that I’m still thinking about. It was truly remarkable. I had created a French styled omelet on the inside and an American styled omelet on the outside.
Final Product
Here is a photo of the final omelet. I’m glad I wrote this post because I am definitely going to prepare this recipe again. It was delicious. If you decide to go ahead with it, please leave your thoughts in the comment section below. I’d love to hear them.
——
If you’ve enjoyed today’s post and found it helpful, please share it with a friend. Also, if you’d like to continue reading and would like our posts sent directly to your email inbox, simply sign up for our newsletter. We’ll send each and every post directly to you. Thanks!
Leave a Reply