As you’re most likely aware, Halloween is a huge time to sell pumpkins pretty much everywhere in the U.S. The timing for the harvest and the holiday fall together nicely. I’m not sure how things go in other states, but up here in Maine, we see pumpkins begin to sell at the end of September and continue on all the way up to the middle of November. I may be off a bit on these dates because I’m pulling this data straight out of my brain, but it’s something like this.
For the most part, I see folks purchasing pumpkins to carve and to sit on their front steps. Laura and I used to do this. It’s a fun tradition and I really never gave it much thought. Before Halloween, the pumpkins cost around $8, which isn’t terrible, considering it’s a large fruit. After Halloween though, the prices fall dramatically. Two years ago, Laura and I picked up two very large pumpkins that weighed around 14 pounds a piece for only $1 each. This was Halloween night at a local grocer. This past Halloween, We grabbed three more pumpkins, along with some rather enormous squash, for $2 each. It was crazy and I was all abuzz for days after we made the big find.
You may be asking yourself why anyone would care about how much we paid for pumpkins after Halloween. I mean, we didn’t carve them and put them outside with candles set in their insides. I will tell you, however, what we did do with them. We ate them, which is something we’ve been doing for a while and which everyone should consider doing as well.
Last night, I processed a large pumpkin that we’ve had sitting on our windowsill for months. It was still in perfect shape and it gave me two large bowls of flesh. With half of the pumpkin, I made the soup that I’ll give you the recipe for below. With the other half, we’ll add pieces to our salad or simply eat as a side dish along with something else. My point here is this – last night, I made a tremendously awesome tasting and very health soup for around $3. I made a gallon of it. Now, I don’t know about you, but when I hear people discuss the prices of food, I tell myself that they should look for the sales. They should also begin to enjoy cooking, because that’s where all the fun is. I’m not sure which is better, making and eating the nice pumpkin soup or knowing that I bought the pumpkin for only $2 and that it’ll feed both Laura and me for days. Still, I can’t get over it.
And to top things off, pumpkin is wicked healthy.
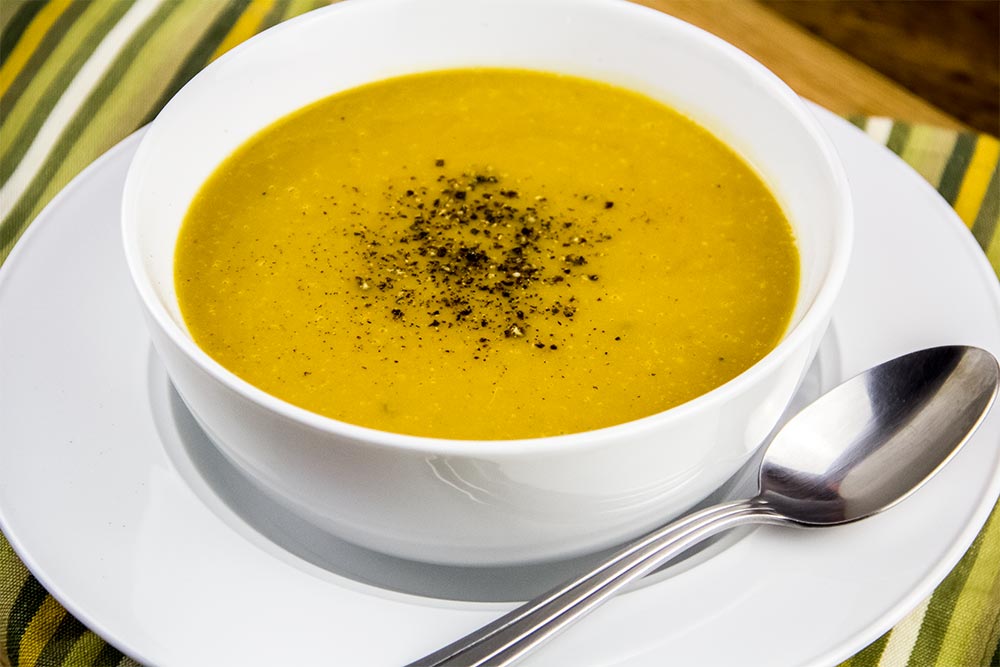
The Recipe
If you’re on a restricted diet or are trying to avoid eating gluten, this recipe may be for you. I’ve made it so it’s perfect for those who like gluten free foods or who are suffering from a wide variety of conditions. Of course, you’ll need to check the ingredient list below and match things up to your liking, but I will tell you that there’s no dairy, is vegetarian, is gluten free and is relatively easy to prepare.
I put this recipe together myself. I pulled ideas from a variety of sources, including some that I have listed right here on this blog. If you do a search up top for anything with butternut squash in it, you’ll see something similar below. I also took some ideas from the America’s Test Kitchen cookbook I purchased a while back. They’ve got a nice Harvest Pumpkin Soup recipe that I drew inspiration from.
If you like pumpkin soup that uses canned pumpkin, you’ll certainly enjoy this recipe. If you like butternut squash soup, you’ll most likely enjoy this pumpkin soup too. Naturally, butternut squash is sweeter than pumpkin, but for this recipe, pure maple syrup makes up for the pumpkin’s lack of sweetness. This soup’s texture is similar to that of butternut squash soup and both soups look quite similar. In all honesty, you might not even know the difference. I do, because I harp on these types of things, but if you’re not a soup person, you’ll really enjoy them both interchangeably.
In this recipe, I swapped out half-and-half for coconut milk. Just doing this got rid of some dairy and increased the health level. I also used low sodium vegetable broth and mixed up the spices so they don’t interfere with anyone’s special diet. This is where you need to be careful. If you’re restricted from spices of any kind, you need to make the appropriate substitutions. I’ll list some common ones below, but it’s up to you to take care.
Finally, I removed the butter and used olive oil instead. Again, this took care of the dairy and in it’s place, I used something much more healthy.
Ingredients
Serves: 8 to 12
1 5-Pound Pumpkin
Regular Olive Oil
1 Large Sweet Onion, Chopped
2 Tablespoons Garlic, Minced
1 Teaspoon Ground Cumin
1 Teaspoon Ground Coriander
1/2 Teaspoon Ground Nutmeg
3 Cups Low Sodium Vegetable Broth
2 Cups Water
1/4 Cup Pure Maple Syrup
1 15-Ounce Can Coconut Milk
Regular Table Salt
Ground Black Pepper
Step-by-Step Instructions
The recipe list above is an approximation. Since my pumpkin was huge, I only used half of it. I used exactly as much as I needed to use up all of the liquid. As you progress below, you’ll see what I’m talking about. Just be aware that you may have leftover roasted pumpkin, which is fine. You can be like me and eat that as a side dish with something else. Sprinkle a little salt and pepper on it and you’ll be ready to go.
Prep the Pumpkin
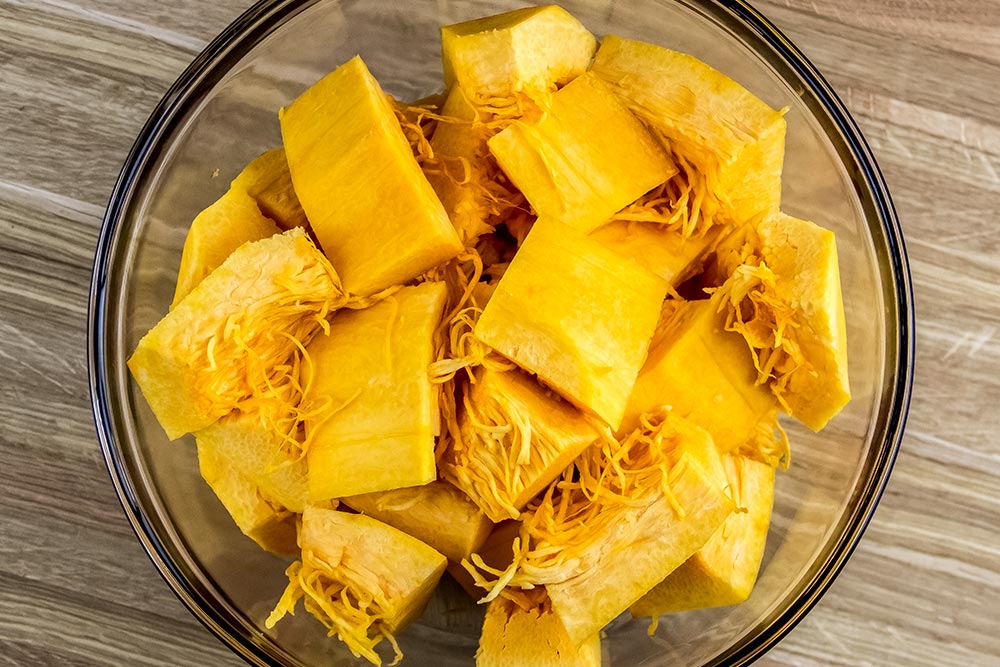
Cut the pumpkin in half with a sharp knife. Please be careful doing this. Pumpkin has a way of either not letting the knife through or letting it through very quickly. Once it’s cut in half, clean all the seeds out of the inside and cut those halves in half. Keep cutting until you have pieces that measure about two inches by two inches large. Then, lay each piece on its side and carefully slice off the skin. Finally, toss the pieces in a large bowl.
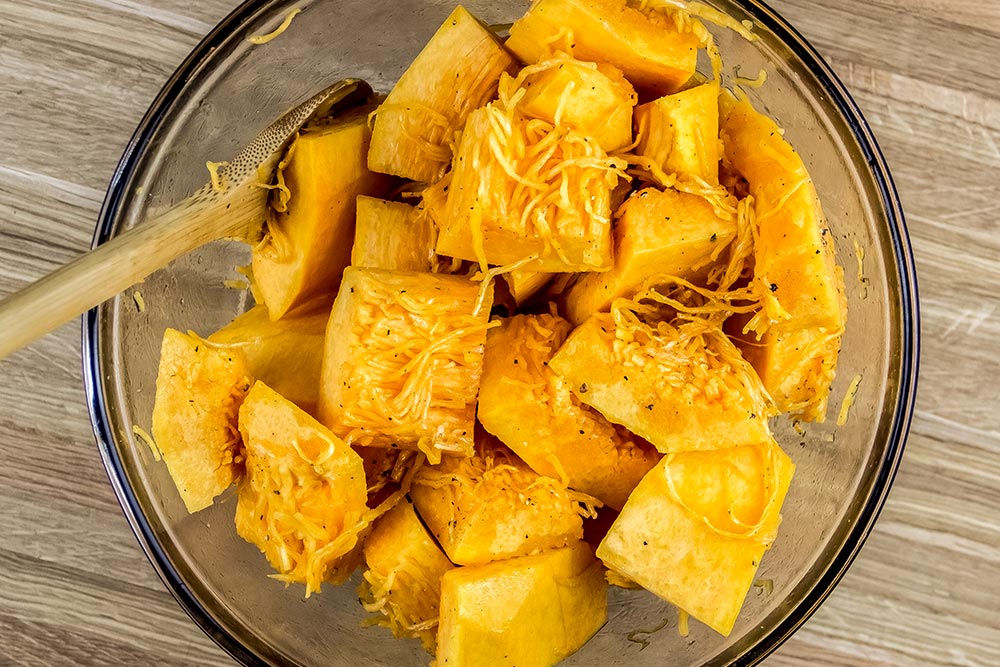
Next, add 2 tablespoons of olive oil to the bowl, along with a pinch of salt and a pinch of black pepper. Mix the pieces of pumpkin well until each piece is coated with oil.
Bake the Pumpkin
Pre-heat your oven to 425 degrees. Arrange one of the oven racks so it’s sitting in the center position. Then, add the pieces of pumpkin to a large baking sheet and spread them out evenly.
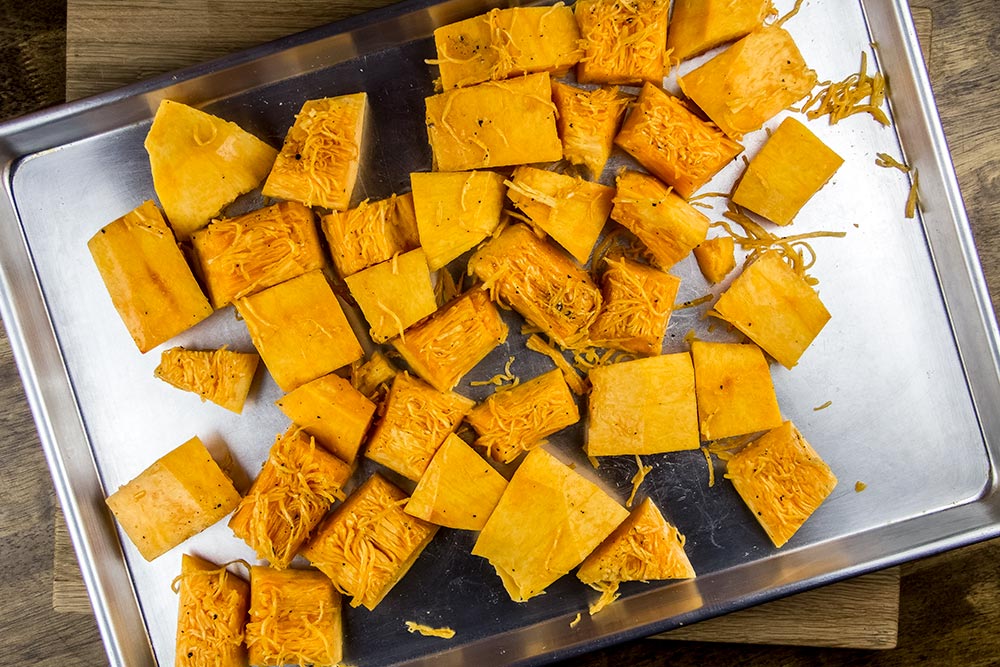
Finally, once the oven is to temperature, place the baking sheet inside of it and let bake for 45 minutes. The pieces of pumpkin should be softened and slightly browned by that point.
Brown Onion & Garlic
Warm a large skillet over medium heat. Then, once the pan is to temperature, add 1 tablespoon of olive oil to it and then add the chopped onion. Stir and cook the onion for 5 minutes or until it softens and just begins to brown. Then, add in the garlic and stir and cook for one more minute.
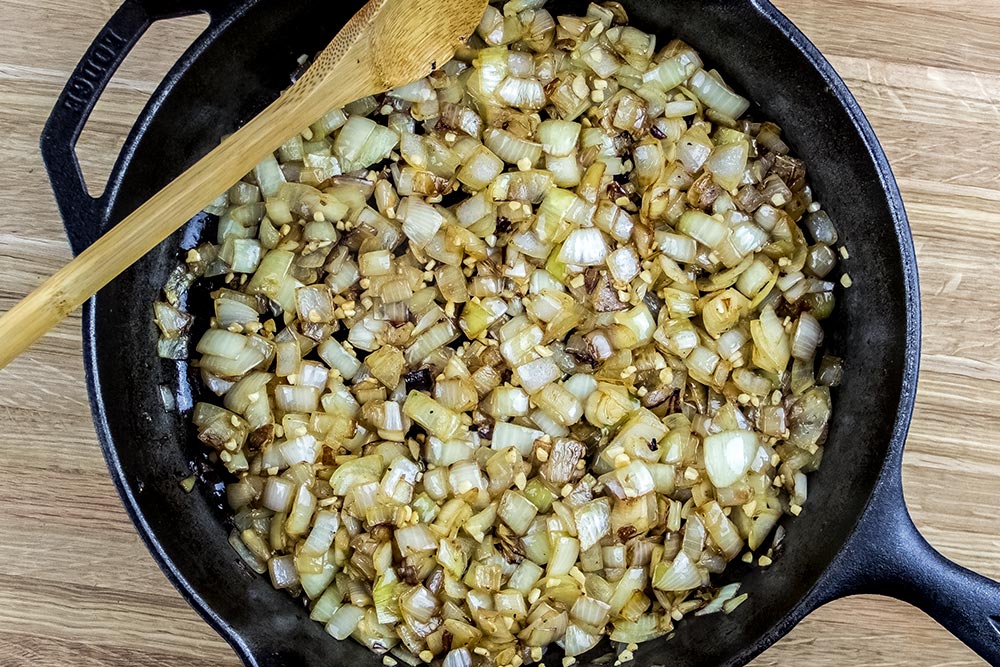
After that’s finished, add in the cumin, coriander and nutmeg and stir these spices into the other ingredients well.
Add Liquid
Raise the heat to high under the skillet. Then, add in the vegetable broth, water and maple syrup. Stir everything together well and make sure to scrape the bottom of the pan with a wooden spoon. In the previous step, you developed very tasty fond that needs to be released. This will add to the soup’s flavor.
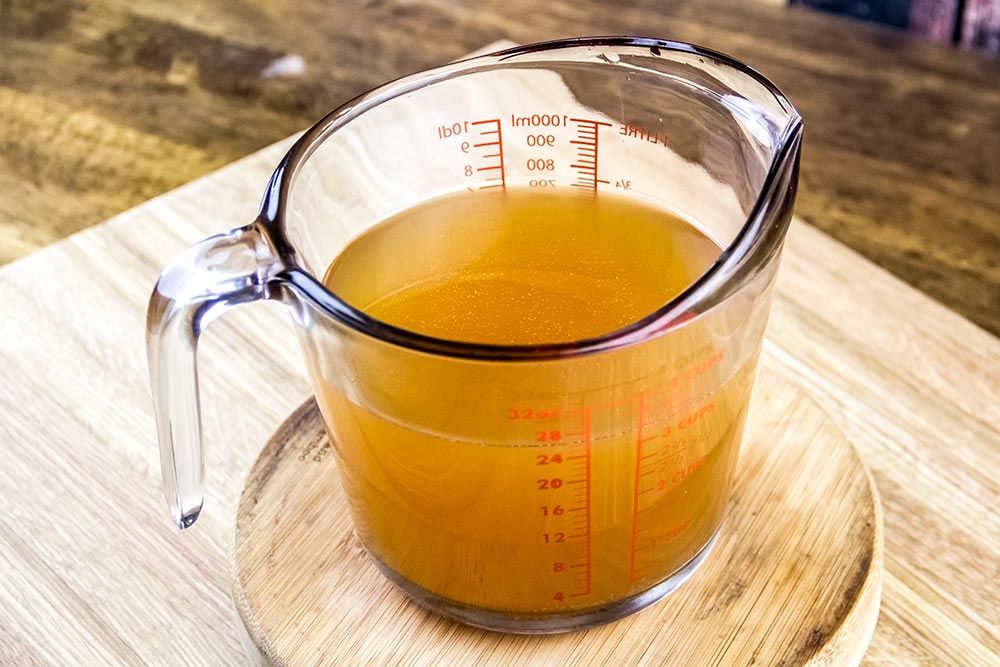
Once the liquid begins to boil, lower the heat to medium-low and let the liquid simmer for 15 minutes. Doing this will meld the flavors together.
Blend the Soup
For this step, you’ll need two more additional things. First, you’ll need a blender all set up and second, you’ll need a large pot. You’ll also need to work in batches.
With a ladle, scoop out a few scoops of liquid from the skillet and pour that liquid into the blender. Then, take a few pieces of baked pumpkin and add them to the blender as well. Only fill the blender up about half way. Turn the blender onto one of the medium settings and see what happens. If the soup is too thick inside the blender, add some more liquid. If it’s too thin, add some more pumpkin. Once you find the right amounts of ingredients, blend well and pour the results into the pot. Continue with this until everything is used up.
Warm the Soup
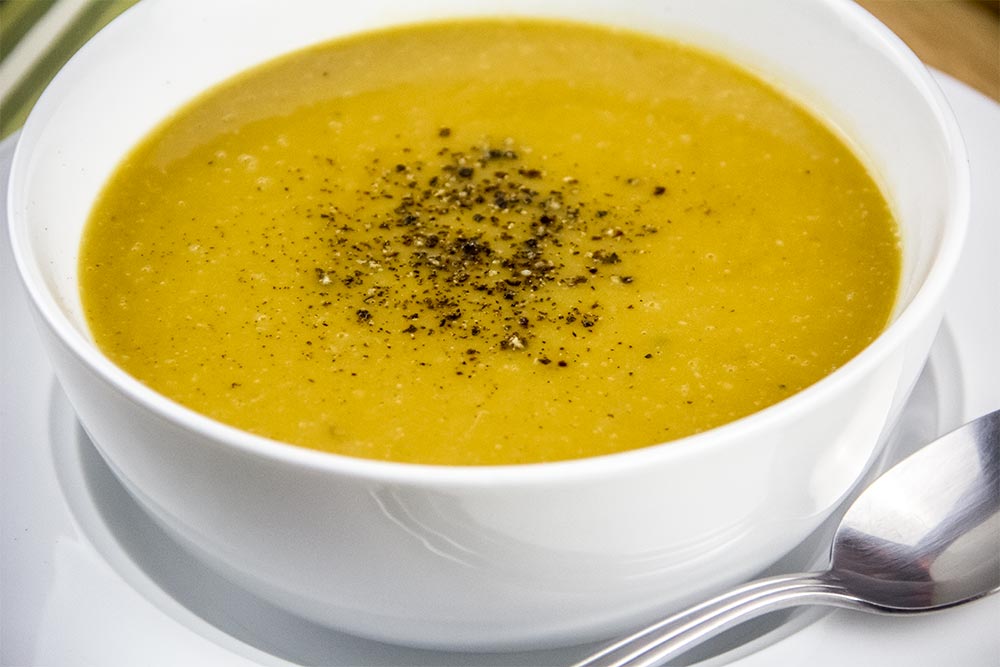
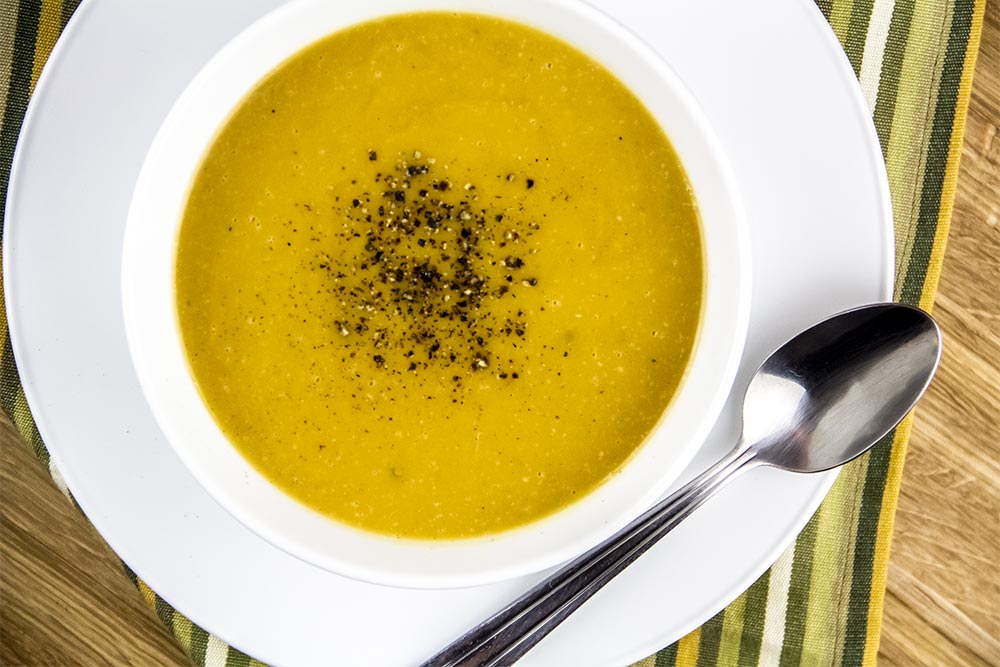
Once there’s nothing left to blend, place the pot on your stove top over medium heat. Add the can of coconut milk and stir well. Only let the pot remain over the heat until the soup has warmed enough that it’s steaming, but not boiling. At that point, turn off the heat. You may now add salt and pepper to taste. I suggest you add some soup to individual bowls before adding those two ingredients because folks may have different tastes.
The Final Soup
I guess I’d consider this a very elegant budget meal. As I’ve become better at cooking, I’ve developed a sense of what different ingredients can do. I’ll tell you this – soup is special. I never knew how complex it could be. I also never knew how economical and healthy it could be. I have to give a lot of respect to those who have made really good soups out there. I simply wasn’t aware of what went into it.
Leave a Reply