While the last macaroni and cheese recipe I wrote about was something almost over the top, this one is what you’d likely see in a restaurant or on the table of someone who really knows their mac and cheese. And in all honesty, I’m not sure which recipe I like better. While I thoroughly enjoyed utilizing the Dutch oven in my previous post, I think I’m head over heals for the cheese sauce in this one. Let’s just say that they both offer very good reasons to prepare them again. And again. And again. This type of food is so good it’s bad.
The challenges in preparing this recipe are two fold. First, the macaroni is supposed to be cooked a bit past al dente. While the recipe emphasizes the importance of this, it’s a bit stressful to judge exactly where the point of “just past al dente” is. At one time or another, I just told myself it was finished cooking. Second, while melting and browning the butter, things got tense. Any time I brown butter, I feel the threat of burning it breathing down my neck. Fortunately, I did well and the recipe came out wonderfully.
This is the third and final recipe in the Boiling & Simmering section at America’s Test Kitchen. If you’d like to review the first two recipes, you can do so here and here. Everything considered, I think the course went well. I learned a lot, including how the volume of water affects dried pasta as it cooks, how browning butter enhances flavor and what the benefits of blanching vegetables are. In my opinion, it’s extremely handy to have knowledge such as this in my back pocket. Even as I review recipes today, I can see those techniques and concepts in play.
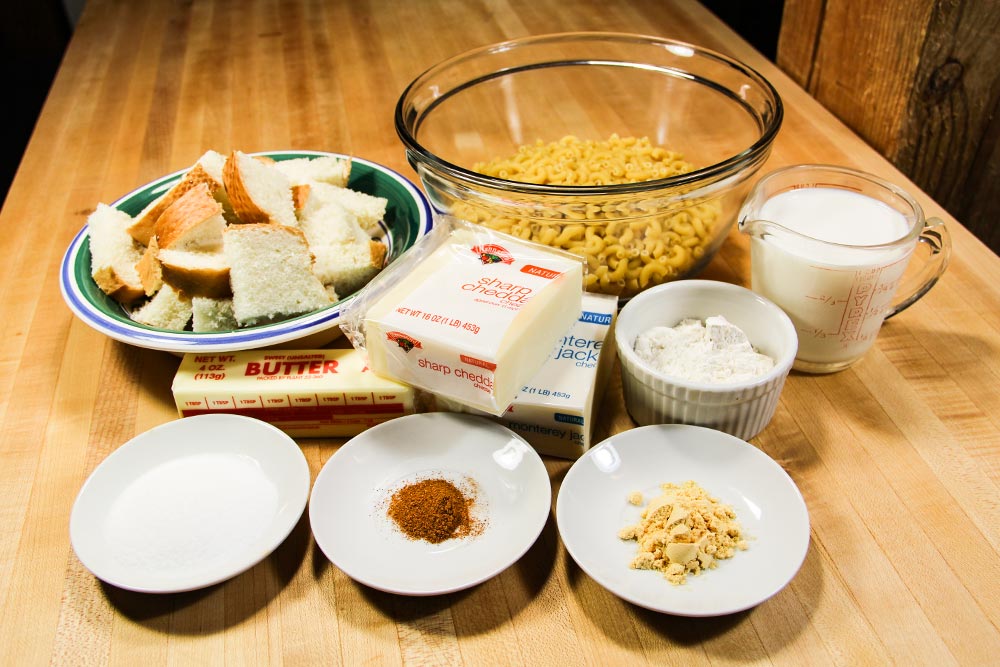
Ingredients
Serves: 6
6 Ounces White Bread (About 5 Medium Slices of Gourmet or Sandwich)
8 Tablespoons Butter (Unsalted)
1 Pound Macaroni
6 Tablespoons All-Purpose Flour
1 1/2 Teaspoons Dry Mustard
1/4 Teaspoon Cayenne Pepper
5 Cups Whole Milk
8 Ounces Monterey Jack Cheese
8 Ounces Sharp Cheddar Cheese (White or Yellow)
Regular Table Salt
Step-by-Step Instructions
I have to say, beyond the two challenging areas I mentioned above, this is a fairly easy recipe to pull off. Once I did, I felt very good in what I was left with. Instead of being presented with more of a string cheese dish as in my previous mac and cheese recipe, I enjoyed a creamy cheese dish. And as I mentioned above, it’s tough to decide which I like better. I’m currently leaning toward this one because I think the flavors of the different cheeses had a chance to permeate into the sauce itself. I’m not sure I tasted the cheddar so much in the previous recipe. I definitely tasted it in this one. Also, the bread topping offered a bit of texture that I liked.
Prepare the Bread Crumbs
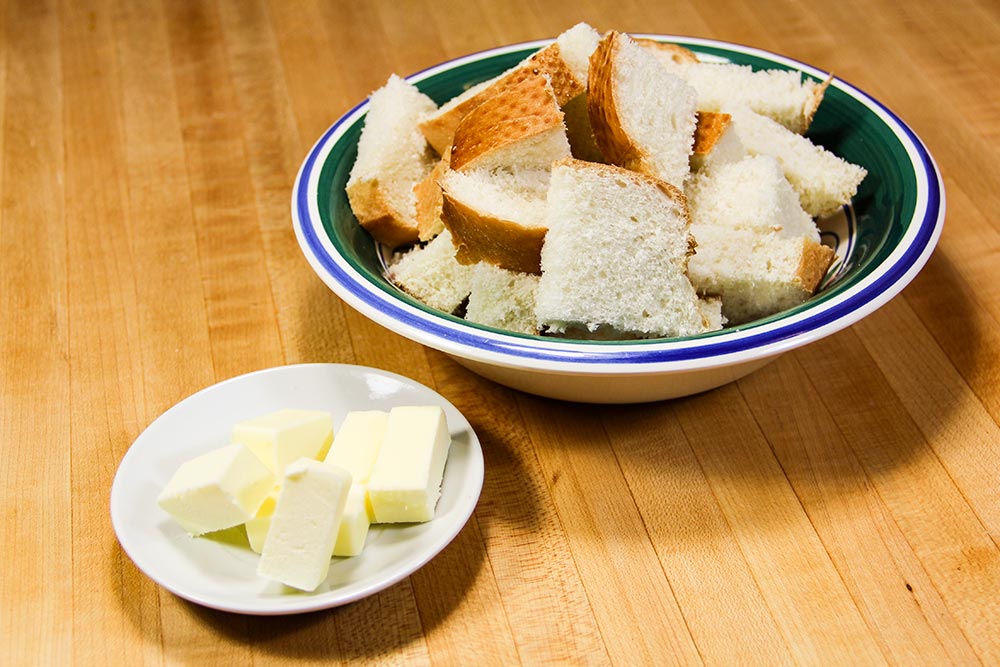
The very first task I completed with this recipe was to cut some bread from the loaf I had purchased the day before. I decided to go with one of those deli loafs instead of regular sandwich bread simply because I would be placing photos on this website. I will tell you though, I find myself buying more and more of this type of bread. I use it for recipes and as toast for breakfast. It’s more substantial, if you will.
After I had the slices of bread ready to go, I cut them into smaller pieces, so they would move better in the food processor. I also cut 3 tablespoons of the non-salted butter into smaller pieces for the same reason. Any time you can prep food for the food processor, you end up with a better result.
When that was finished, I placed the ingredients into the food processor.
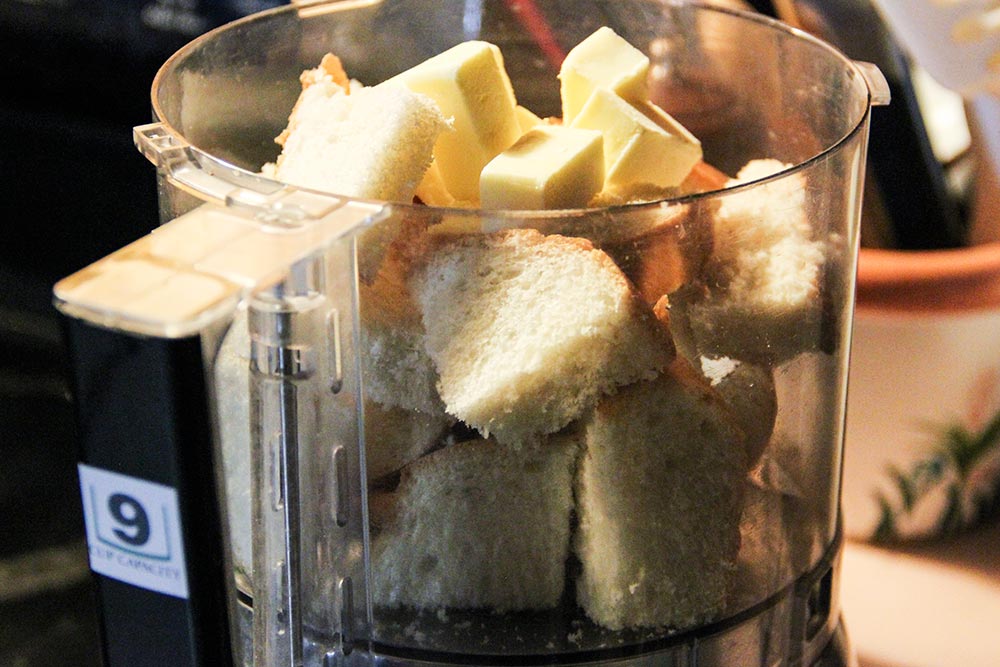
Approximately 15 pulses later, I had some very good looking bread crumbs.
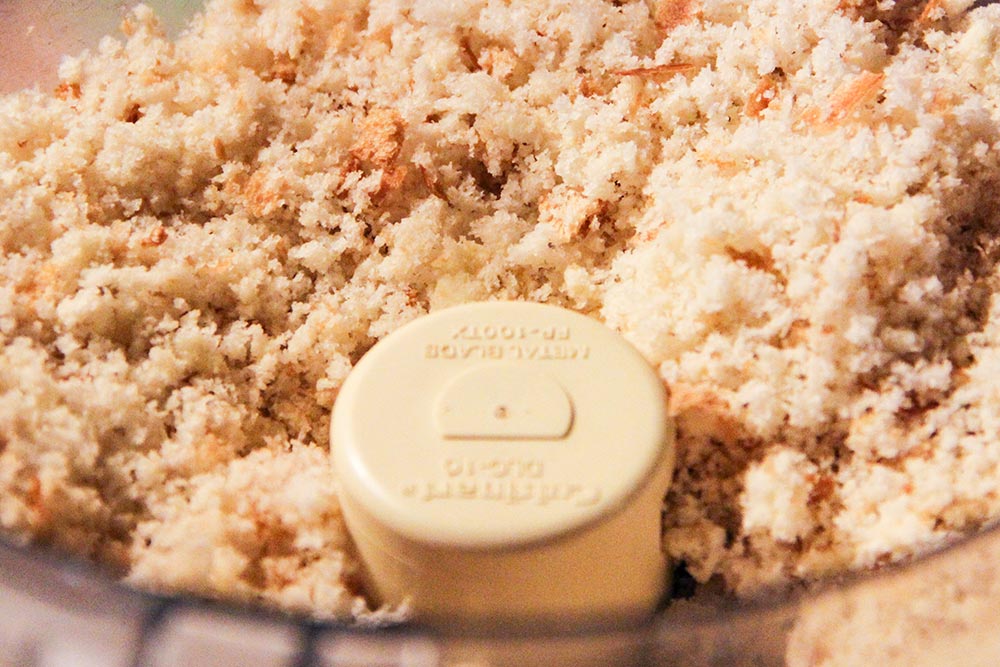
I put the crumbs in a bowl to rest on the counter and I cleaned out the food processor. I like to keep the kitchen clean as I’m cooking, especially since I wasn’t going to use that particular piece of equipment again.
Shred the Cheese
The next step was to shred both 8 ounce pieces of cheese. I did this with our box grater.
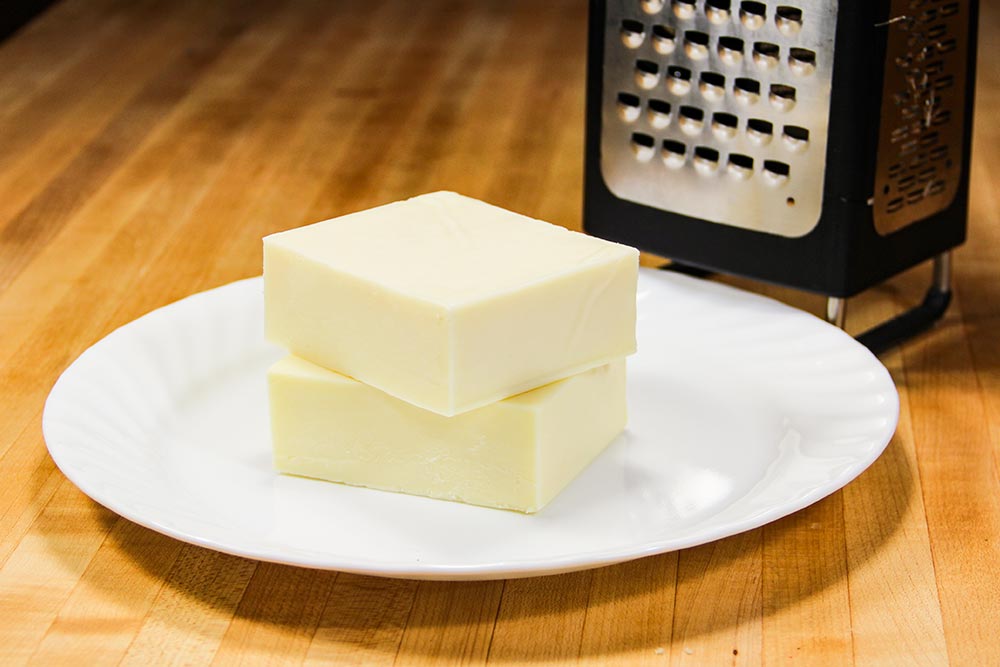
I know it’s difficult to tell from the above photo, but one of these cheeses is Monterey Jack and the other is sharp cheddar. I shredded for a while and here is what I got.

I set the cheese aside.
Salt & Boil the Water
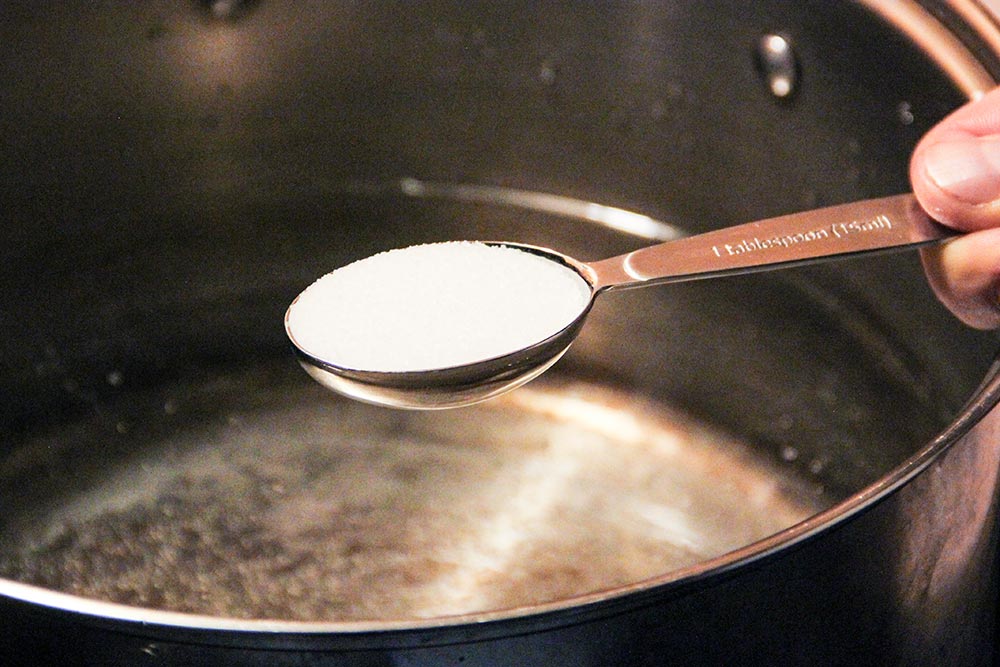
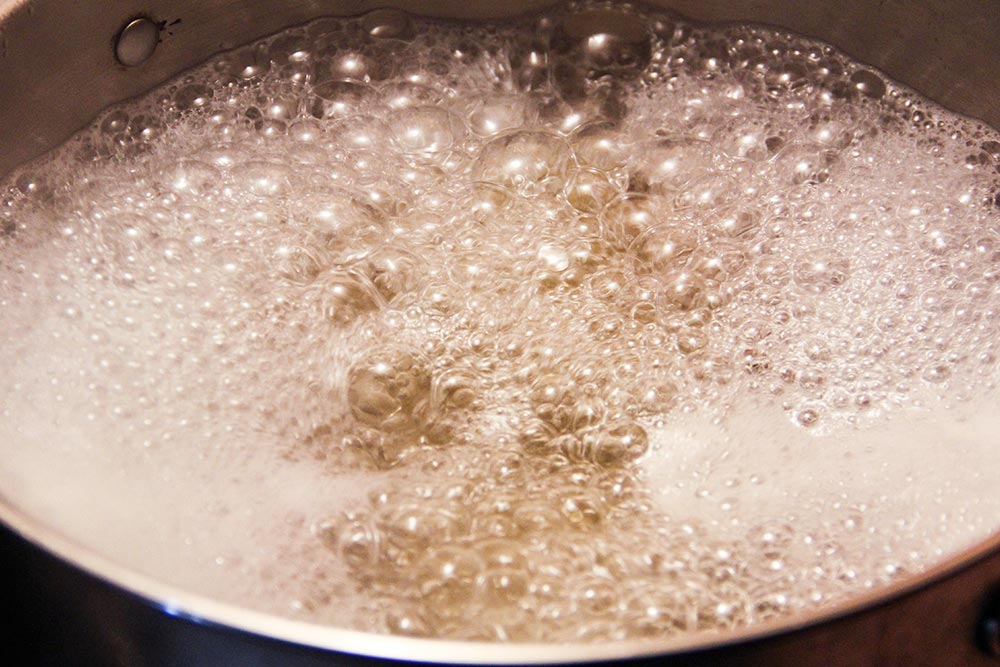
When boiling water for pasta, you need to be sure you’re boiling enough of it. Too little and you’ll end up with some sort of a starchy soup. I’ve done this on a number of occasions when I was pressed for time. I thought that if I boiled less water, it would hurry up and I’d have my pasta faster. As it ended up, the pasta stuck to itself and I didn’t enjoy one bit of it.
The other side of this argument is that you need to be sure there’s enough salt in the water to bring out the flavor of the pasta. If you boil too much water, there’s a chance that the salt will be diluted. So, the rule is, boil 4 quarts of water for one pound of pasta and use 1 tablespoon of salt. That’s the perfect ratio. So that’s what I did.
Once the water was boiling, I added the pasta to it.
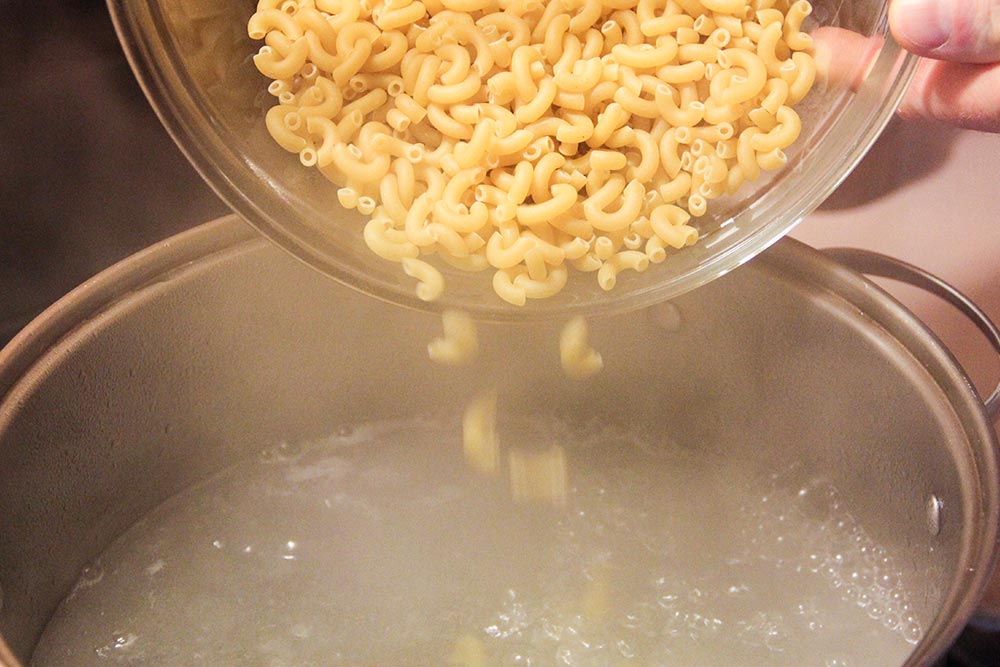
And I let it cook for a while.
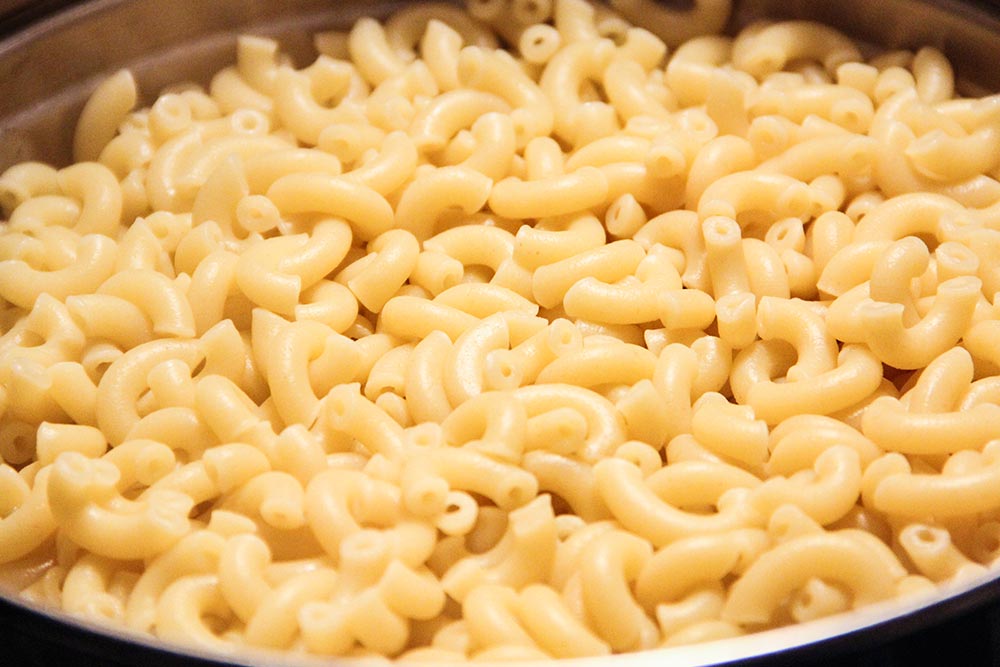
After a few minutes of stirring to keep the pasta from sticking to the bottom of the pot, which it did in the beginning, I started tasting it.
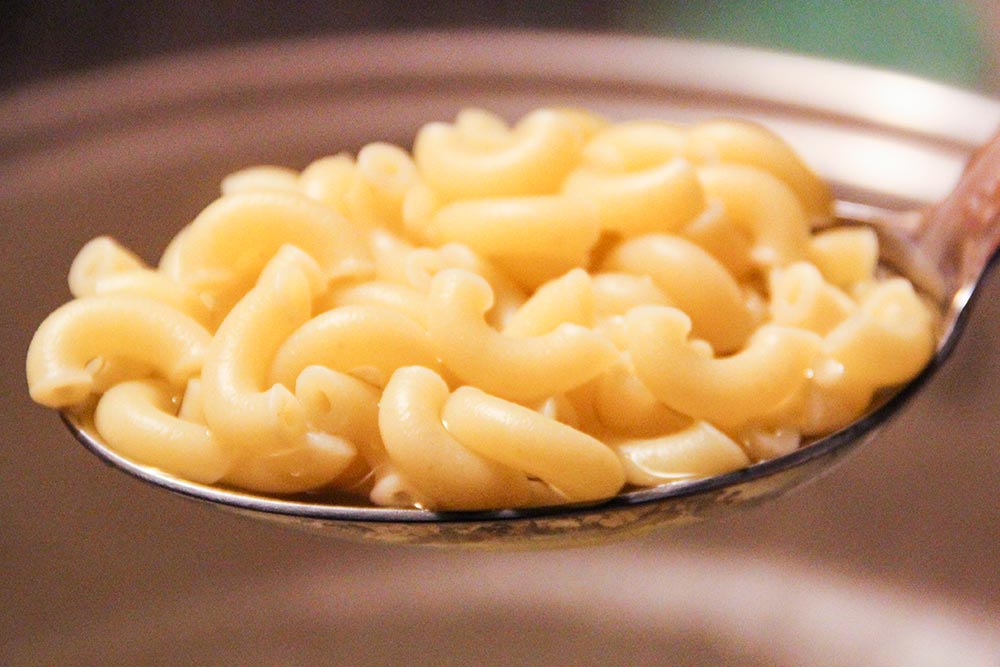
When it tasted as though it was right past al dente, I drained it and placed it aside for later use. If you’re not sure what al dente pasta is, please take a look at this resource:
How To Make Perfect Al Dente Pasta
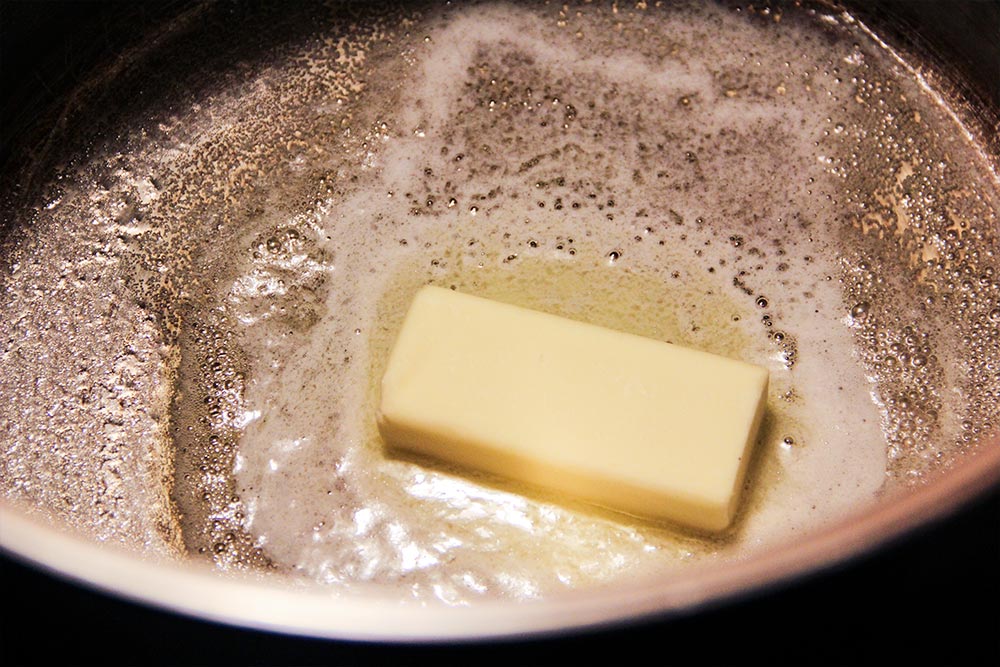
Melt the Butter
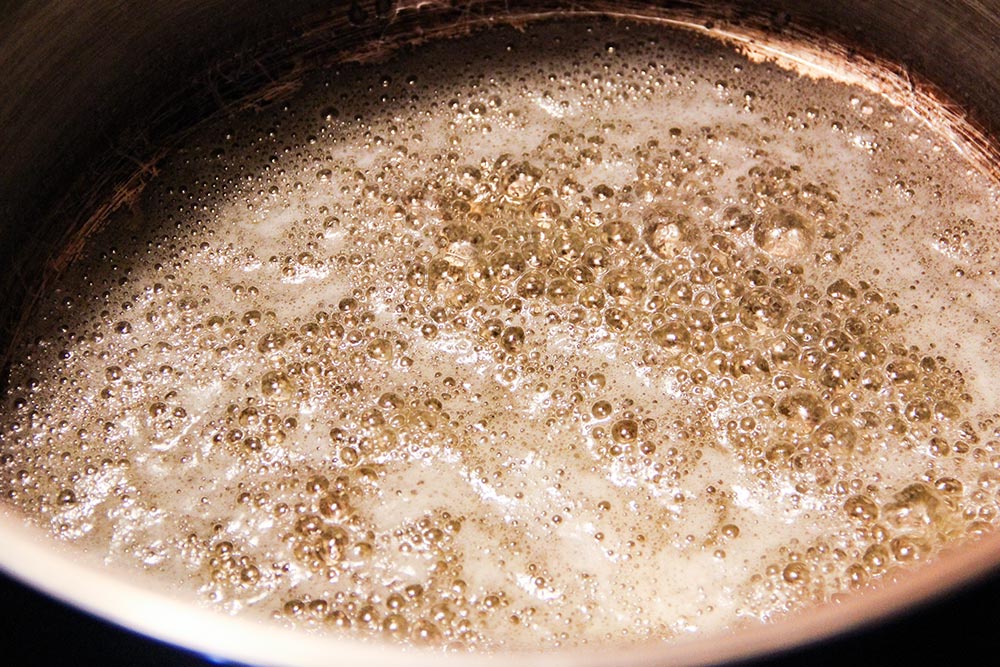
Since the recipe calls for using 3 ounces of butter with the bread crumbs, I had 5 ounces left in the stick. Luckily, it calls for melting exactly 5 ounces in the now empty pasta pot over medium-high heat until it foams.
Pre-Heat Broiler
This is a very important step. At some point along the line, I turned my broiler onto high. Since I knew I still had some time and how my oven works, I felt that I was in a good position to do this. At this point in the recipe, there are still about 10 minutes before the pasta needs to go in the oven, so if you’re following along, feel free to begin pre-heating now.
Add Flour, Mustard & Cayenne
Last night, as I was preparing this dish, this is where I had a bit of trouble. I was attempting to have photos taken as the butter was cooking. As you may well know, butter doesn’t wait for photos, so I had to act fast. I managed to avoid burning it while grabbing some photos.
After the butter was foaming up nicely, I added the 6 tablespoons of flour and stirred it in. After that, I added the dried mustard and cayenne and stirred that in as well. Looking back, I wish that I had combined those ingredients together in one bowl so I could just dump them in at the same time, as opposed to turning around three times to find each one. Again, taking photos and cooking don’t go hand in hand.
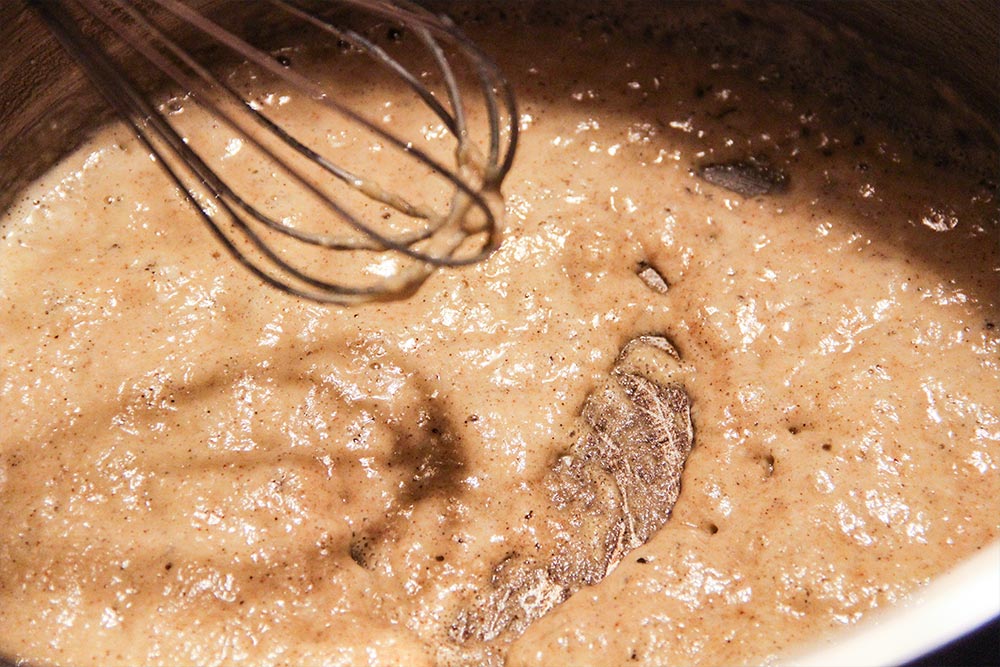
As soon as I had those ingredients together in the pot, I whisked and whisked until I began to smell them. That took about a minute or so. It’s super important to keep whisking because these ingredients are cooking over medium high heat. They can easily burn.
Whisk in Milk
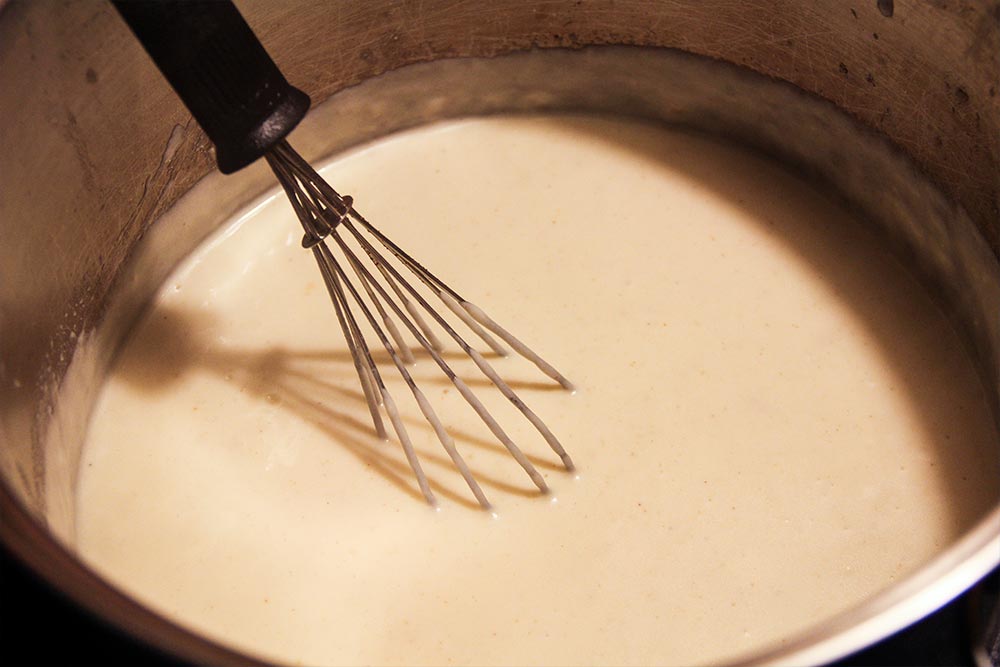
At this point, the butter, flour, mustard and cayenne mixture was giving off some nice aroma. It had just passed the 1 minute mark, so I slowly whisked in the 5 cups of whole milk. The reason I did this slowly was to keep as much heat in the pot as possible. I didn’t want to shock it. After it was all in, I whisked some more to blend everything together.
I continued to whisk the mixture until it began to boil. As it boiled, I noticed that it became markedly thicker. It didn’t only boil, it bubbled higher and higher.
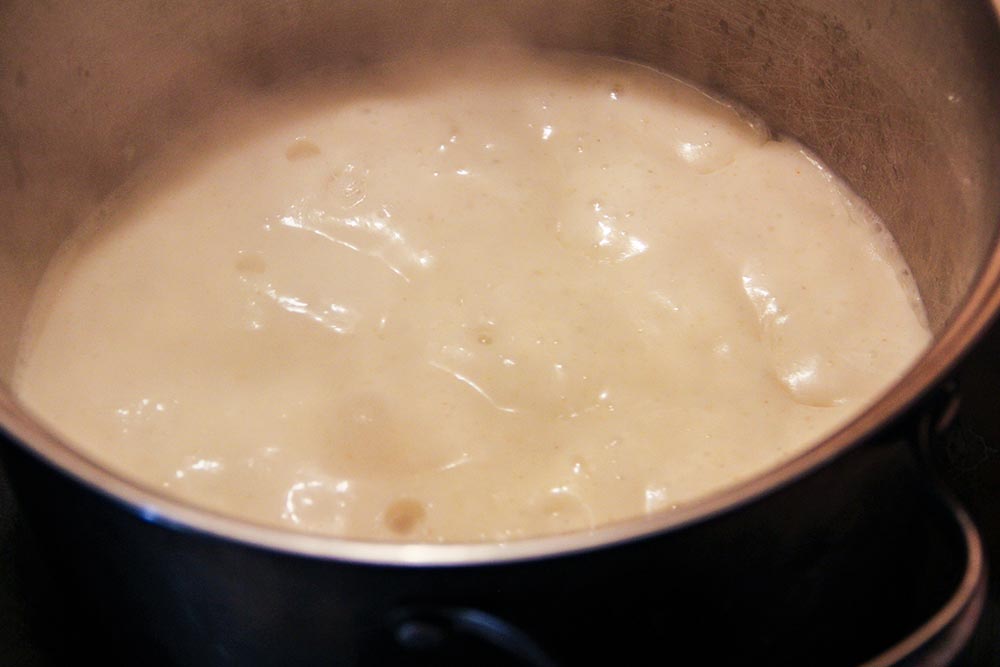
After I saw the boiling, I reduced the temperature to medium and continued to whisk for a few minutes until everything became even thicker.
Add & Melt Cheese
Since the temperature was at medium, there was less of a need for a mad rush. I slowly added all the shredded cheese, along with one teaspoon of salt, and stirred.
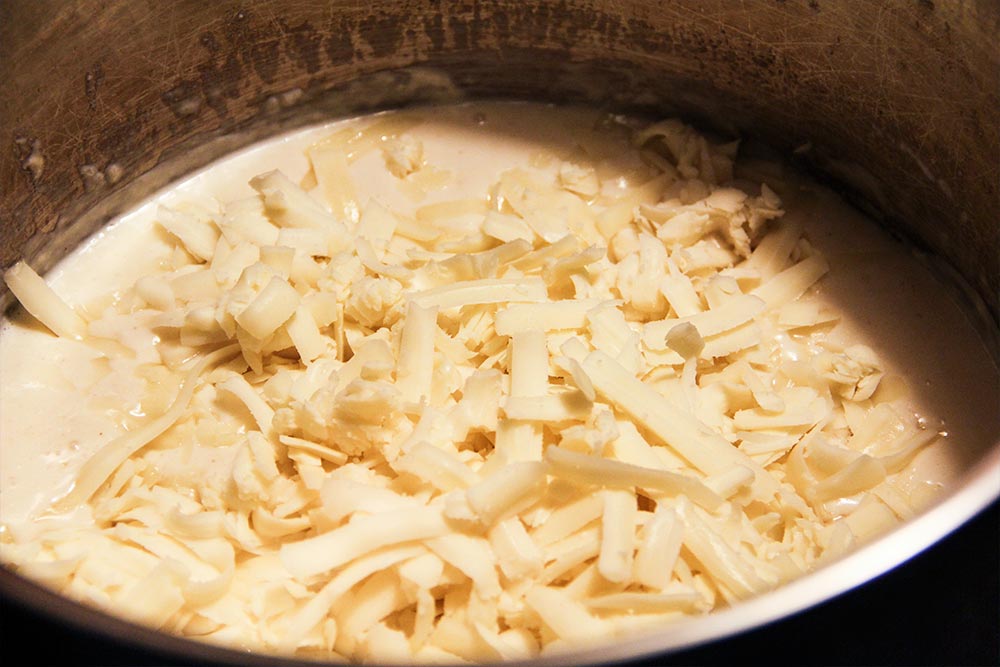
Remarkably, the cheese quickly melted. I have never seen this happen so fast.
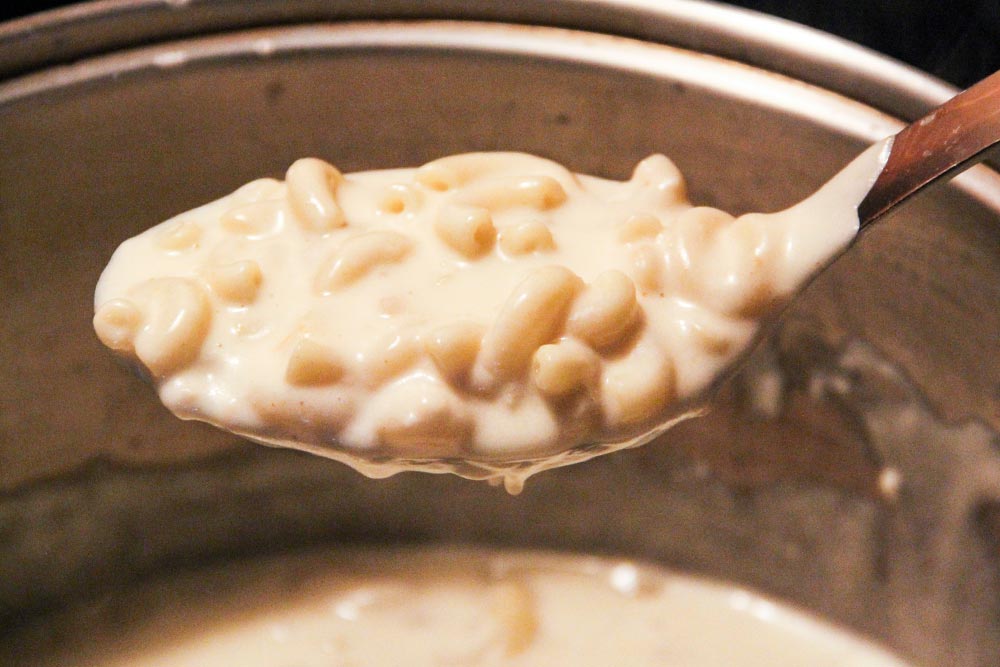
Add Pasta, Stir & Heat
After I was sure that all the cheese had melted into the milk mixture, I added the pasta to it.
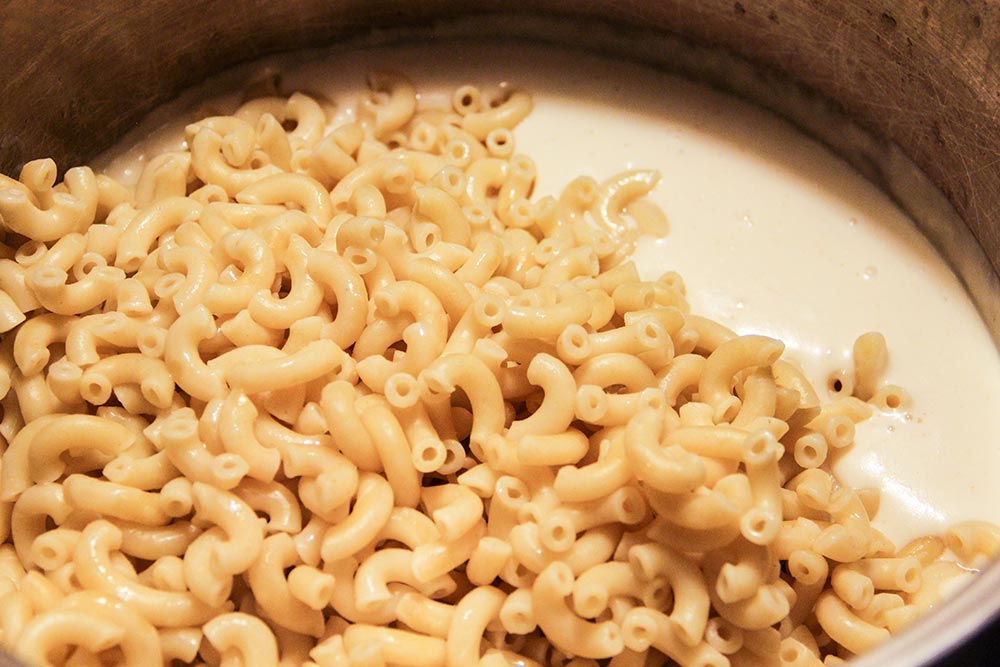
I lowered the stove top temperature to medium low and continued to stir everything together until I was confident it was hot all the way through. This probably took between 3-5 minutes.
Add Pasta & Sauce To Casserole Dish
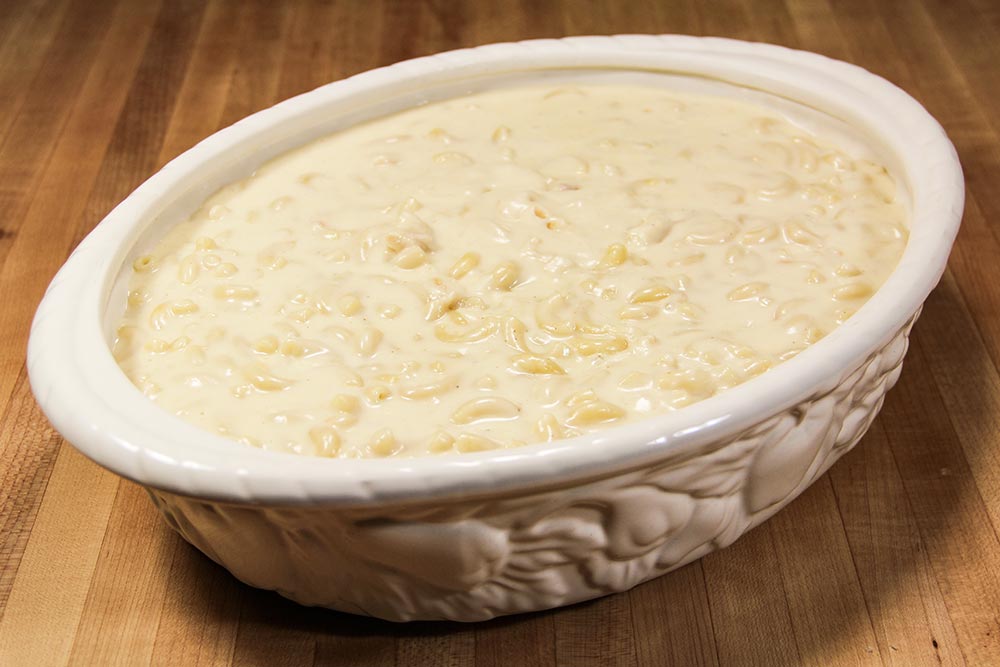
The recipe calls for adding the pasta and cheese mixture to a 9×13 casserole dish. I did have one of them, but I also had a much better looking rounded dish that luckily held everything perfectly. I transferred the cooked ingredients to that dish.
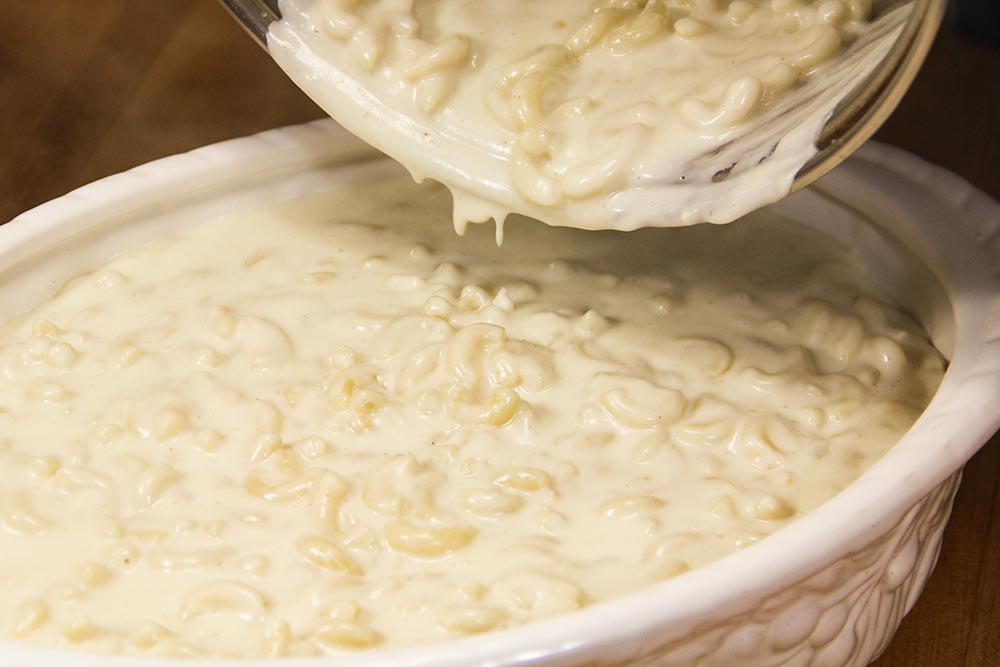
See, I told you it was the perfect size.
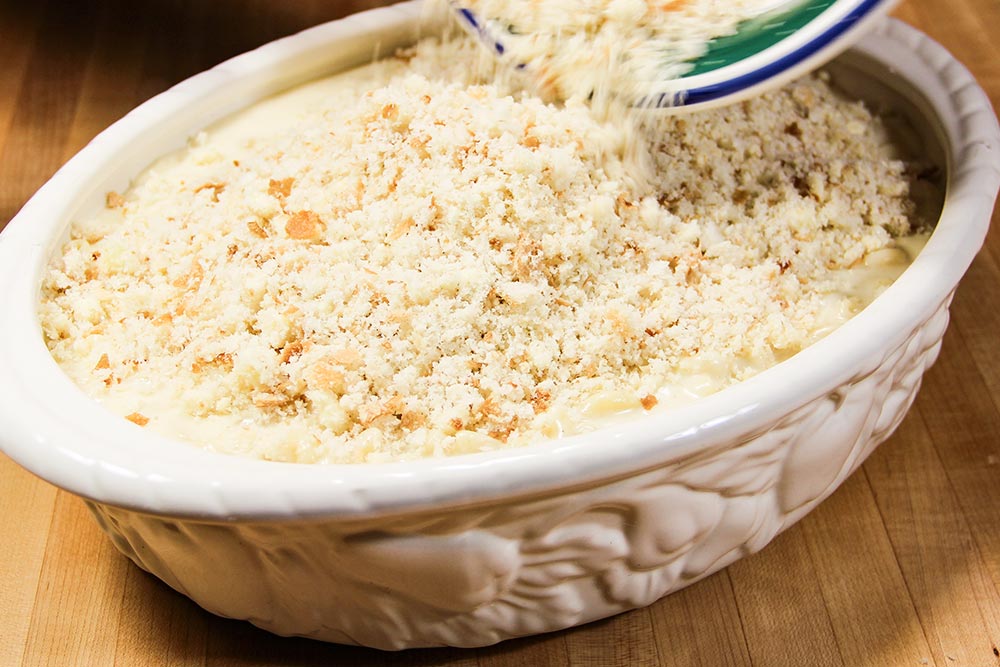
Spread Breadcrumbs Over Surface
I was beginning to feel better because the steps were becoming easier. All I needed to do was to spread the bread crumbs over the pasta mixture and cook. This is me pouring the bread crumbs over the pasta and cheese mixture.
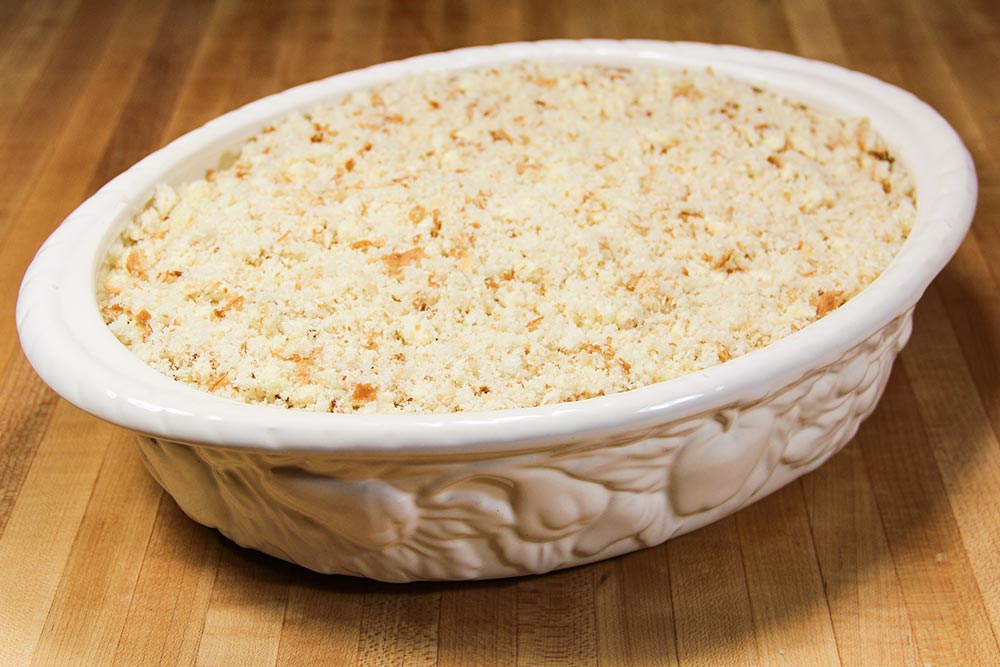
And this is what it looks like when it’s completely covered the way it’s supposed to be.
Broil the Pasta, Cheese & Breadcrumb Mixture
All that was left was the broiling. I want to offer a quick word of warning here. Even though the recipe calls for browning the breadcrumbs for about 5 minutes, I can tell you that it takes much less time than that. I’m not sure if it was the bread, but after only 2 or 3 minutes, this dish was finished. Good thing I looked at it in the oven because if I had waited any longer, the crumbs would have burned. I caught it just in time.
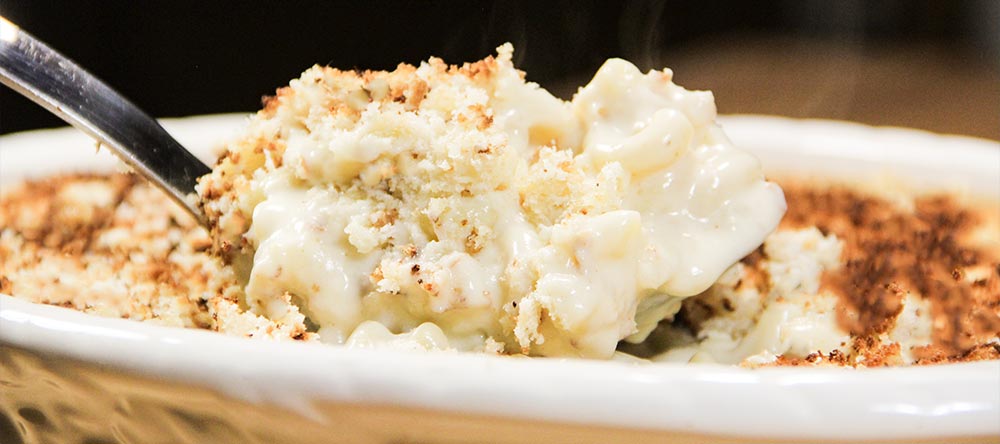
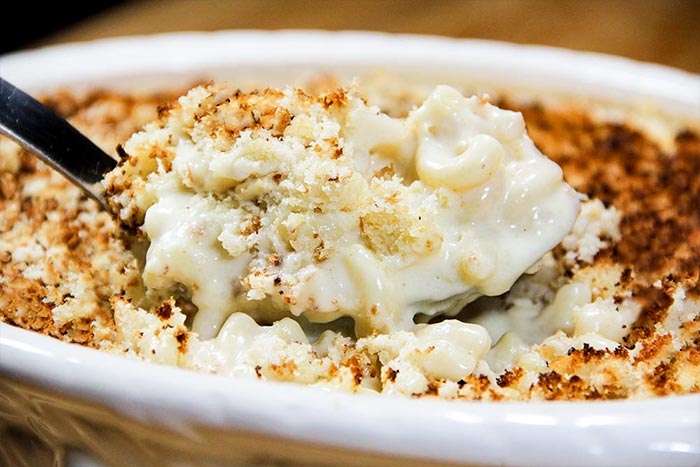
The Final Product
This is what I made. I’ll tell you, it’s as good tasting as it is looking. The butter in the crumbs melted and the cheese really shined through. This is definitely one of my favorites.
——
If you’ve enjoyed today’s post and found it helpful, please share it with a friend. Also, if you’d like to continue reading and would like our posts sent directly to your email inbox, simply sign up for our newsletter. We’ll send each and every post directly to you. Thanks!
Looks good!
Agreed! It tastes good too.