Out of all the yeast risen bread recipes I’ll ever share on this site, this one has got to be one of the most straightforward. If you’ve ever thought about the steps necessary to make homemade bread, you probably thought of the ones I’ll show you below. This bread recipe is a classic and it needs no special skills to pull off. Oh yeah – it also tastes great.
The Recipe
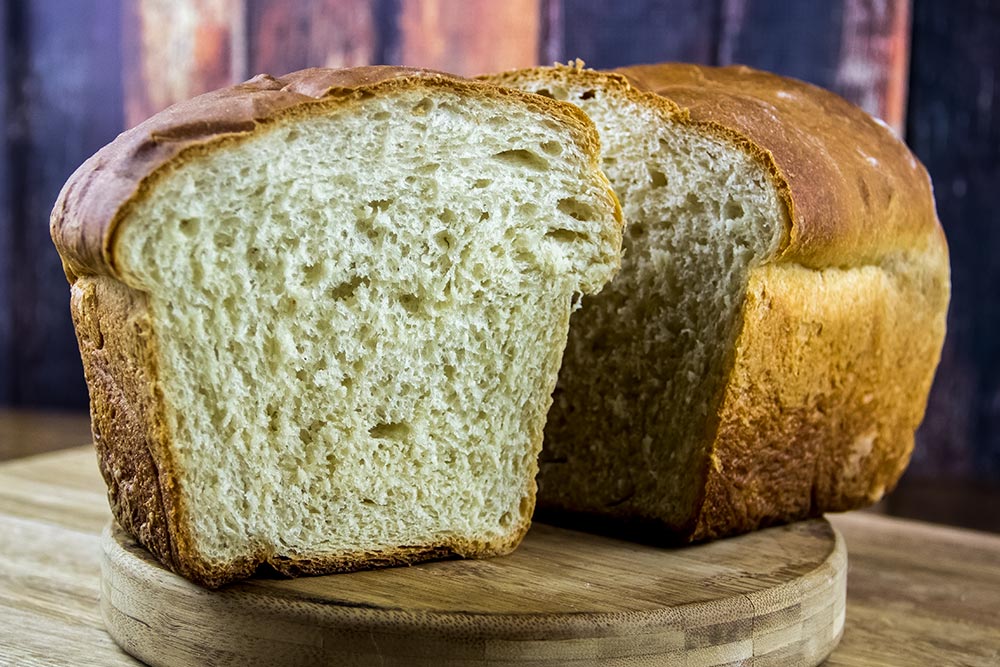
When you think of regular sandwich bread, you probably think of soft and fluffy white bread with a nice, soft, brown crust. Well, I’ve got a special treat for you because today’s recipe is just that – the perfect white sandwich bread. It’s got some bounce to it and as I mentioned above, the steps necessary to make this happen are as easy as it gets. All you need is a stand mixer, a pan, the ingredients and an oven. The result will be something you’ll likely want to prepare over and over again.
Ingredients
Makes: 1 Loaf
2 1/2 Cups Bread Flour
2 Teaspoons Instant Yeast
1 1/2 Teaspoons Salt
3/4 Cup Whole Milk, Room Temperature
1/3 Cup Water, Room Temperature
2 Tablespoons Butter, Melted
2 Tablespoons Honey
Step-by-Step Instructions
I’d like to thank America’s Test Kitchen and their wonderful resource called Bread Illustrated for this recipe. I’m slowly moving through this book and it’s been awesome. I never knew I was so talented at making bread.
Mix Dry Ingredients
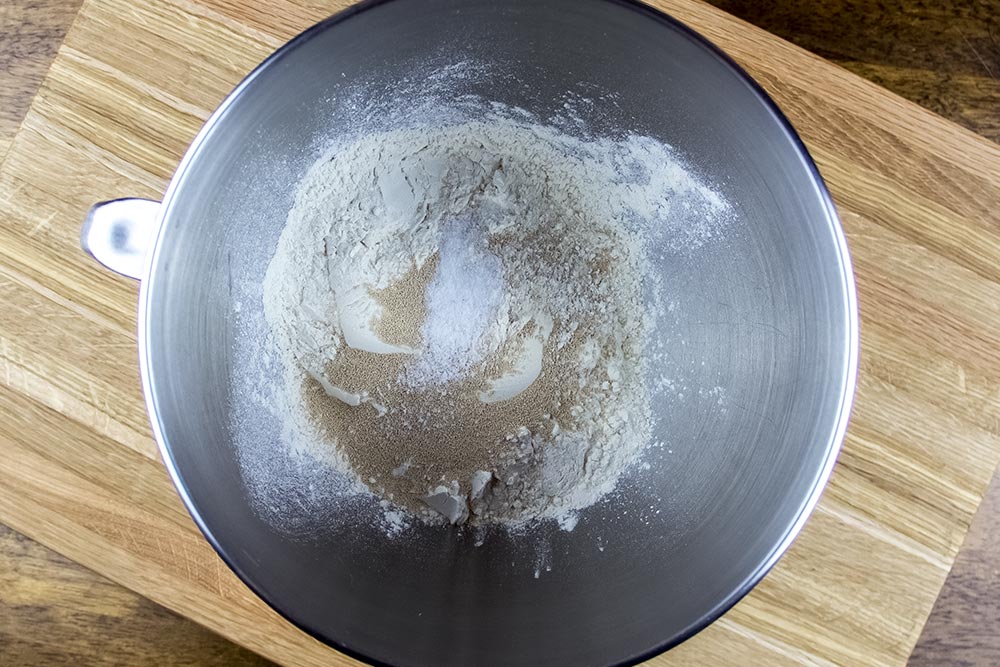
In the bowl of your stand mixer, add the flour, yeast and salt and whisk together.
Mix Wet Ingredients
In a large measuring cup, add the milk, water, melted butter and honey. Whisk well with a fork until these ingredients are combined.

Combine Ingredients in Mixer
Turn your mixer on low and slowly add the wet ingredients to the dry. Then, increase the mixer speed to medium low and continue mixing for 8 minutes. At this point, the ingredients should be fully elastic and should have taken the appearance of dough. If yours is still too wet, add flour by the teaspoon until the dough clears the sides of the bowl.
Knead the Dough
Once everything is finished in the mixer, take the dough out and place it on a floured counter top. Then, knead the dough with your hands for about 1 minute. If it becomes sticky, sprinkle the dough with more flour. Form the dough into a ball with the seam at the bottom and place the ball into a lightly greased bowl that’s large enough for something at least double the size of the dough.
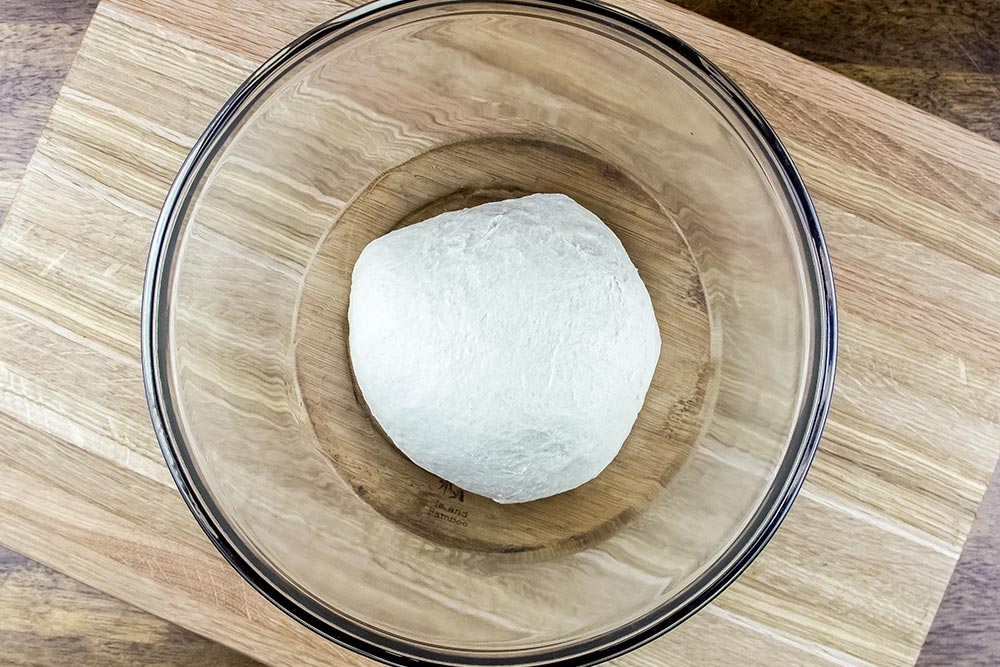
Cover the bowl tightly with plastic wrap and let rise for about 2 hours, or until the dough has doubled in size.
Place in Pan
Lightly grease a pan that measures about 9 inches by 5 inches. When the dough has risen, remove it from the bowl and place it back on your counter top. Push the dough flat and form it into a rectangle that measures about 8 inches wide by 6 inches tall. Then, roll the rectangle up so it forms what looks like a tube. Place that tube, seam side down, into the pan.
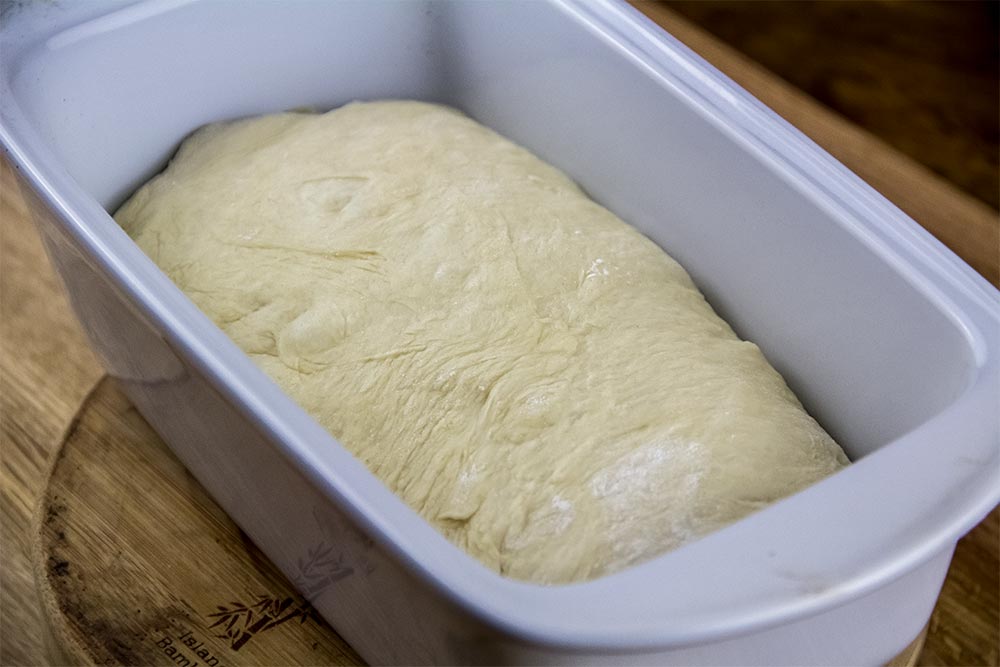
Loosely cover the pan with plastic wrap and let the dough rise until it comes out of the pan by an inch. This should take about an hour, depending on the temperature of your house. You’ll want to grease the piece of plastic too, so nothing sticks to it.
Pre-Heat Oven
Arrange your oven racks so one is in the lower middle position. Then, pre-heat the oven to 350 degrees.
Bake the Bread
After the dough has risen and the oven is to temperature, remove the plastic wrap and place the pan in the oven for about 35 to 40 minutes. You’ll know the bread is finished when the top crust is golden brown and the center temperature is between 205 and 210 degrees.
When it’s finished, remove the pan from the oven, turn off heat and let everything cool for about 30 minutes. After that, pop the loaf out of the pan, slice and enjoy.
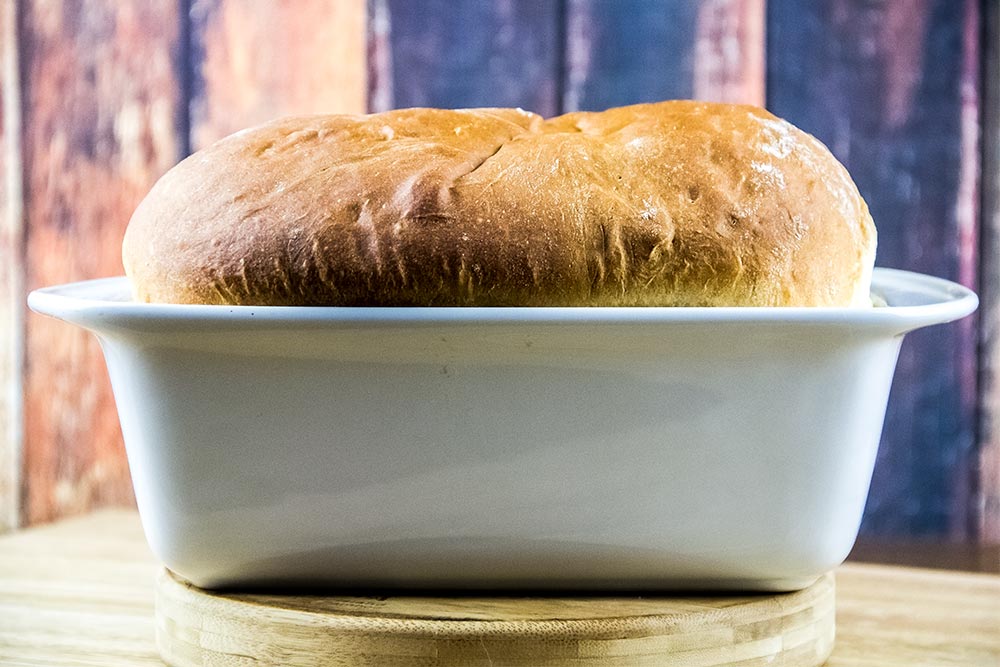
The Final Bread
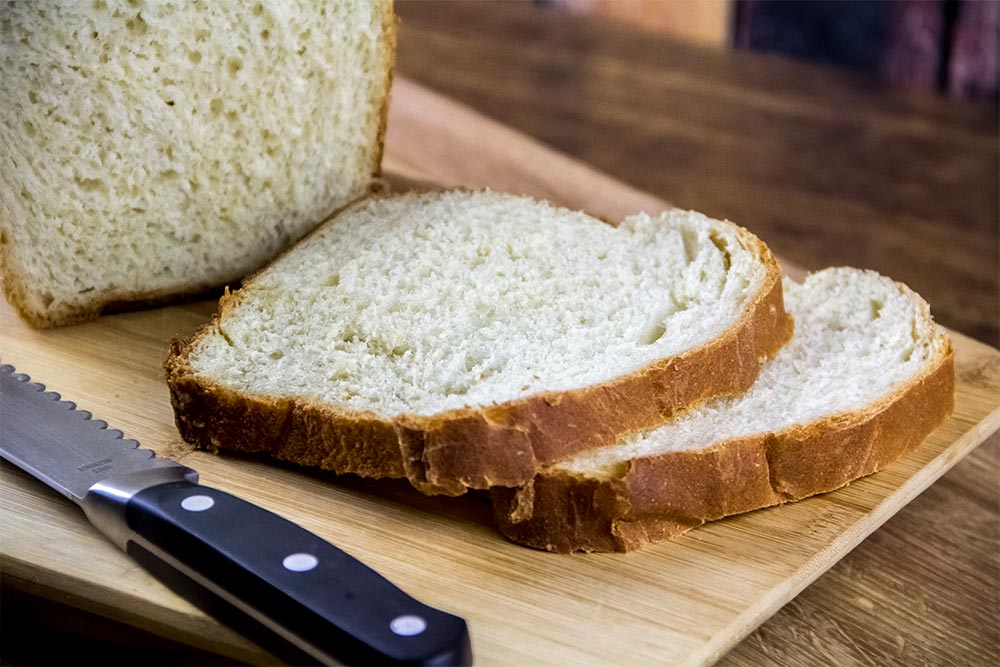
Mine came out rather well, but it’s on a slight tilt. That was probably from the way I loaded the pan with the dough. Otherwise, it’s perfect. It actually rose more than I thought it was going to and it kept the interior texture perfectly formed. It didn’t fall flat like others I’ve prepared and it tastes just like sandwich bread. Give this a shot. It’s a good recipe. Thanks for reading!
Leave a Reply