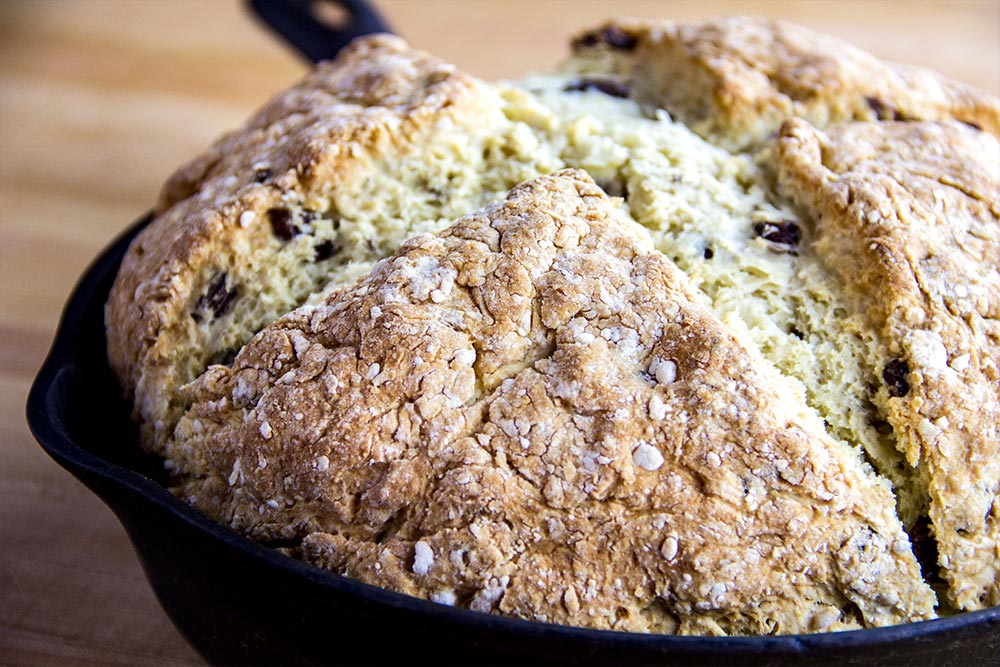
A few weeks ago, I had no idea there was a difference between traditional (otherwise known as Irish) soda bread and the other kind of soda bread. You know, the kind we all grew up eating. The one with the “extra” ingredients. I had to do some reading to figure out what the primary variations between the two breads were and what I found was subtle, but important.
Traditional soda bread contains only four ingredients. They are flour, baking soda, salt and buttermilk. Now, much debate has occurred throughout the years over the perfect ratio of those four ingredients. For instance, if there’s too much baking soda, the bread tastes far too bitter. If there’s not enough baking soda then the reaction between it and the buttermilk won’t have enough power to lift the bread while cooking. I’m sure we’ve all ended up with the heavy pancake-like loaf of bread at least once in our lives.
American style soda bread adds a few ingredients to the list used for Irish soda bread. These ingredients might include something like currants or raisins, caraway seeds, butter, cream of tartar and variations of the type of flour used. I’ve seen all types of cases for this, such as cake flour (below), all-purpose, whole wheat and white whole wheat. Personally, I enjoy experimenting with additional ingredients, so I’m not all too interested in limiting myself to only four, merely to adhere to a traditional recipe.
The Recipe
As promised in my previous soda bread recipe post, I tried out a variation of what I already made. This one, however, takes things up a notch. It was presented by Cook’s Illustrated and has been experimented with to offer the perfect lighter crust as well as soft dough and lots of flavor. While it’s not terribly different than the other version, it does offer a peek into what particular ingredients can accomplish. I enjoy this aspect of cooking as it allows me to learn and experiment more on my own.
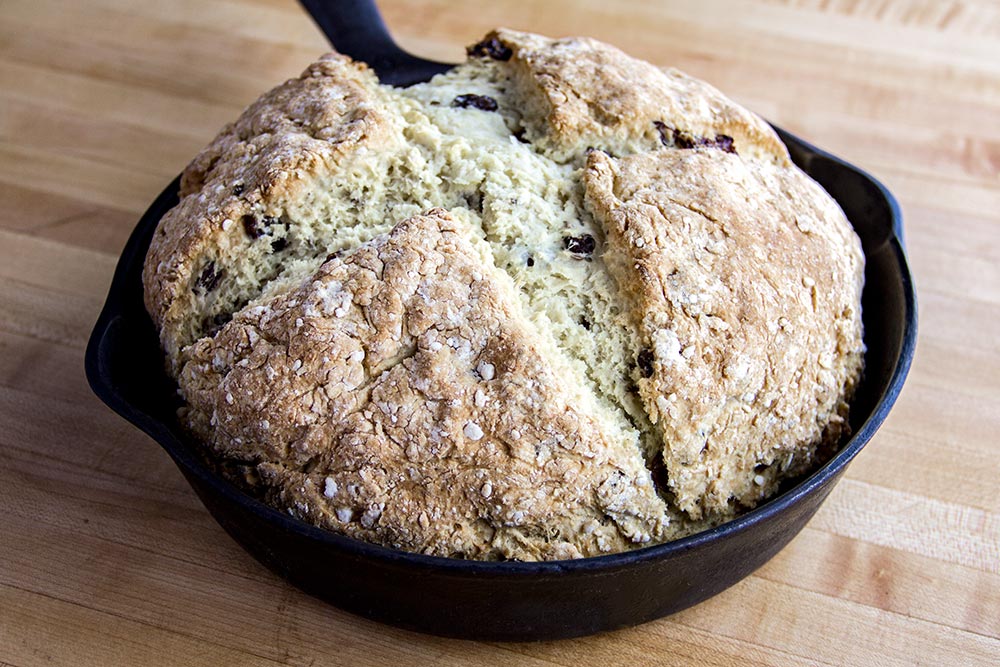
To sum things up, this recipe is a good one. The bread actually does have a great flavor, the inside dough is sort of velvety and the outer crust is just crumbly enough to make things interesting.
Ingredients
Makes 1 Loaf
3 Cups All-Purpose Flour
1 Cup Cake Flour
1/4 Cup Granulated White Sugar
1 1/2 Teaspoons Baking Soda
1 1/2 Teaspoons Cream of Tartar
1 1/2 Teaspoons Regular Table Salt
5 Tablespoons Unsalted Butter
1 1/4 Cups Buttermilk
1 Large Egg
1 Cup Raisins
1 Tablespoon Caraway Seeds
Step-by-Step Instructions
If you take a look through the above ingredient list and find that something isn’t to your liking, go ahead and remove it. Or, conversely, you can add to what you love. Just be careful to not affect one of the necessary reactions between ingredients, such as the one between the baking soda and the buttermilk as I mentioned above.
Pre-Heat Oven
First things first. Pre-heat your oven to 400 degrees and make sure you have the rack set to the middle-top position.
Combine Dry Ingredients
In a large stand mixer bowl, add the 3 cups of all-purpose flour, the 1 cup of cake flour, the 1/4 cup of white sugar, the 1 1/2 teaspoons of baking soda, the 1 1/2 teaspoons of cream of tartar, and the 1 1/2 teaspoons of regular table salt.
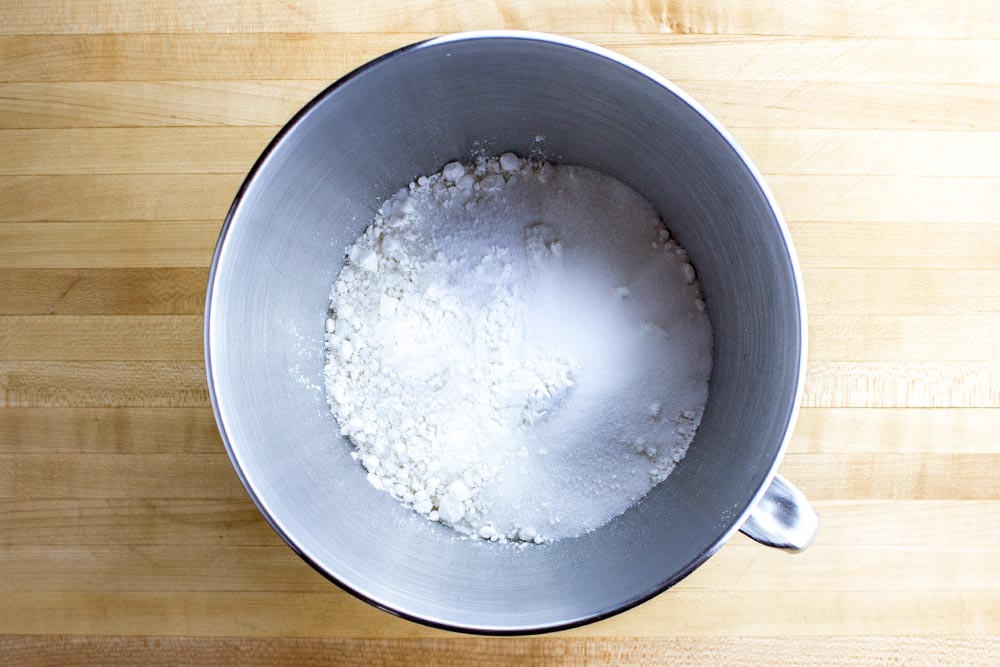
Mix the ingredients together with the paddle attachment of your stand mixer.
Once that’s finished, soften 5 tablespoons of unsalted butter. Then, cut into small pieces and add them to the dry ingredients. Again, mix everything together well, until you can’t see and lumps of butter.
Combine Remaining Ingredients
Now, add in the 1 1/4 cups of buttermilk, the 1 cup of raisins and the 1 tablespoon of caraway seeds. Lastly, lightly beat the 1 large egg and add that to the mixture in the large bowl that contains the other ingredients. Basically, everything should be in the same bowl at this point.
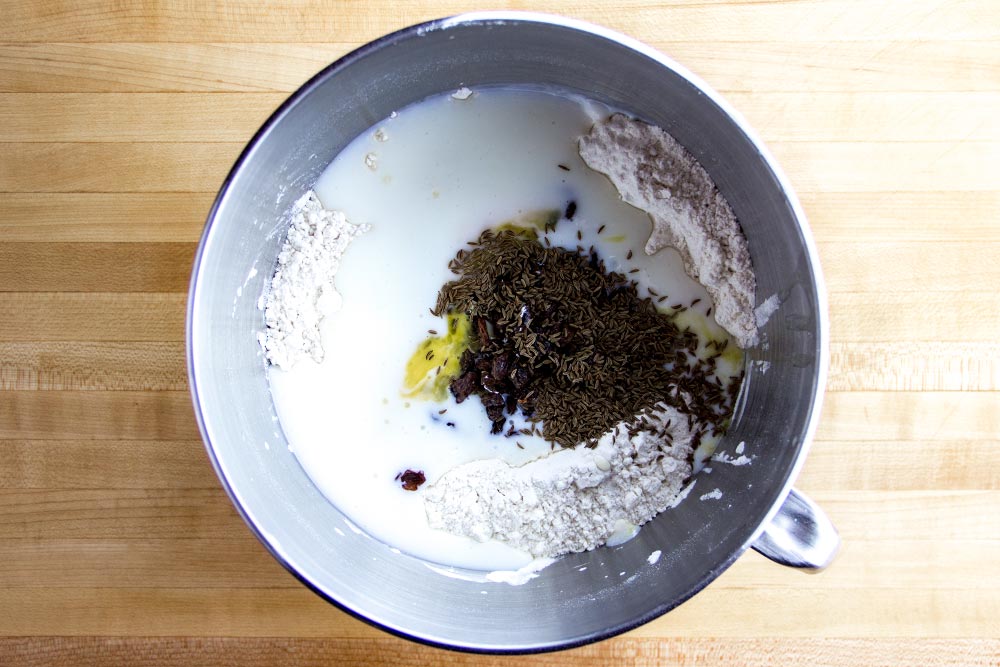
Remove the paddle attachment from your stand mixer and add the hook attachment. Mix the ingredients for only the amount of time it takes for everything to come together. This should be pulses of just a few seconds each. I mixed some and then stopped to help things along with my rubber spatula. Then, I mixed again and then used the spatula again. To keep the final dough as soft as possible, you want to avoid over mixing at this point. When everything that could be done with the mixer was done, I removed the bowl from it and pushed the dough around with my hands to make sure it was together as much as possible.
Add Dough to Pan
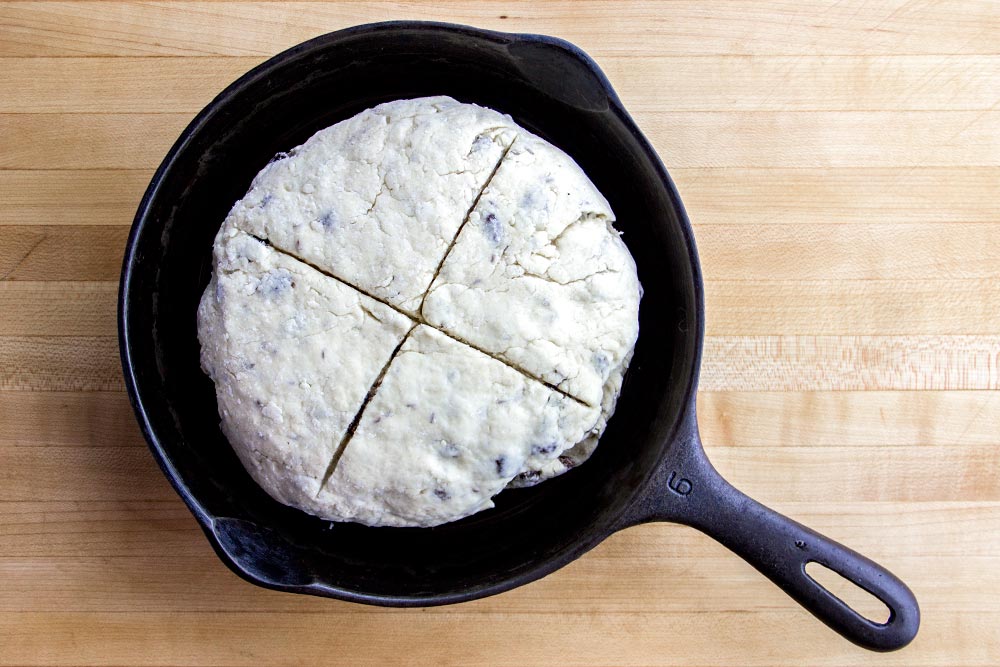
Like in the previous recipe, I used a cast iron skillet to cook the bread. I formed the dough into a round that was 2 inches high. Then, I added about 1 tablespoon of regular olive oil to the skillet and swirled it around so it coated the bottom as well as the sides. Finally, I added the dough to the skillet and cut an X across it about a half inch deep.
Cook the Dough
When the oven is warm, add the skillet or pan (or whatever you chose to use) to the oven and bake for about 45 minutes. After 30 minutes, take a peek in the oven to be sure the top of the bread isn’t getting too brown. If it is, cover it with some aluminum foil and continue baking. You’ll know when it’s finished when you take a temperature reading of the center and it’s 170 degrees.
The Final Bread
I must say, I’m pleased with how this turned out. It’s everything the recipe promised it to be and more. My first taste, after adding a few pats of butter, was “Hmm. This is good. This is really good.” I think I enjoyed the center bread itself. It’s rich and chewy. Perfect.

——
If you’ve enjoyed today’s post and found it helpful, please share it with a friend. Also, if you’d like to continue reading and would like our posts sent directly to your email inbox, simply sign up for our newsletter. We’ll send each and every post directly to you. Thanks!
Leave a Reply