I sure wish I made this bread a few days ago. If I had, I would’ve been able to enjoy it with those Sam Adams mussels Laura and I ate for dinner. I guess I have to plan a little better next time.
I was just having a conversation with Laura about bread. During this conversation, I said, “What if a deli, or something like a deli, made their own bread to serve their sandwiches on? I think that deli would make a name for itself. Every day, make a few different styles of bread, cut the loaves into slices and sell some really awesome and memorable sandwiches. One of the benefits would be that the restaurant would smell like a bakery every day.” You know as well as I know, everyone loves bakeries. Real bakeries – bread bakeries.
Bread isn’t expensive to make. For the recipe I’m going to share below, the ingredients come up to less than a dollar. No mixer is needed. No fancy tools. Just a bowl and an oven. Almost all of us have these things. I vote to focus on bread much more often.
The Recipe
Central to the “almost no knead” method of making this bread is a high hydration level and a long resting period called autolyse. During this resting period, which can last anywhere between 8 and 18 hours, the flour in the recipe absorbs any liquid that’s used. In our case, the liquid is water and beer. This method fully hydrates everything. As a consequence of this hydration, enzymes in the flour encourage its natural proteins to begin developing gluten. If you aren’t familiar, gluten is what gives bread dough its elasticity. Traditionally, kneading encourages the development of gluten, but since we’re taking advantage of autolyse, there’s very little kneading involved.
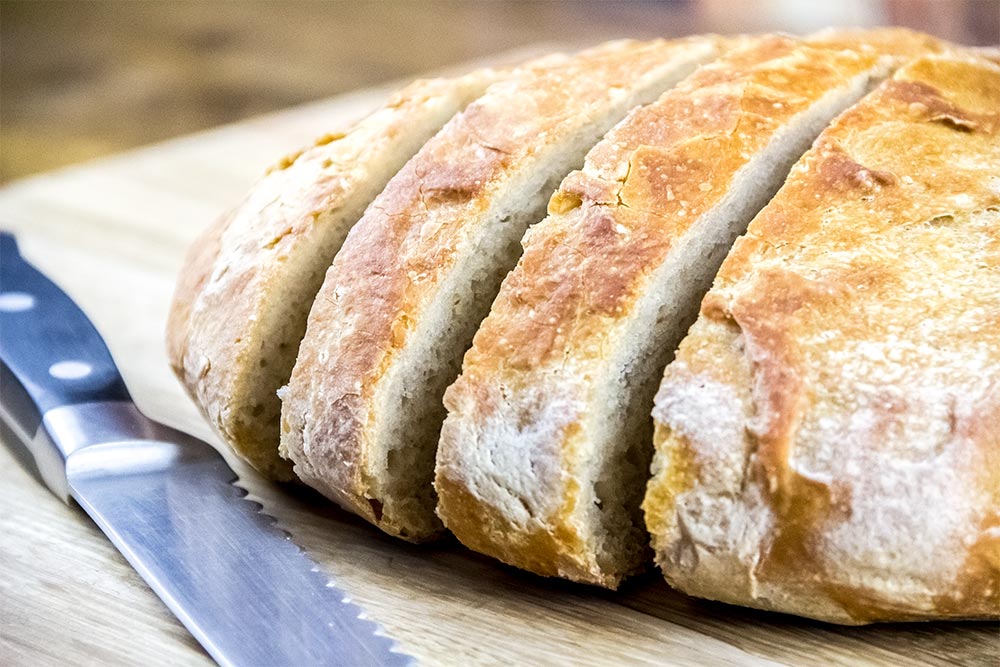
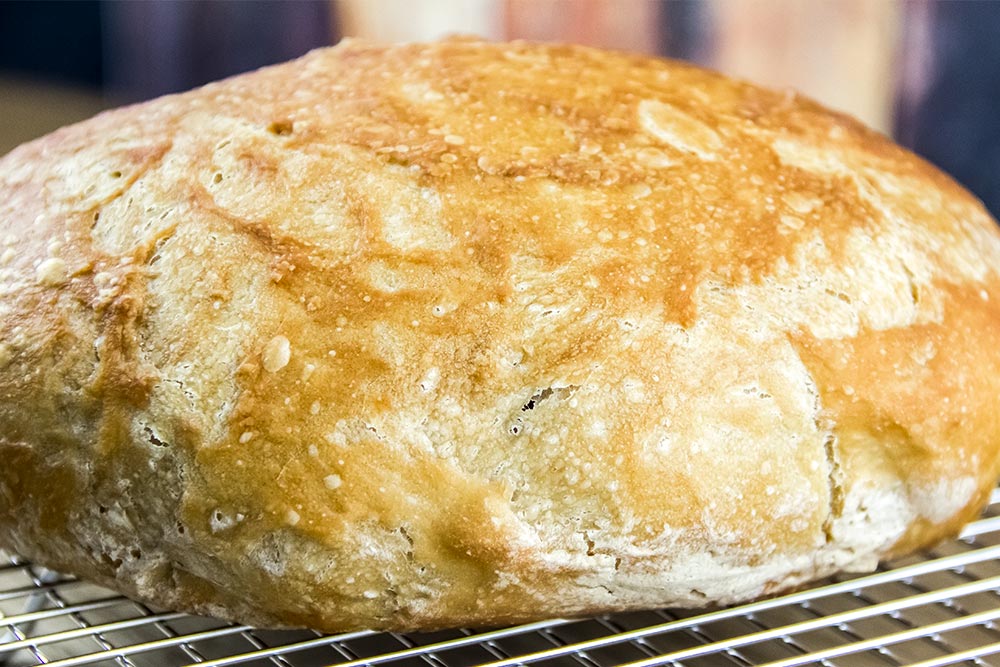
The resulting bread is really nicely browned with a legitimately thick crust. After you break that open, you’ll be left with a chewy interior. I just ate two pieces with melted butter on them and I have to tell you – this is my kind of thing. I felt like I was a lumberjack sitting in the woods somewhere tearing bread apart with my teeth. It’s serious stuff.
The flavor is good. It’s slightly acidic from the use of white vinegar and it has somewhat of a yeasty edge to it from the beer. As I was baking this bread, Laura mentioned that the wonderful smell brought her back in time. She couldn’t pinpoint when, but she said it was definitely nostalgic.
Ingredients
Makes: 1 Loaf of Bread
3 Cups All-Purpose Flour
1 1/2 Teaspoons Salt
1/4 Teaspoon Instant or Rapid-Rise Yeast
3/4 Cup Water, Room Temperature
1/2 Cup Lager, Room Temperature
1 Tablespoon White Vinegar
Step-by-Step Instructions
I’d like to thank Bread Illustrated for this recipe. Their Almost No-Knead Bread was just what I was looking for. I’m certainly learning a lot from this bread cookbook and suspect I’ll be a master by the time I’m through.
Mix Dry Ingredients
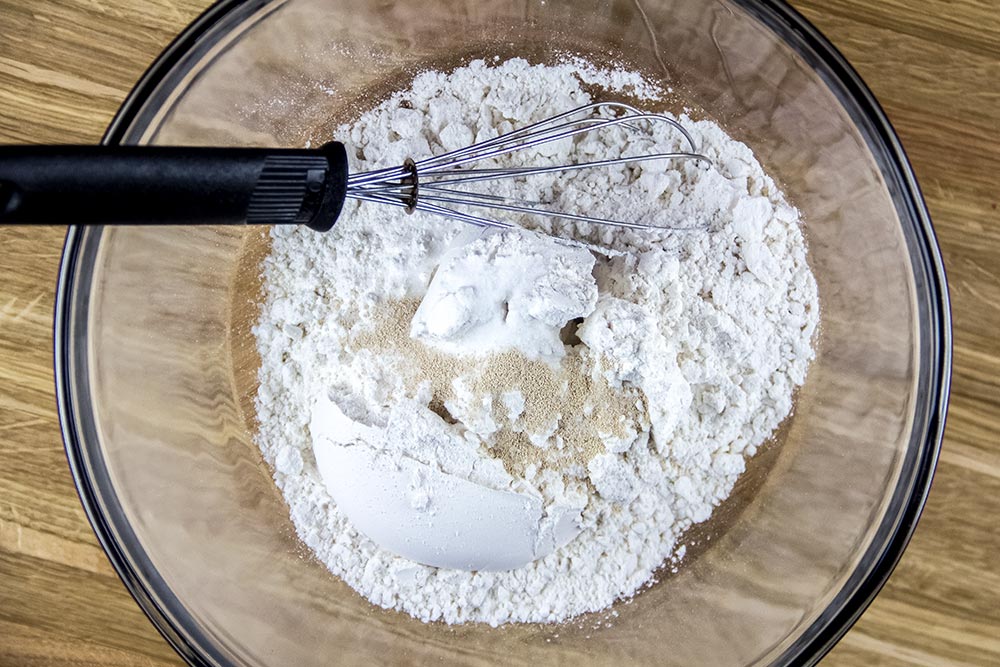
In a large bowl, add and mix the flour, salt and yeast with a whisk.
Mix Wet Ingredients
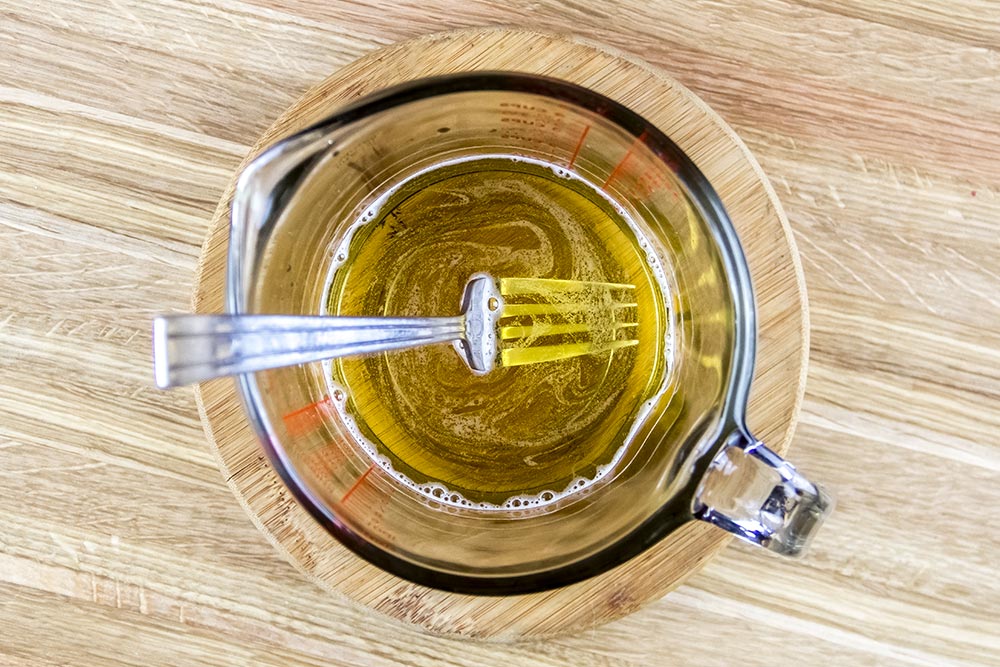
Then, in a medium sized bowl or a 4-cup measuring cup, add and mix the water, beer and vinegar.
Add the Wet Ingredients to the Dry
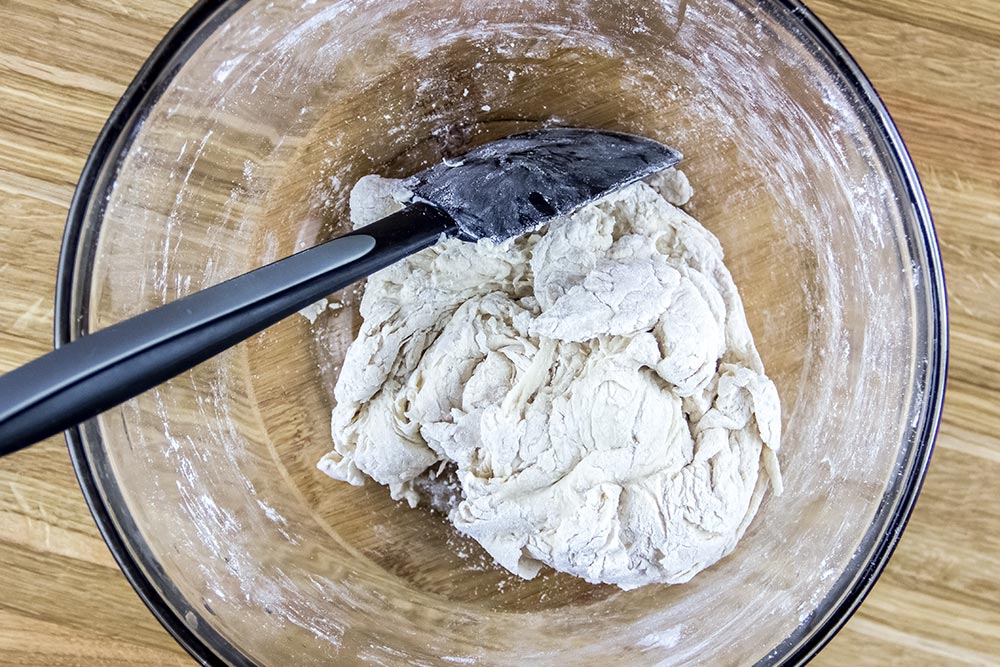
Next, add the wet ingredients to the large bowl that currently has the dry ingredients in it. Use a rubber spatula to fold everything together, being sure to continue folding only until there’s no more visible dry flour.
Let Dough Rest
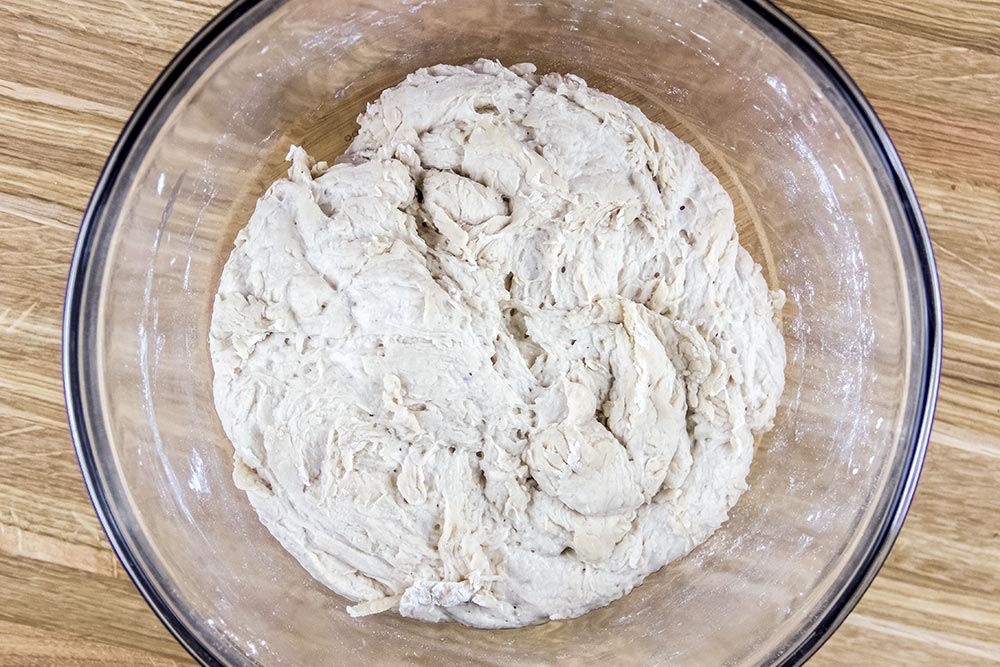
When the dough is mixed, cover the bowl tightly with plastic wrap and let it sit at room temperature anywhere from 8 to 18 hours. During that time, the dough should rise slightly.
Knead the Dough
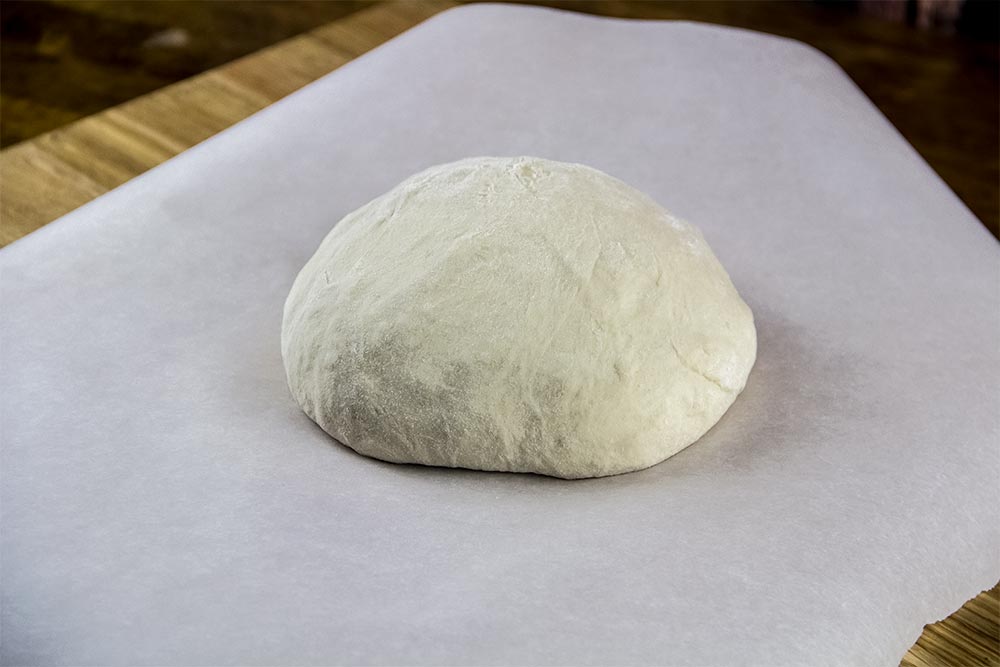
On a lightly floured counter, add the dough and knead for about 1 minute. The dough should become smooth and elastic.
Once the kneading is finished, form the dough into a ball by stretching the top and pulling it towards the bottom. Basically, you’re pulling the surface of the dough so it’s taut while moving the excess to the bottom. After you form the ball, place it on top of a piece of parchment paper that measures about 18 inches long.
Let Dough Rise
Take the parchment paper by both sides and lift the dough. Lower everything into a Dutch oven.
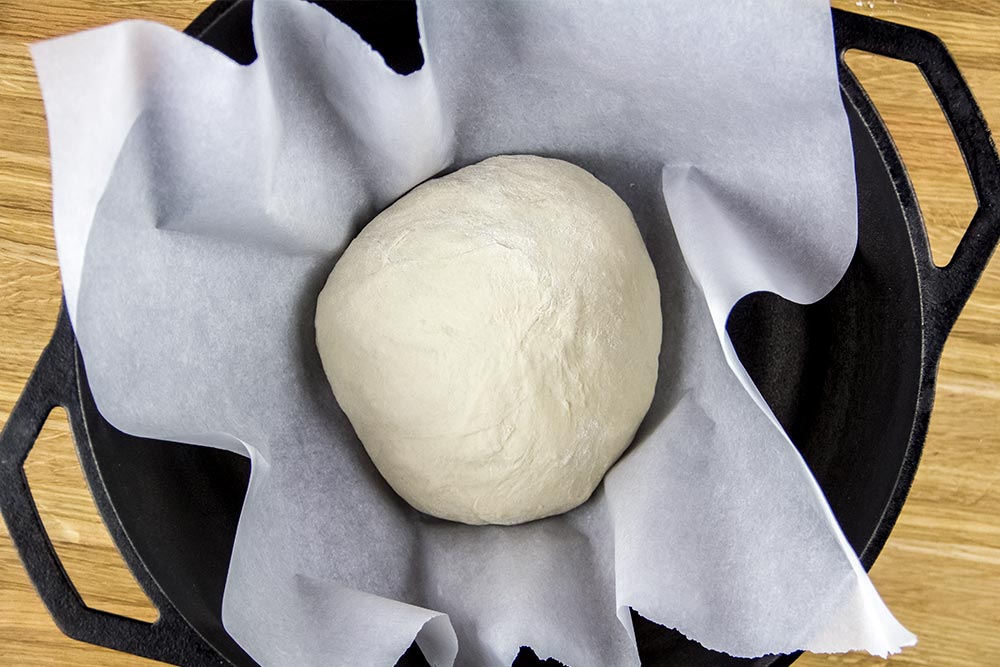
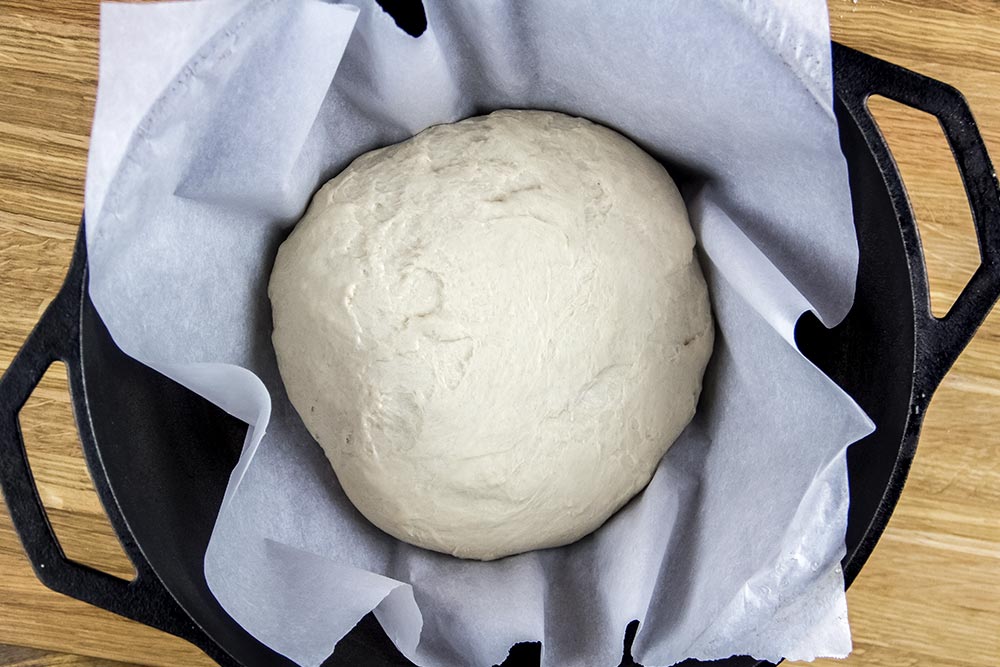
Cover the pot tightly and let it sit at room temperature for about 2 hours or until the dough doubles in size.
Cook the Bread
Cover the Dutch oven with its heat proof lid. Then, arrange your oven racks so one is in the center position. Turn the oven heat on to 425 degrees and immediately add the pot to it. The dough will warm up as the oven does. Bake the dough for 30 minutes. Once that’s complete, remove the lid and bake for approximately another 30 minutes or until the top of the bread is golden brown.
Finally, when the bread is finished baking, remove everything from the oven, grab the edges of the parchment paper and lift the bread from the pot. Let it cool for an hour or so before slicing into it.
The Final Bread
I’m not sure what it is, but every time I make a basic bread like this, I feel like I’m living thousands of years ago. Each ingredient used here has been around forever and the result is timeless. If you decide to go ahead with this recipe, please let me know how it turns out in the comment section below. Thanks for reading!
Leave a Reply