Have you ever tried to peel a hard-boiled egg and ended up wanting to throw it through a closed window instead? Really? I know what you mean. There are few things in life more annoying than an egg that turns into something dreadful during the peeling stage. The good news is that I’ve figured out exactly how to remedy the issue. So, if you’re interested, please read on.
The goal of hard boiling, or hard cooking, eggs is to end up with a clear yellow yolk and smooth, tender white, all peeled perfectly. That’s the goal. How often does that happen? Probably not so often. The problem usually has to do with strategy. If you’re hard-boiled eggs that consistently result in dry, chalky yolks with a light green coating that smells like sulphur, you’re most likely over cooking them. If you can’t peel them for the life of you, then you’re most likely adding them to the water at the wrong temperature. These are things that are super simple to fix. Hard-boiled eggs are so easy to cook, it isn’t even funny.
In this post, I tested a few methods of hard-boiling eggs. Actually, I was forced into this. I originally intended to follow the instructions given to me by America’s Test Kitchen and bring you my results. What ended up happening was the scenario I began this post with. I cooked the eggs perfectly, but during the peeling stage, I wanted to whip each and every one of them out the door – fast ball style. There was no way in heck the peels were coming off in a manner that’s worthy of posting on this site. The thing is, after I figured out the problem, I decided to post my entire experience here – both bad and good. Hopefully, what I went through today with my 14 eggs will help you save a few of your own.
I think what I’ll do here is write the post the way I had intended. I’m going to do it following the instructions given to me by the Test Kitchen. At the bottom of that, I’ll show you a few photos of my results. I think those pictures will encourage you to read on below even further. There, I’ll give you the instructions for how to properly cook hard-boiled eggs and actually get them out of the shell so you can eat them like a human. I even have pictures of the good versus the bad. It’s rather remarkable what a slight variation of temperature and time can achieve.
My Eggs
I started off by taking 8 eggs straight from the refrigerator. I tackled this project on January 17 and their “use by” date was February 12. I read that hard-boiling eggs that are older or “aged” are easier to peel, but that you really don’t need to worry about that because any egg you purchase from the market is definitely old enough for regular use. The only concern was with very fresh, straight from the chicken coop, type egg.
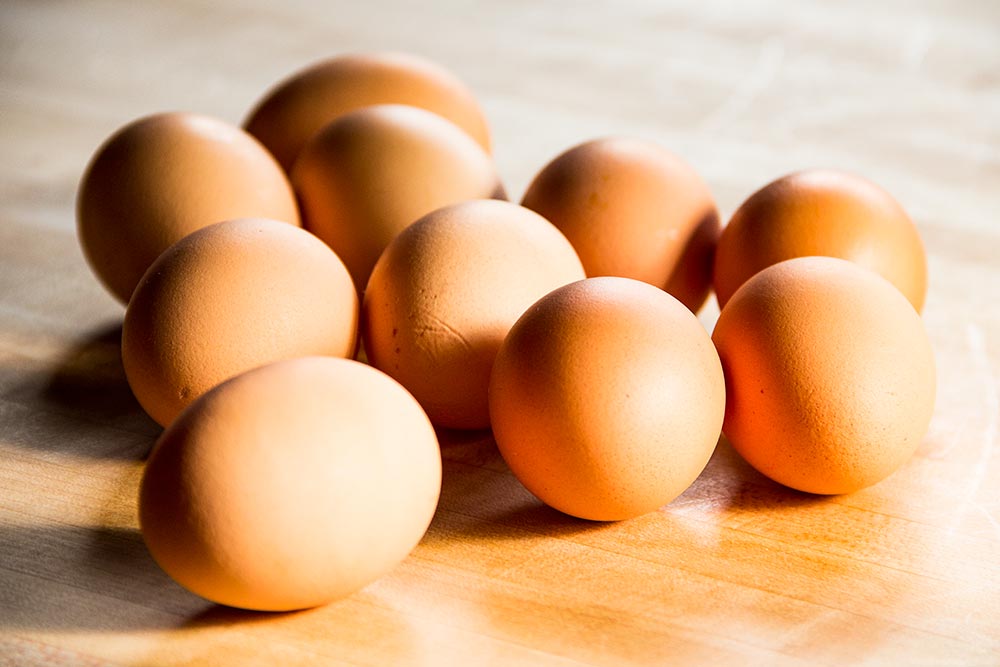
I know there are 10 eggs in the photo above. I only used 8 of them.
Place Eggs in Saucepan
I was instructed to place the eggs in a saucepan. Now, typically I bring water to a boil first, but this technique didn’t call for that. It says that the first task to complete was to simply place them in the pot.
Fill Saucepan & Cover
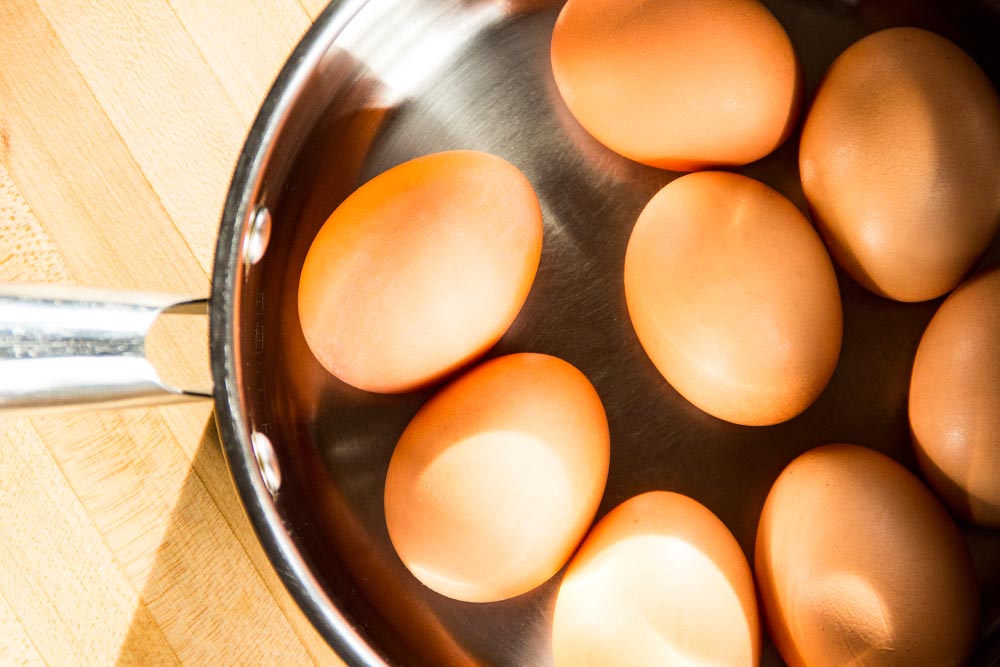
The next step was to fill the saucepan with water an inch above the tops of the eggs. I did that. Then, I covered the pot with the lid. Now, just to let you know, the water I poured into the saucepan was cold. It was from my kitchen faucet, which comes from my well. That well is in Maine. It’s chilly.
Bring Water to a Boil
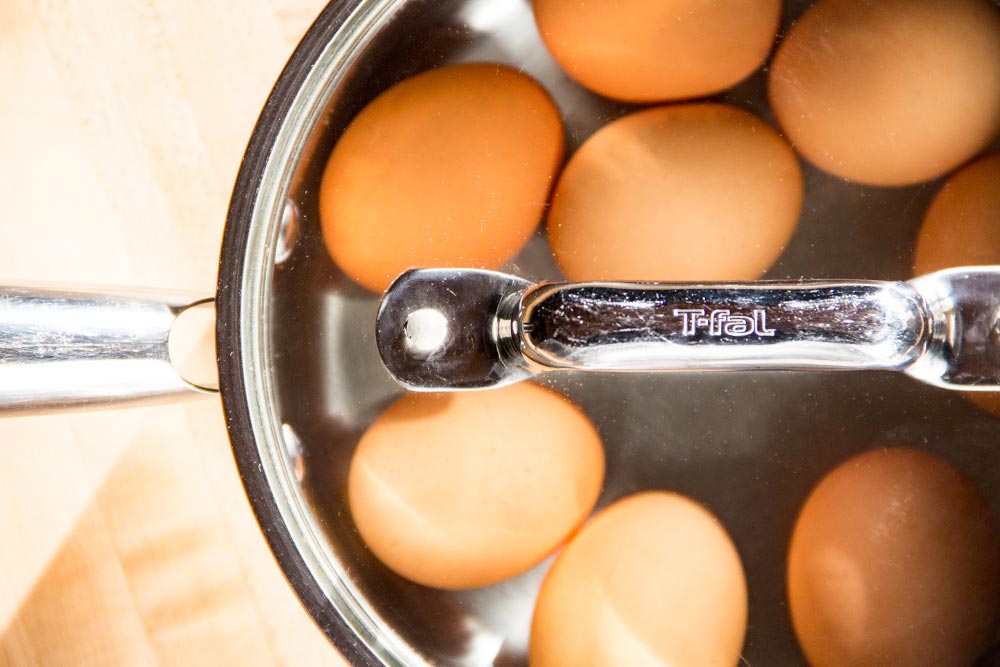
After that, I brought the water to a boil. This is the controversial step that I’ll discuss down below. Just remember that during this step, the water slowly heats up, along with the eggs. To get the water boiling, it usually takes between 8-10 minutes.
Remove From Heat
Once the water begins boiling, I removed the saucepan from the heat. I let them sit in the hot water for exactly 10 minutes. The idea here is to allow the eggs to cook in water that’s below 212 degrees, thereby creating an environment that’s conducive to not overcooking. The benefits of this lower cooking temperature are allegedly more tender whites, more creamy yolks and shells that don’t crack.
Create an Ice-Bath
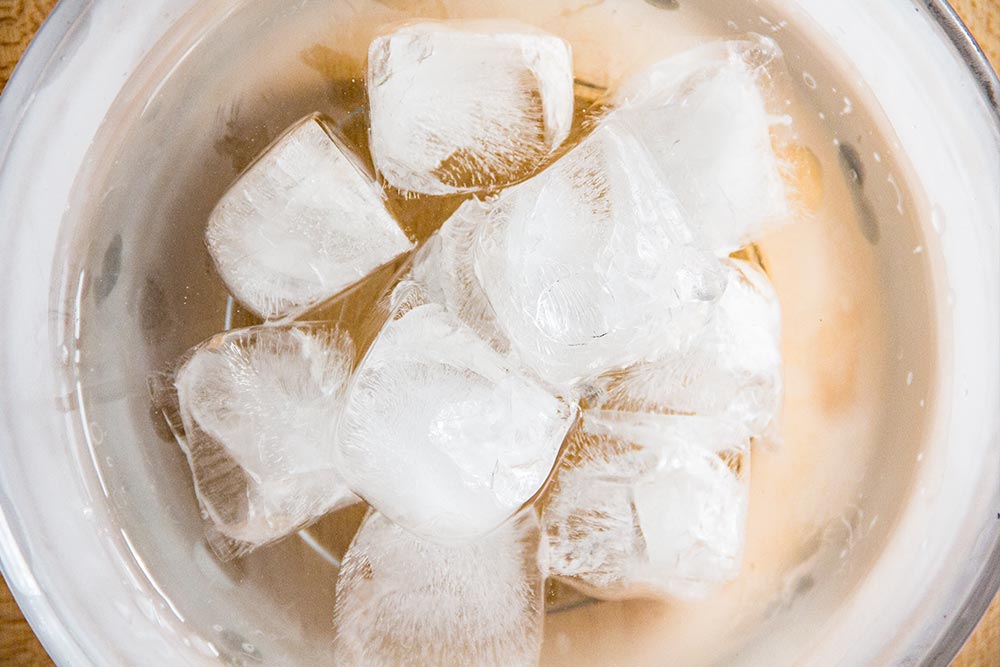
While the eggs were cooking, I put a tray of ice cubes into a semi-large bowl and covered them with about a quart of water.
Place Eggs in Ice-Bath
After exactly 10 minutes of sitting in the hot water, I placed my eggs in the ice bath. This step isn’t controversial. I have actually seen this all over the place and used it for the method I’ll describe down below.
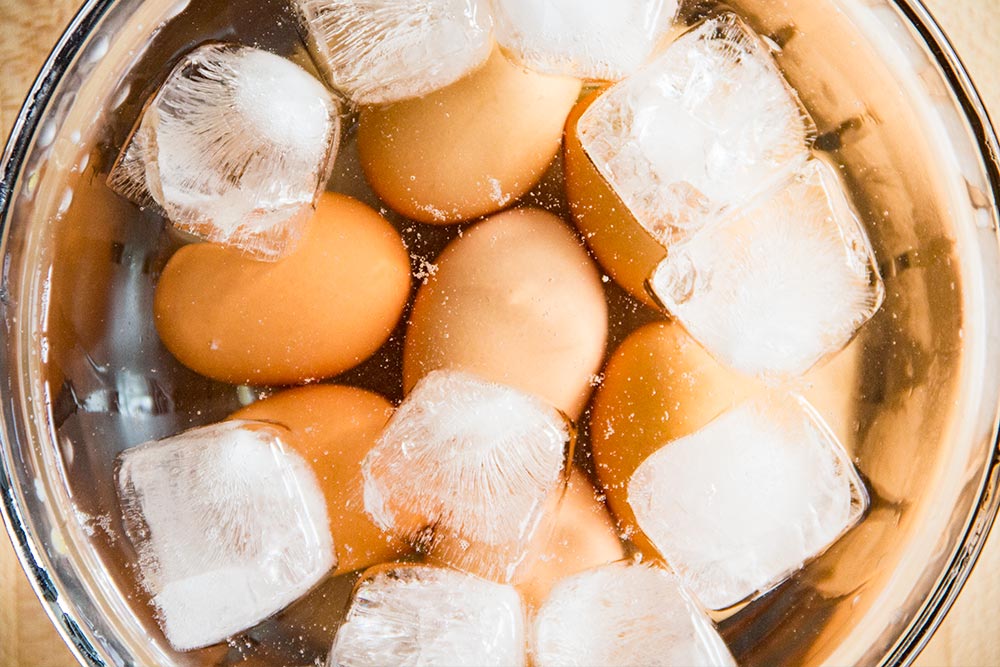
Now mind you, by the time this step rolls around, the eggs are already cooked. The point of putting them into this cold water is to shock them, which halts any type of cooking they may be experiencing. It’s also alleged that by doing this, the whites of the eggs shrinks just enough from the shells to allow for easier peeling.
I let them sit in the ice water for 5 minutes.
Crack the Shells
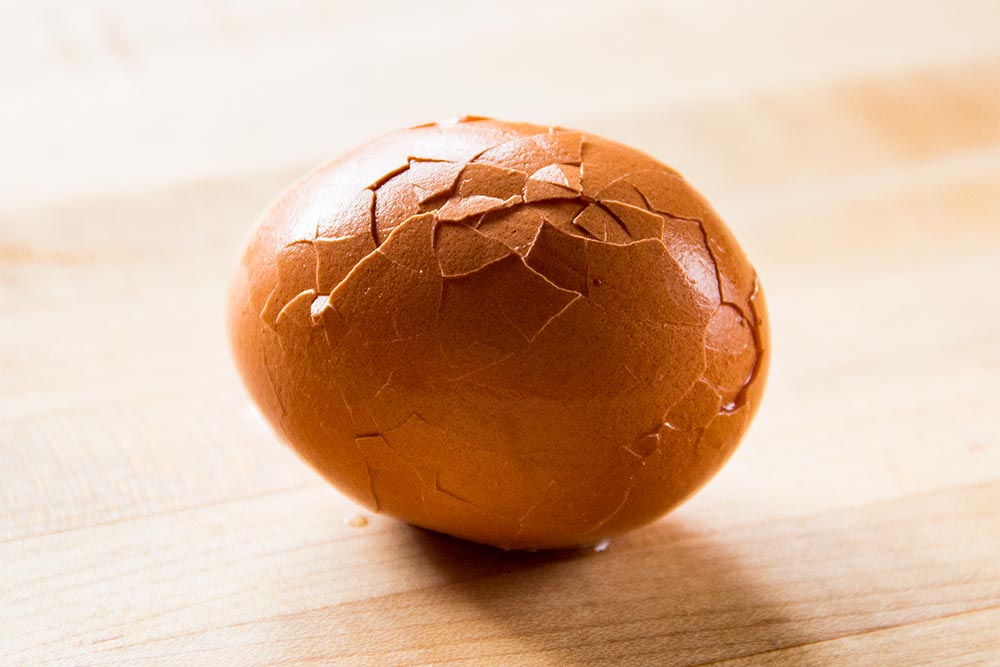
After the eggs cooled down for about 5 minutes, I took them out of the water and cracked the shells. It was recommended that I crack them all over.
Peel the Eggs
At this point, Laura and I were eagerly awaiting our perfectly hard-boiled eggs. We began peeling and ended up with this.
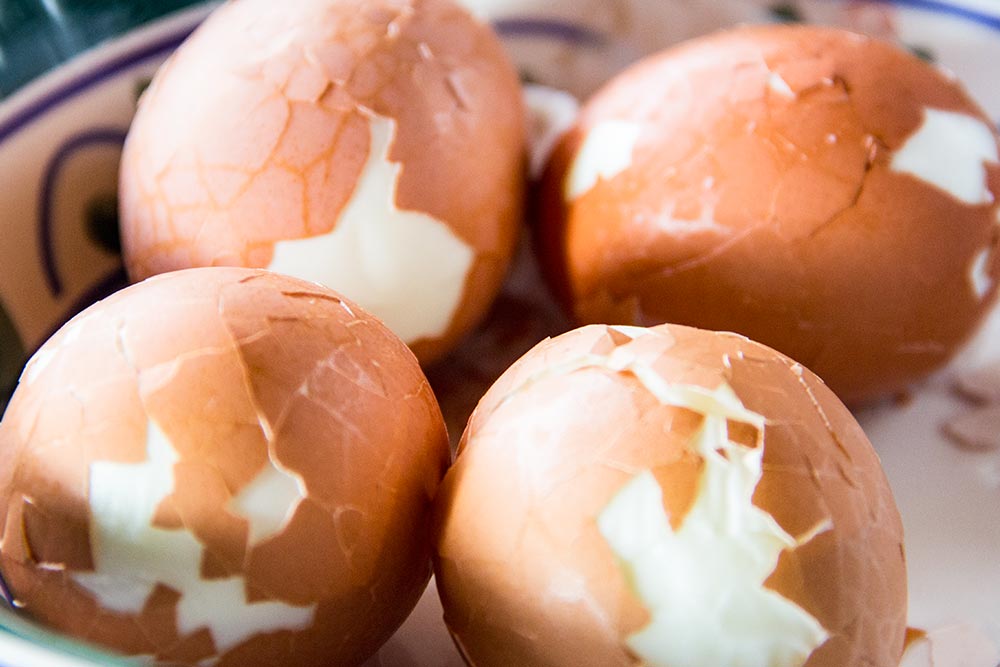
Laura seemed fairly patient as she was trying to peel, but for me, I could feel my blood boiling as the seconds passed. I don’t deal well with things like this. I’m a happy camper when I start to peel an egg and everything comes off in large pieces. This wasn’t good at all. The strangest part was that the inside egg didn’t seem to separate from the membrane, which didn’t separate from the shell. It was like everything was welded together somehow. And when I did manage to separate the egg itself from the membrane, I found the the egg was “sticky” instead of the slippery that I’m used to. The egg felt just like the membrane. It was awful.
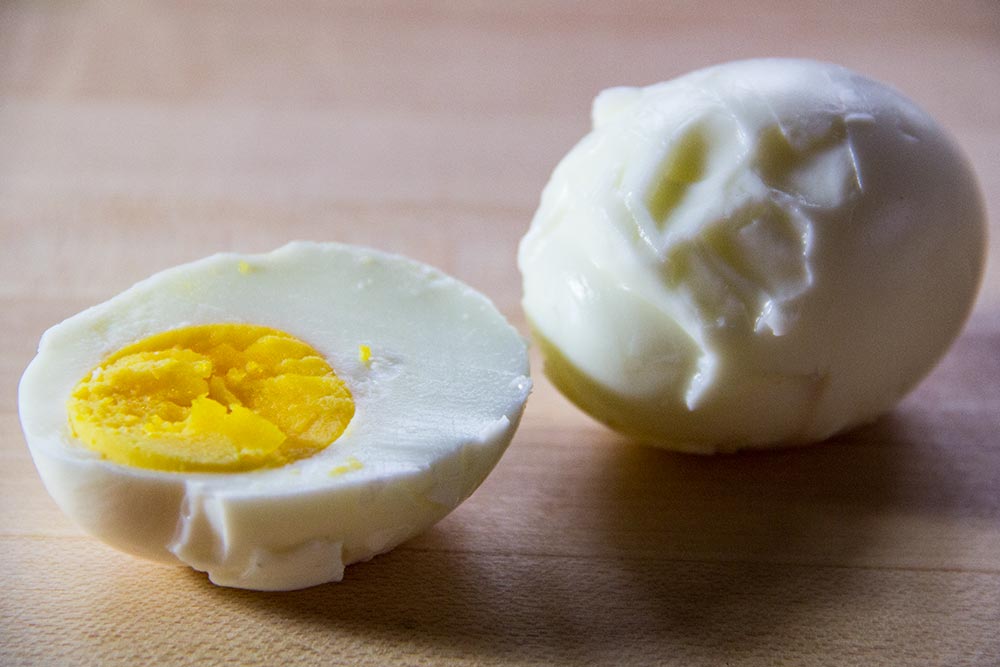
I will tell you though, after a while, we did manage to get one egg peeled. Remarkably, it was cooked well. The whites were tender and the yolk was creamy. And as you can see, there is no green enveloping the yolk. So, yes, the egg was cooked perfectly.
The only problem was that it took us an hour to peel the 8 eggs and many of them ended up looking like this, or worse. Imagine serving these as deviled eggs at a party.
New Instructions
Needless to say, I’m abandoning that set of instructions. I mean, really abandoning them. After this ordeal, I vowed not to feel defeated. I poked around online a bit and found a rather long post that described the very situation I had just faced.
The Food Lab: The Hard Truth About Boiled Eggs
I discovered that my failure occurred at the point of egg entry into the saucepan. The fellow who wrote the above post likened allowing eggs to warm up so slowly to allowing a steak to warm up slowly in a skillet. The only thing that would result from that scenario would be a steak that is virtually un-removable from the pan. Much like how the egg shells were un-removable from the eggs.
These are his instructions:
“Lower your eggs straight from the fridge into already-boiling water, or place them in a steamer insert in a covered pot steaming at full blast on the stovetop. If boiling, lower the heat to the barest simmer. Cook the eggs for 11 minutes for hard or 6 minutes for soft. Serve. Or, if serving cold, shock them in ice water immediately. Let them chill in that water for at least 15 minutes, or better yet, in the fridge overnight. Peel under cool running water.”
I followed these instructions precisely and this is what I got.
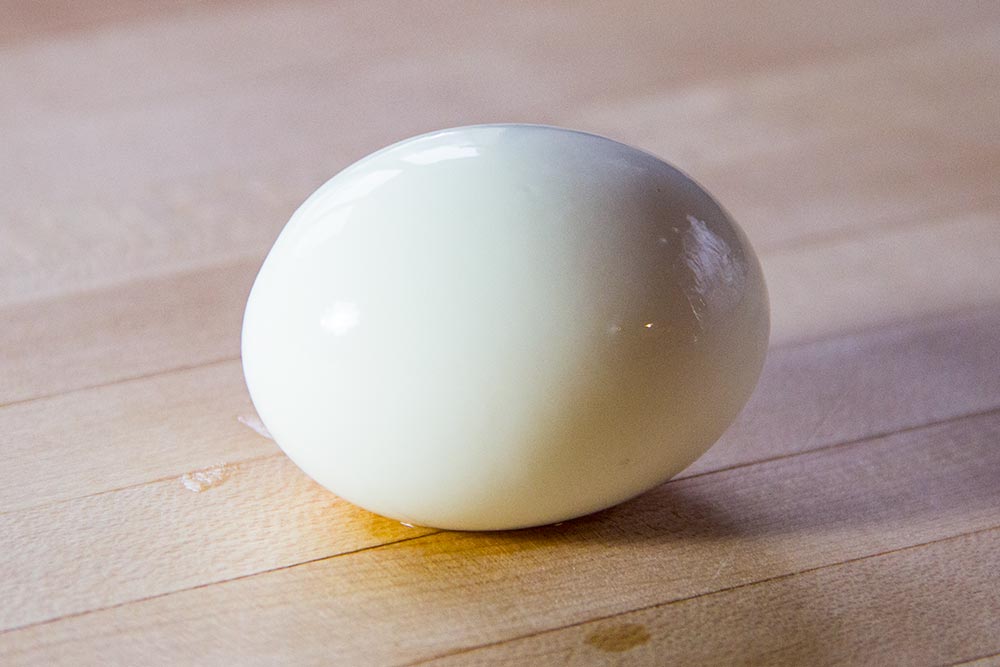
I cooked 4 eggs and each one peeled wonderfully. I even took a photo of them, along with two of the messed up ones. Can you guess which are which?
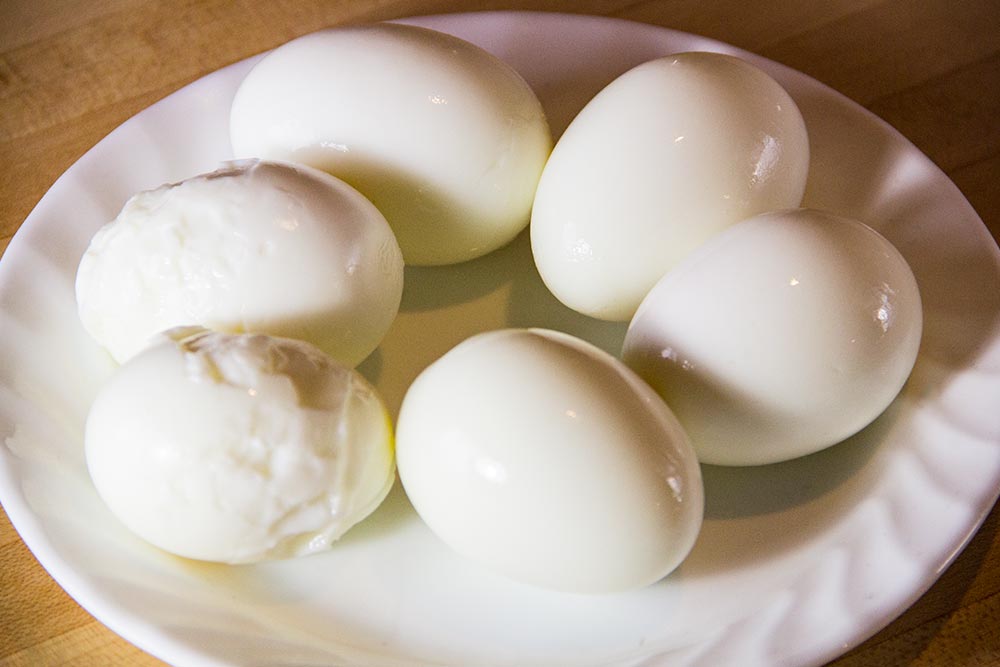
So, all-in-all, my success rate with the first method was 0% and my success rate with the second method was 100%. Strange.
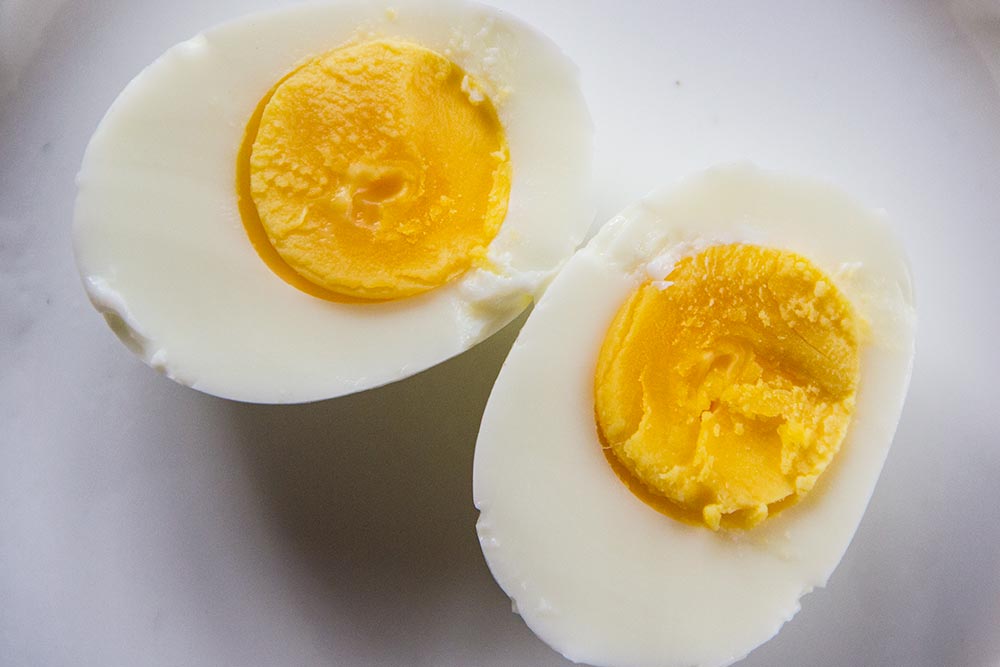
The real question was whether or not the eggs were over-cooked. I cut them in half and placed them on a plate to see.
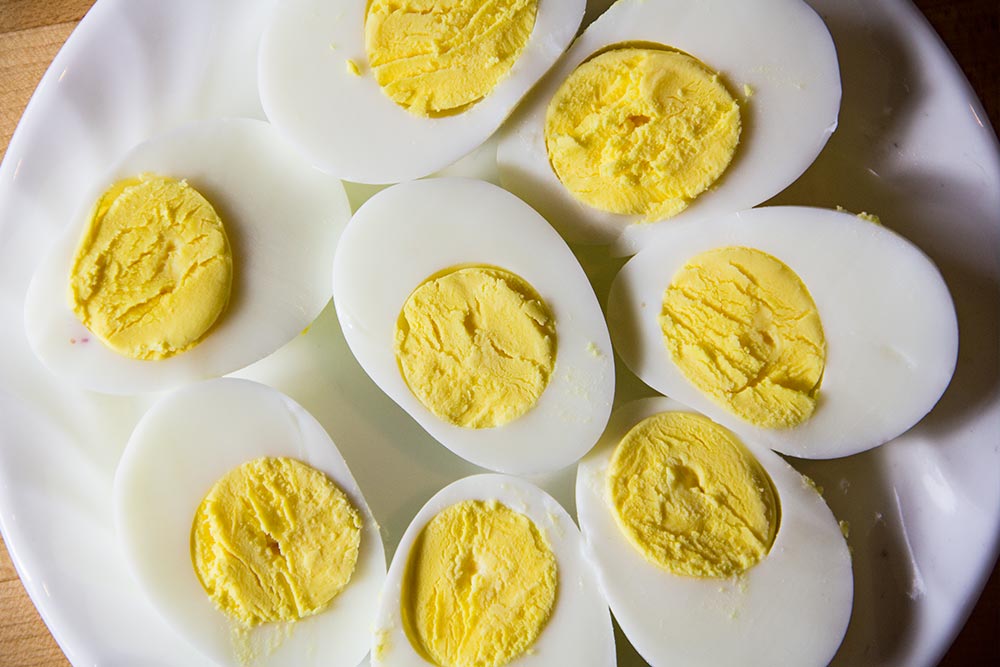
As you can see, the yolks don’t have the sulpher green ring. As I progress, I’m going to adjust the timing slightly to, perhaps, lighten up the cooking just a tad. I’d like to get those yolks a bit more translucent. I’d say I’m on the right path though. I just wish this lesson didn’t take me 12 eggs to learn.
——
If you’ve enjoyed today’s post and found it helpful, please share it with a friend. Also, if you’d like to continue reading and would like our posts sent directly to your email inbox, simply sign up for our newsletter. We’ll send each and every post directly to you. Thanks!
Haha I hate when this happens. Honestly, I doubt I will change my cooking method or make an ice bath since I’m way too lazy to do that. I find that I have success when I don’t overcook the eggs (I’m bad for forgetting about them) and when I let them cool long enough. It’s my impatience that gets me into trouble. I also try to ever so gently do that first little peel… and get under that slippery membrane or whatever you’d call it. Then you’re golden.
I agree. Hard boiling eggs shouldn’t be this complex. I am happy that I finally figured out some sort of a rule though. As long as I have something to keep in the back of my mind, I’m good to go.